(Note: This post contains affiliate links. I only endorse products and companies I’ve used. See my full affiliate policy here.)
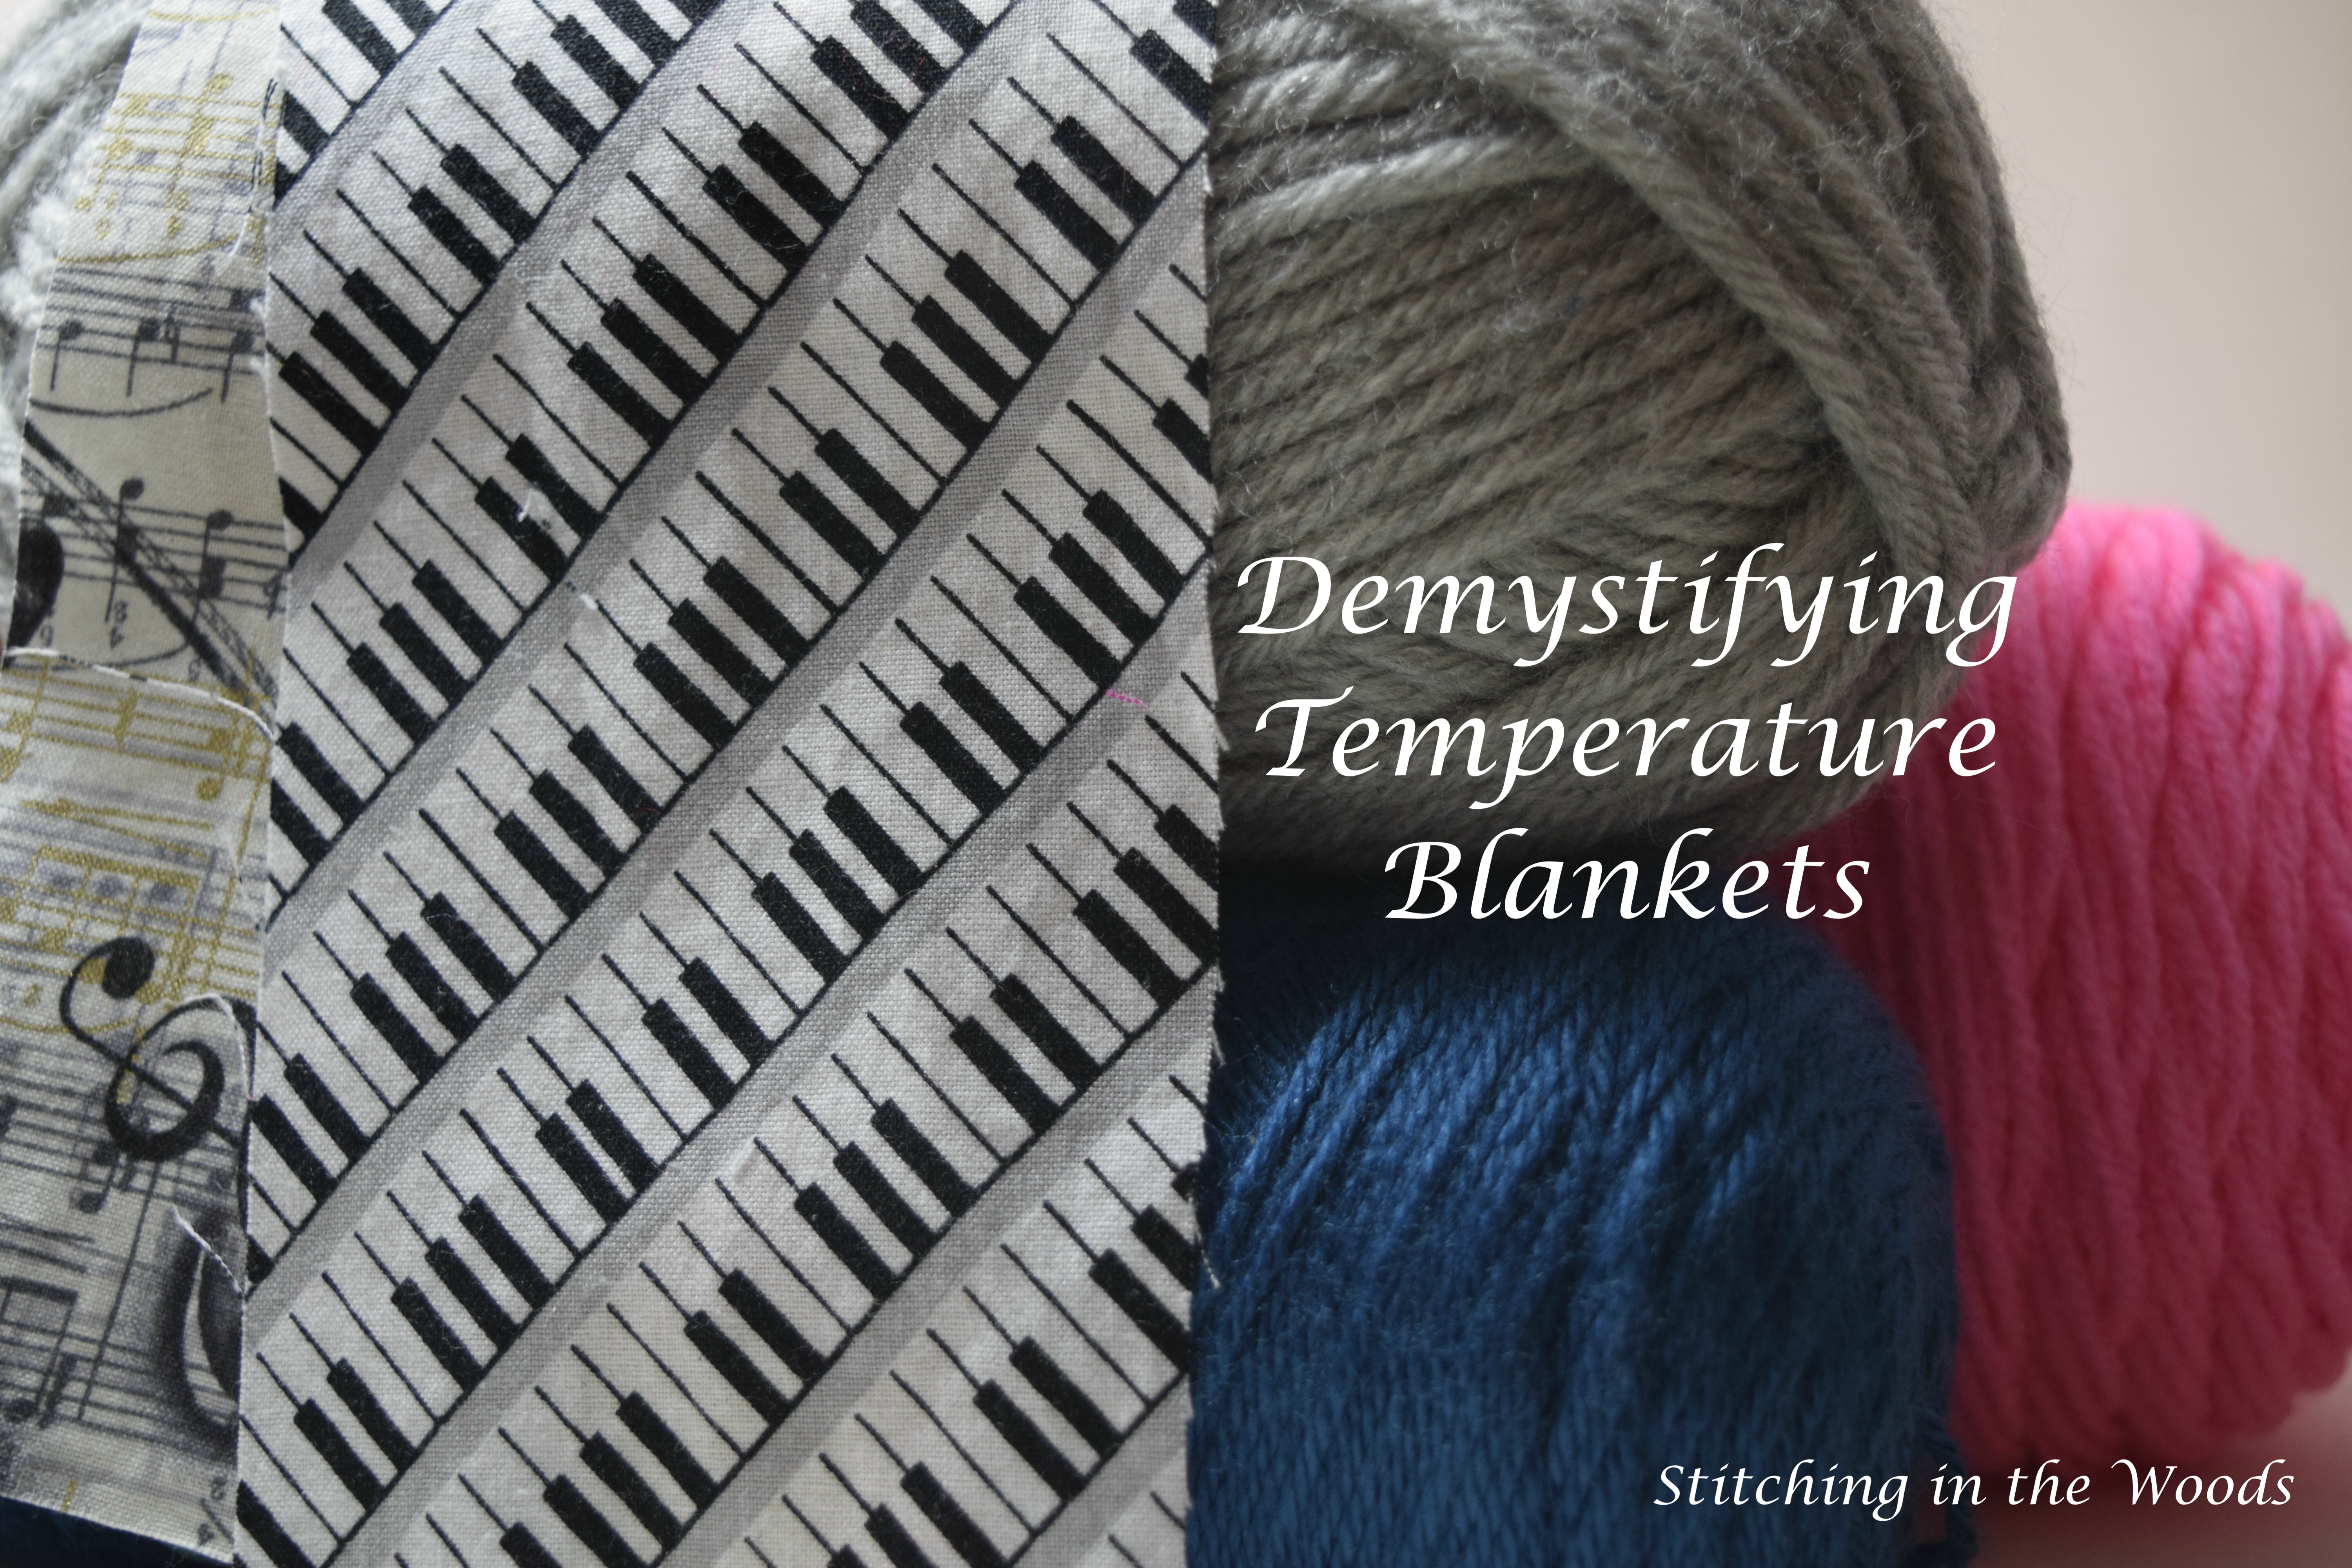
Demystifying Temperature Blankets Series Introduction
Temperature blankets are very popular right now and I believe some need more guidance in starting their project. To help fill this need, I am beginning a three part series called “Demystifying Temperature Blankets.” I hope the series can help those looking to start a temperature project. I will try to make the series helpful for not just crocheters, but also to knitters and quilters. It’s hard to cover all options in a project meant for personal variations, so if I don’t describe one you might want to use, use it! If you’re unsure I’m willing to answer any questions you might have.
The three parts will be:
- Picking a temperature range (this post)
- Picking yarns or materials
- Picking stitches or methods
Without further ado, let’s start making our temperature ranges!
What temperatures do I use?
To get the juices flowing, possible temperatures you could use are the high, the low, both, the average, or even the temperature at a certain time each day.
You can get these temperatures from various sources, even if you’re getting temperatures to make a historical temperature project.
Here’s a few places to find temperatures in the US:
- National Weather Service
- Accuweather (also international)
- Weather Underground (also international)
- Intellicast (also international)
I even tried to find some for my international readers:
- Met Office (UK)
- Canada National Weather
- Australian National Weather
- German weather (in English apparently or my browser translated without me noticing)
How do I make my temperature range?
The best way to make your temperature range would be to first research the historical climate data for your location (see above resources). You could also record past temperatures into a computer spreadsheet and figure out the typical temperatures that way. The latter way is how I planned out the temperatures for my anniversary blanket.
Here’s the steps I used to make the temperature ranges that follow:
- Find the average highs and lows for each month and record the highest high and the lowest low
- Add 5 or 10 degrees onto the top and bottom of each range (maybe only 3 or 5 degrees in Celcius)
- Evenly space out temperatures into 10 slots (more or less if you want, it may get tweaked when you pick your yarn/materials)
I’ll use Nashville, IN as an example on how to figure this out.
- Highest high average was 86, lowest low average was 19
- Top of range will be 100+, bottom of range will be below 10
- Final range (top to bottom, divided 90 between 8 slots):
- 100+
- 87-99
- 76-86
- 65-75
- 54-64
- 42-53
- 31-41
- 20-30
- 10-19
- Below 10
To help you out, I made up some possible temperature ranges for several locations. It became VERY hard for me to keep the list relatively short because there were so many places (especially internationally) for which I was excited to make a temperature range simply out of curiosity.
(US locations are in F, all others are in C)
San Diego, CA, USA
- Highest: 78
- Lowest: 49
Range
- Above 90
- 83-90
- 77-82
- 71-76
- 65-70
- 58-64
- 52-57
- 46-51
- 40-45
- Below 40
Eureka, CA, USA
- Highest: 64
- Lowest: 41
Range
- Above 80
- 72-79
- 66-71
- 60-65
- 54-59
- 47-53
- 41-46
- 35-40
- 29-34
- Below 30
Nenana, AK, USA
- Highest: 73
- Lowest: (-17)
Range (a very wide one!)
- Above 80
- 66-80
- 53-65
- 40-52
- 27-39
- 14-26
- 1-13
- (-11)-0
- (-25)-(-10)
- Below (-25)
Honolulu, Hawai’i, USA
- Highest: 89
- Lowest: 65
Range
- Above 100
- 94-100
- 88-93
- 83-87
- 77-82
- 71-76
- 66-70
- 60-65
- 55-59
- Below 55
Cardiff, Wales, UK
- Highest: 20
- Lowest: 2
Range
- Above 25
- 21-25
- 18-20
- 15-17
- 12-14
- 8-11
- 5-7
- 2-4
- (-1)-1
- Below (-1)
Adelaide, South Australia, Australia
- Highest: 28
- Lowest: 7
Range
- Above 33
- 29-33
- 25-28
- 21-24
- 17-20
- 13-16
- 9-12
- 5-8
- 2-4
- Below 2
Halifax, Nova Scotia, Canada
(This is where my husband and I “first” met. I couldn’t decide between this and PEI of Anne of Green Gables fame.)
- Highest: 22
- Lowest: (-9)
Range
- Above 27
- 21-27
- 16-20
- 11-15
- 6-10
- 1-5
- (-3)-0
- (-8)-(-2)
- (-14)-(-9)
- Below (-14)
Any other places, I can help make a range if it gets too difficult or you just want me to do the work.
What about the colors for my temperature blanket?
Now is when we get to the really fun part of this step! That is, unless you like numbers more.
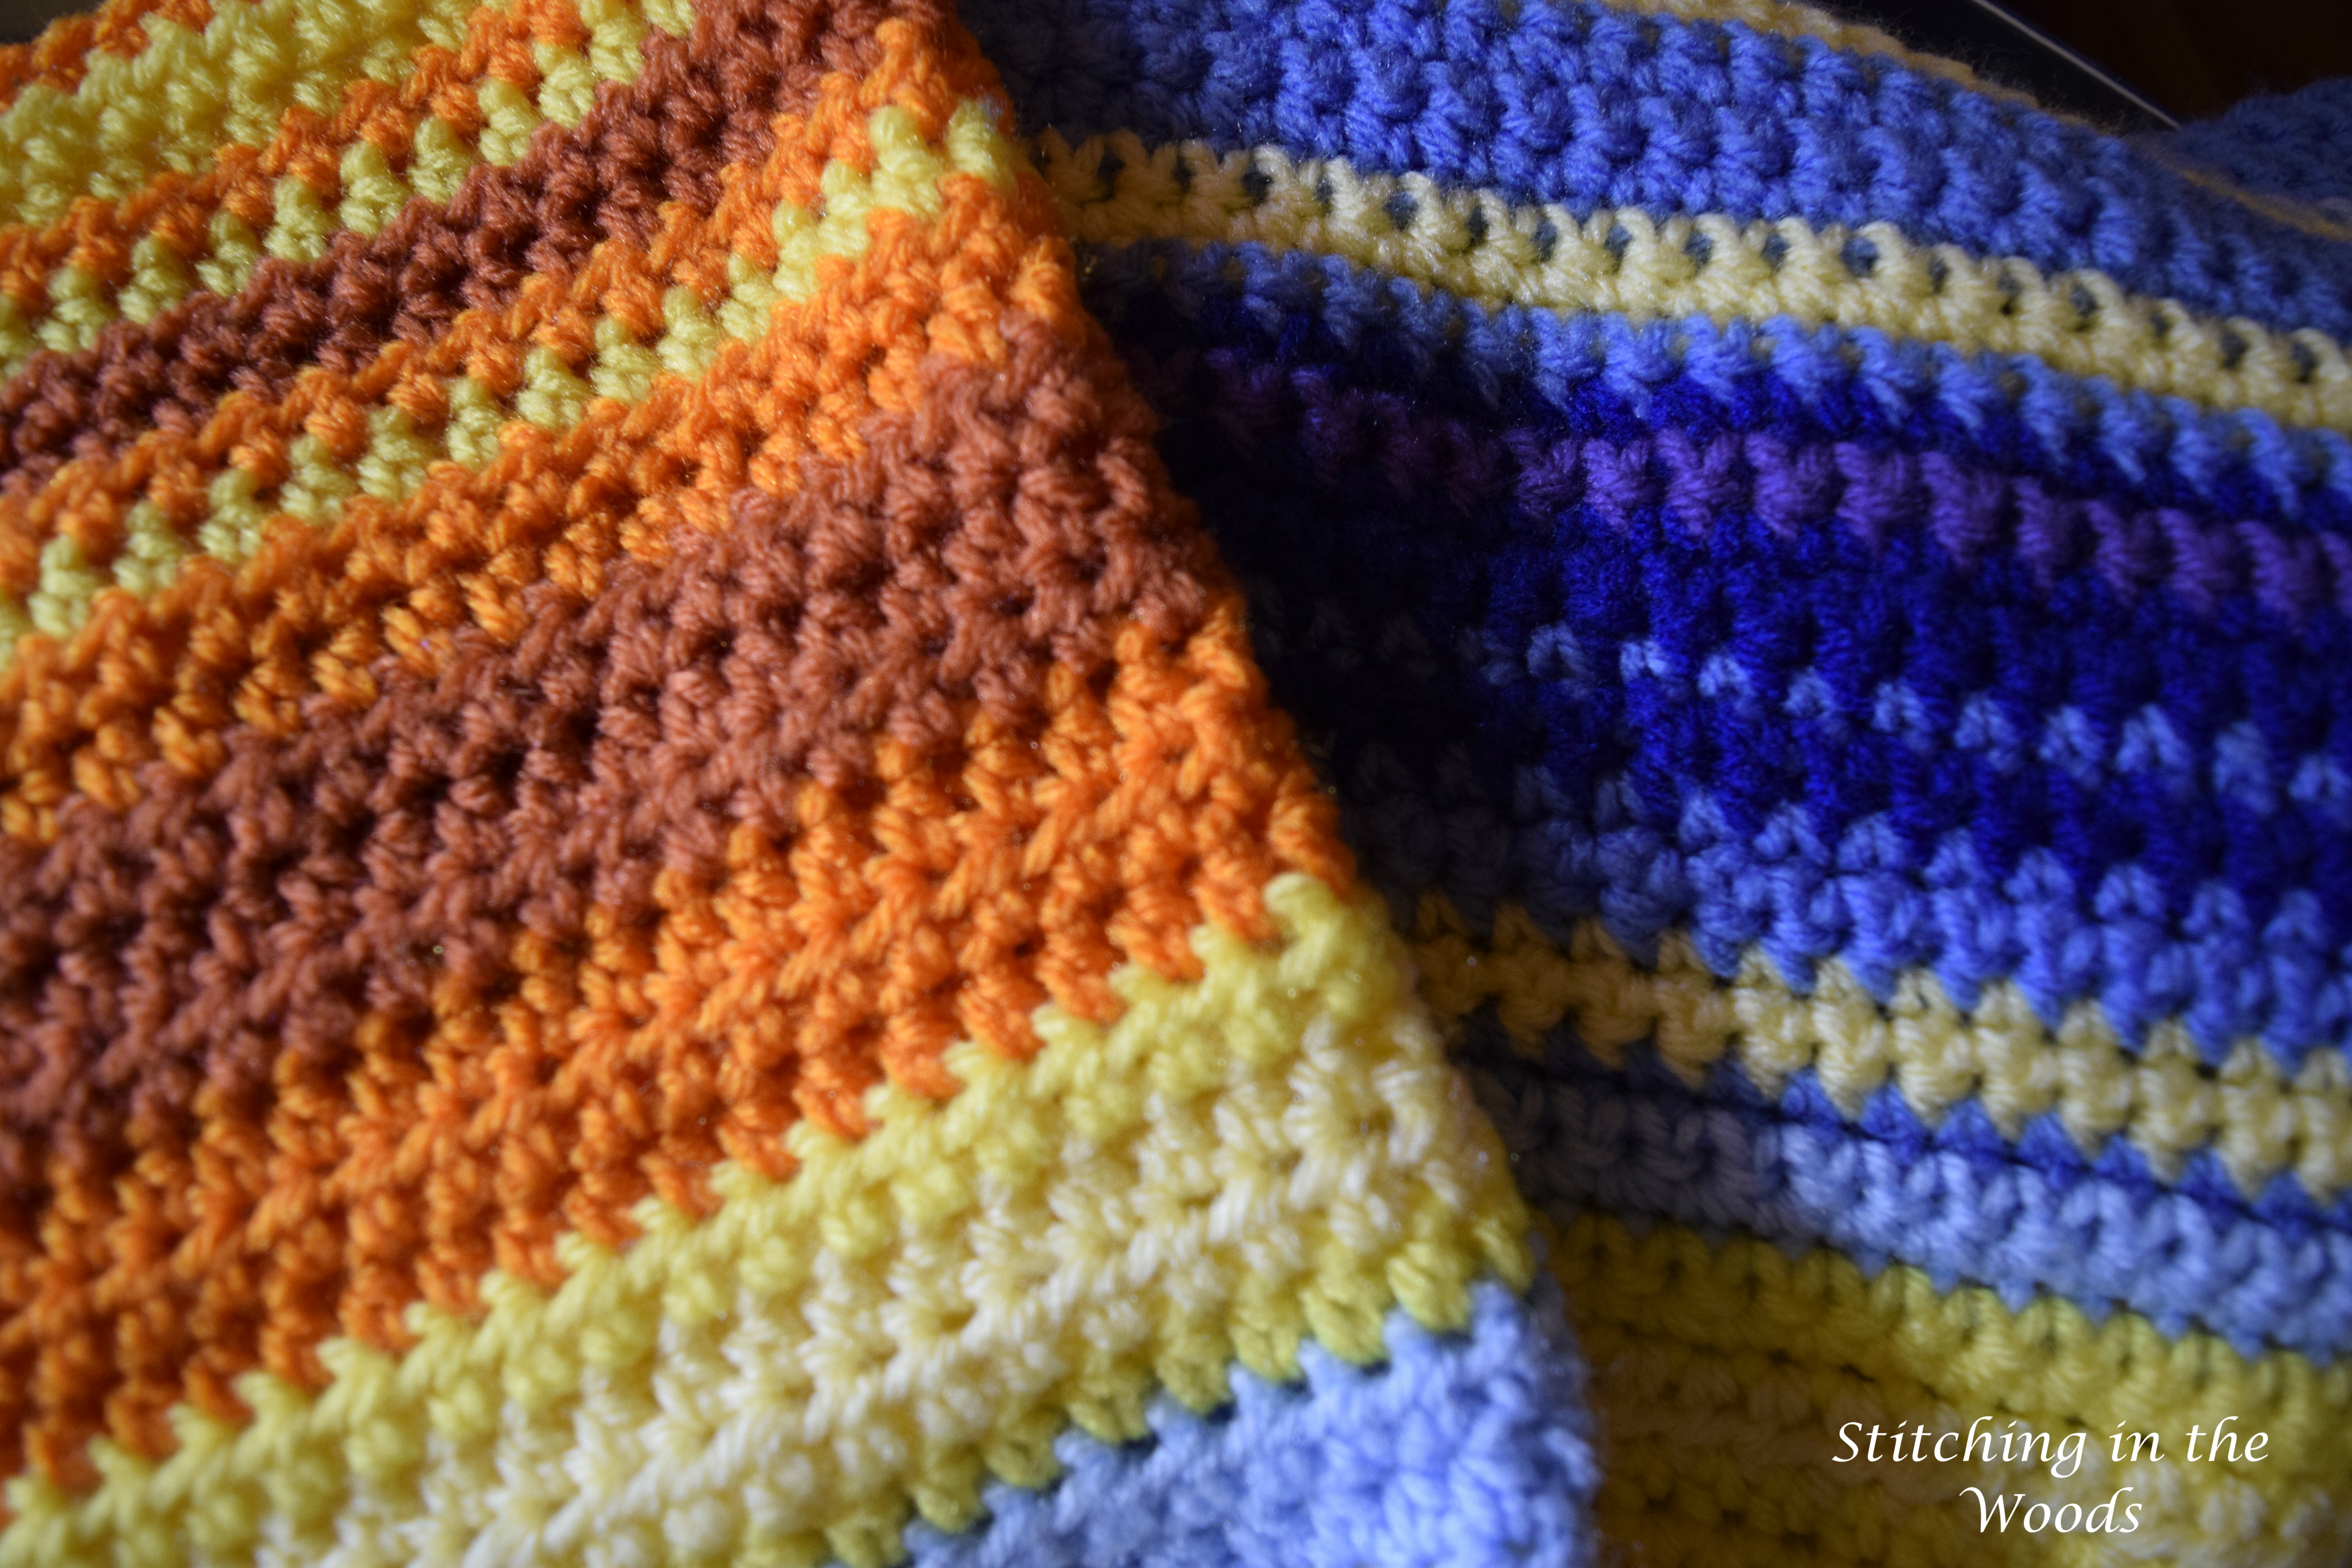
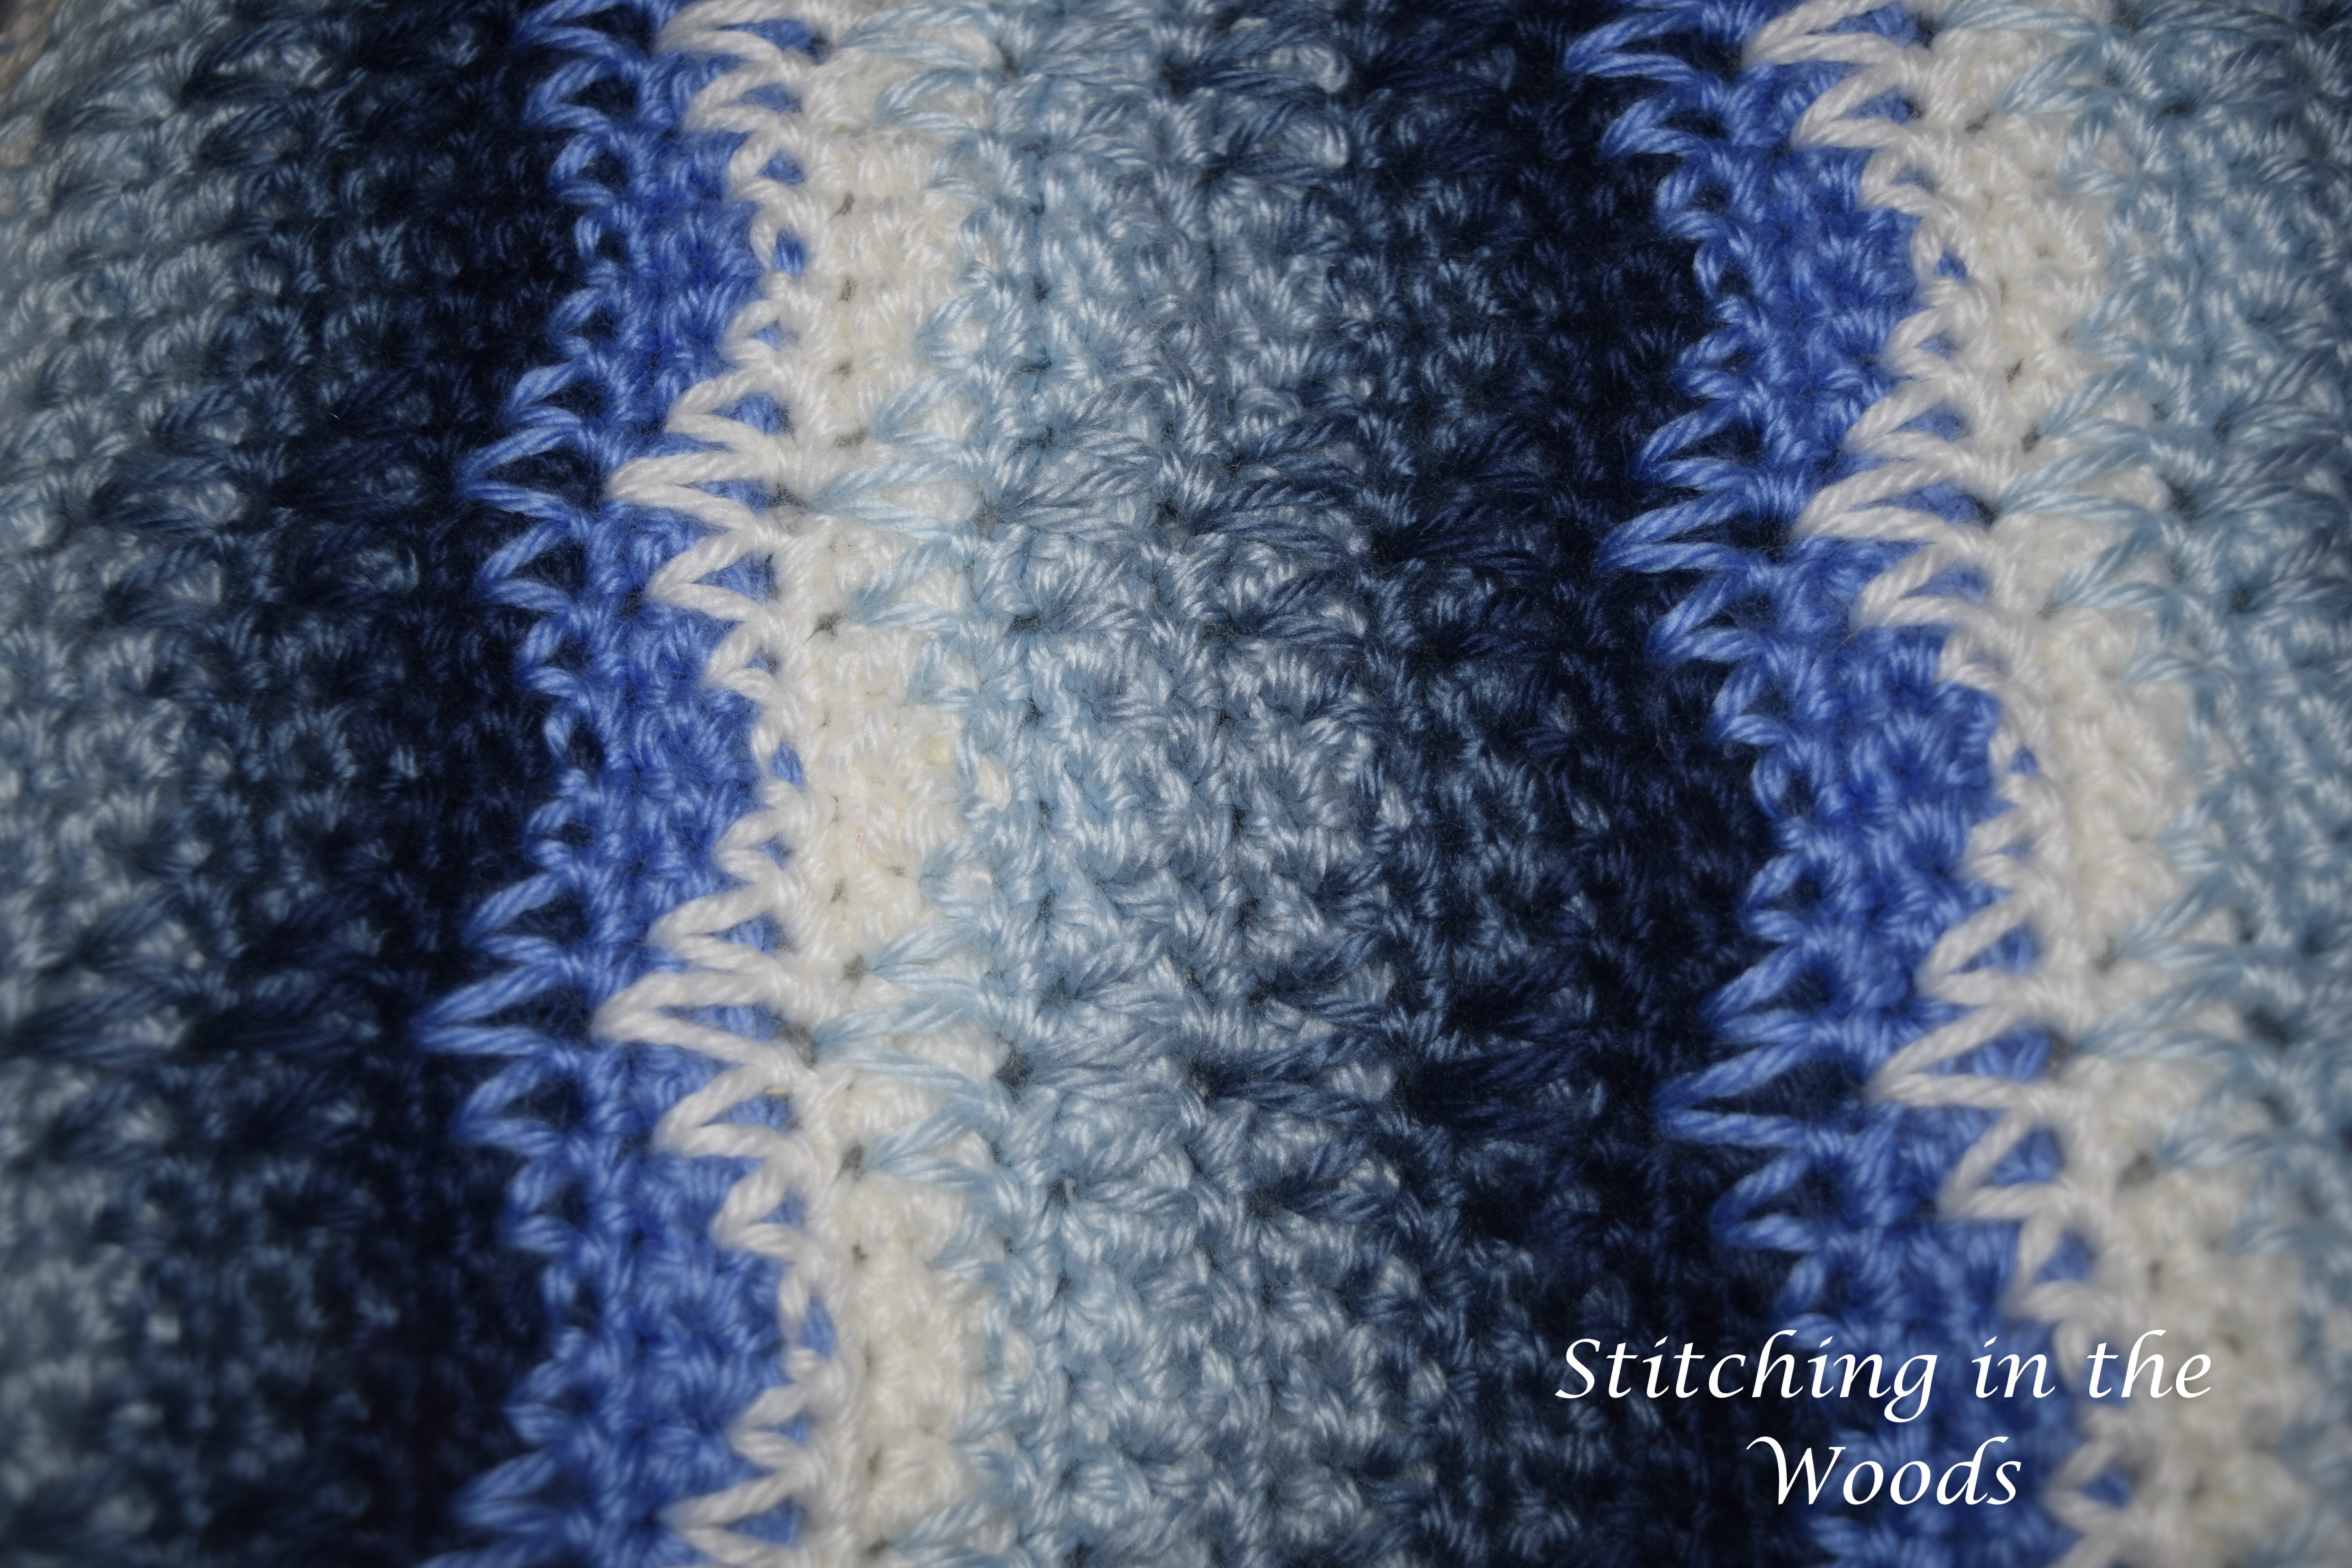
The colors you pick for your project are only limited by your imagination. These color schemes won’t necessarily be set in stone. You might end up coming back and changing some because you find a certain color yarn or fabric that simply MUST be put in your project. It’s okay if you do. I’m guilty of that. It’s part of how I ended up with so many colors in my anniversary blanket.
I’ll give you a few basic color schemes to jump start your thinking.
Monochromatic
- All different shades of one color
- Blacks, grays, and whites (these are sort of all the same color)
- All greens OR blues OR your favorite color
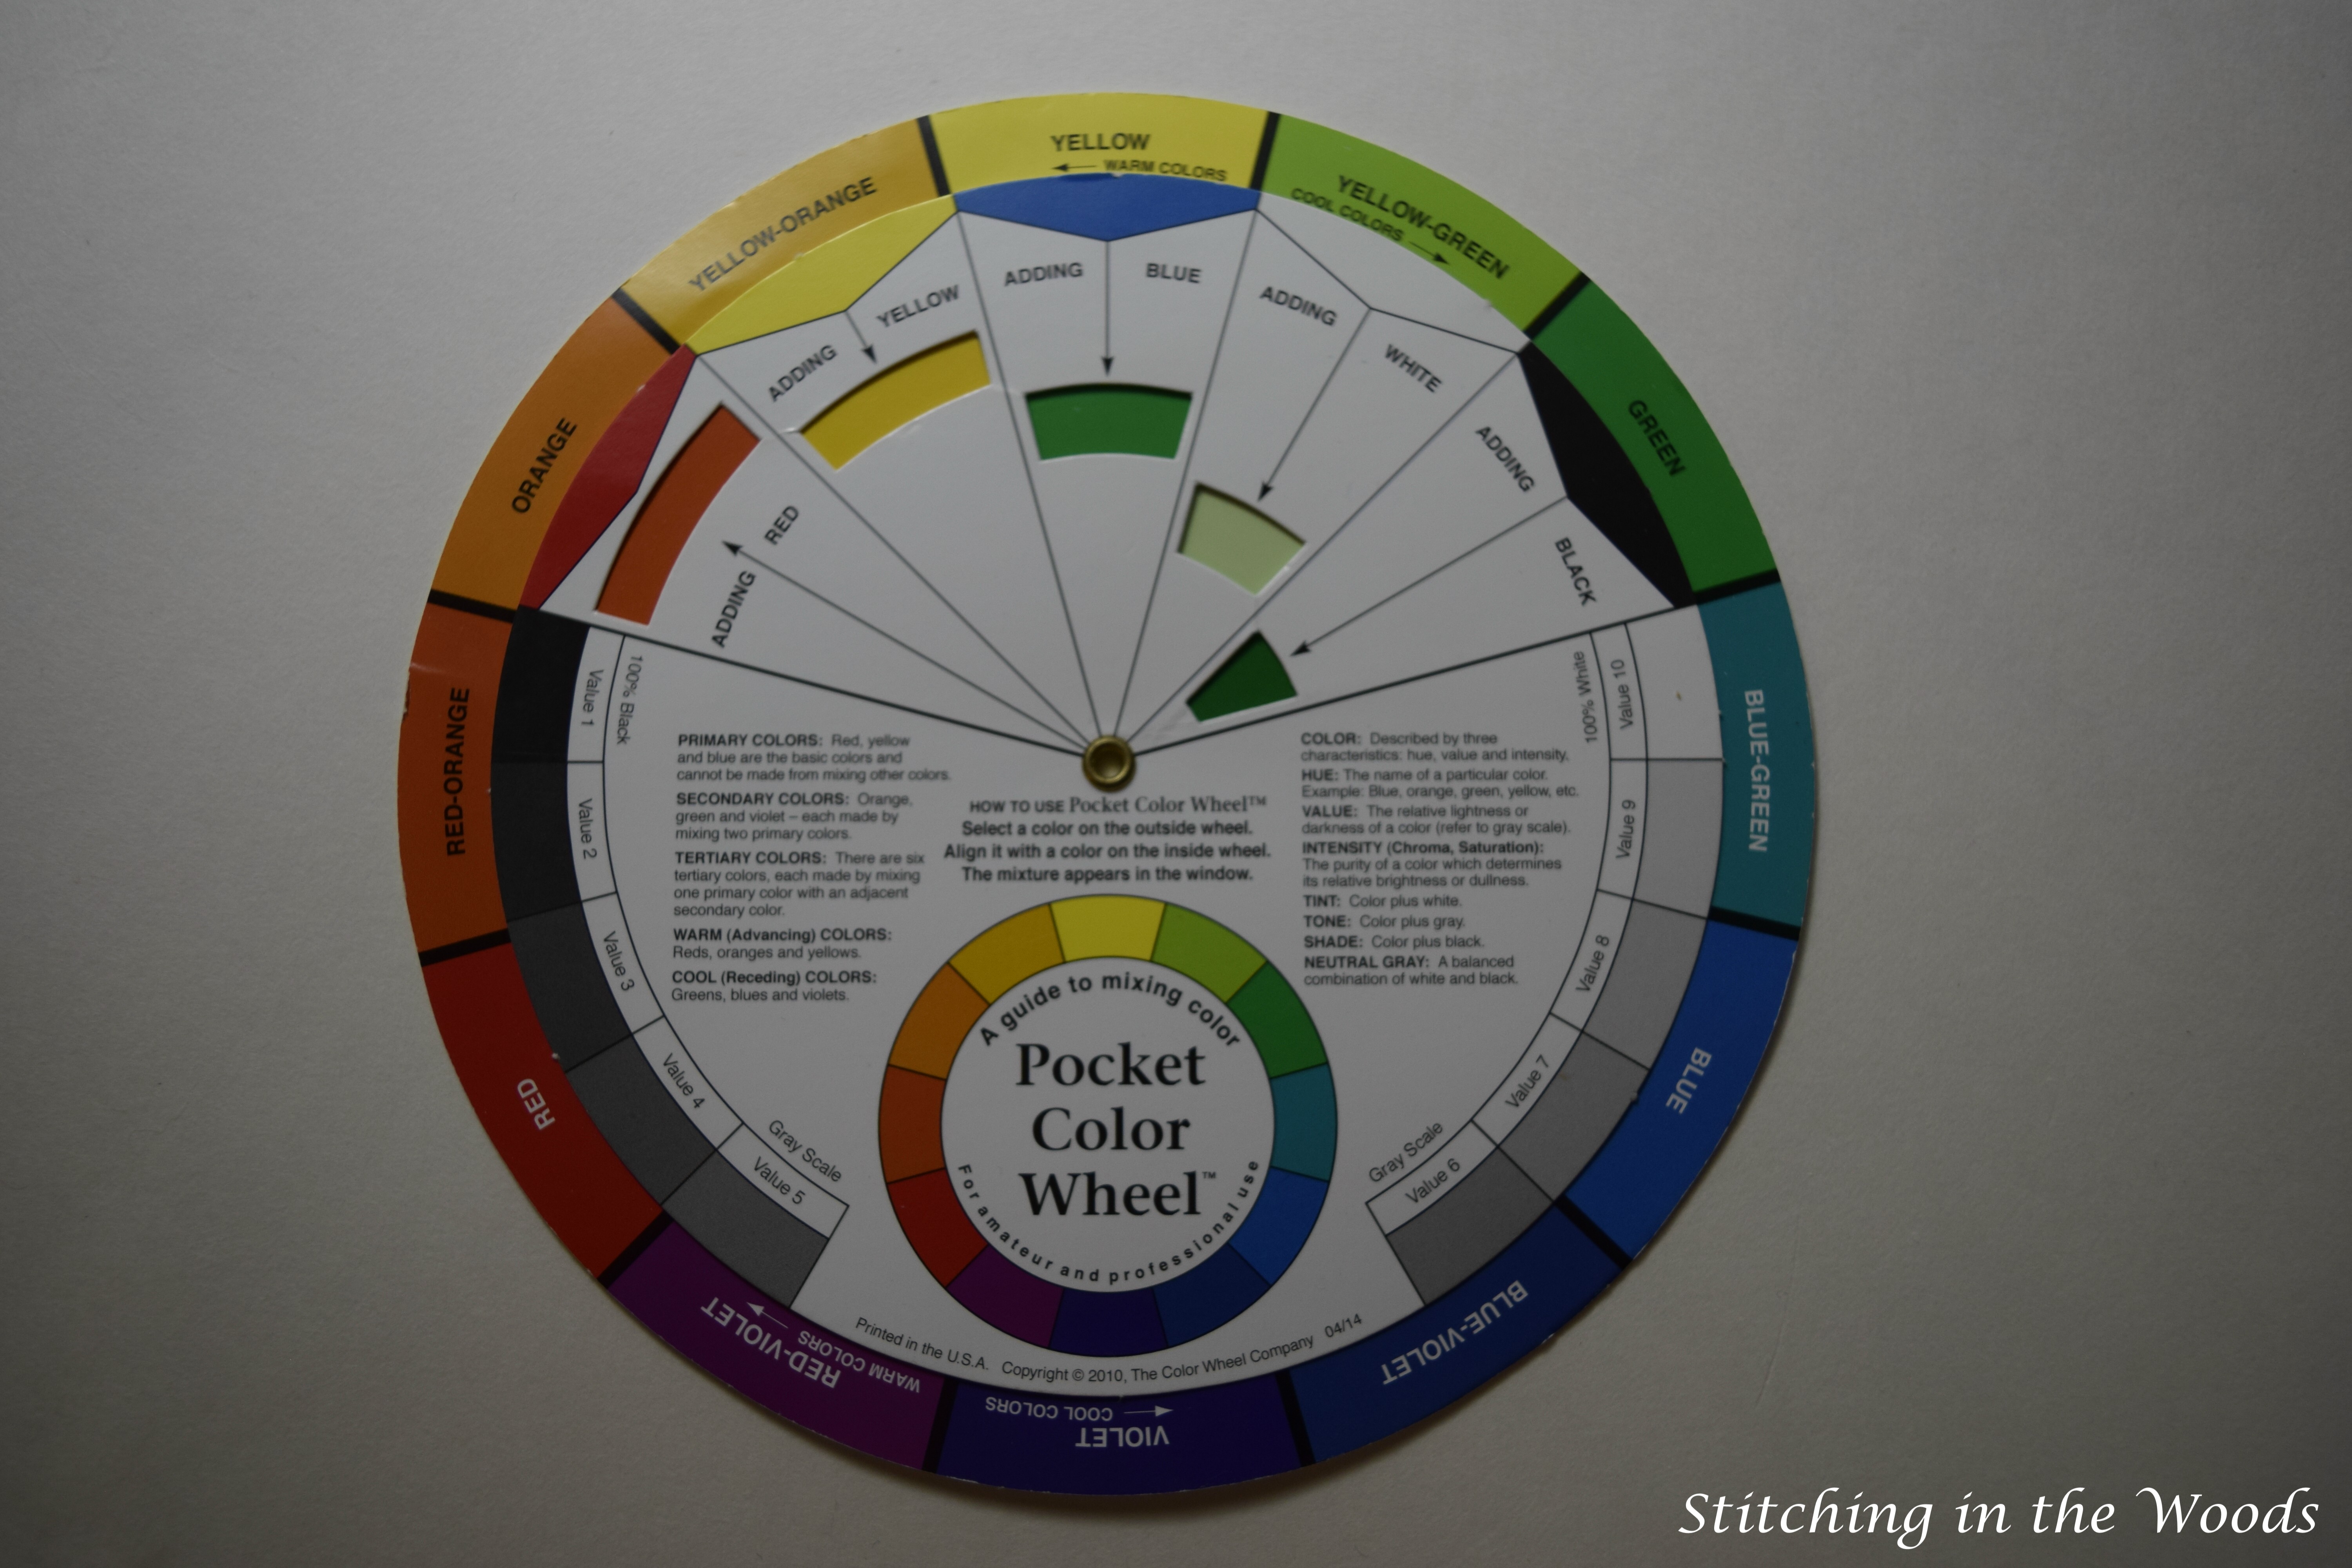
(Buy the same color wheel here) (affiliate link)
Rainbow
- From red as hot to purple as cold
- Only the one variation if you want a true rainbow
- Can change tints or shades of each color to personalize
- Can leave colors out (like I left green out of my Super Saver rainbow)
Favorite colors
- Pick your favorite colors and use different shades among each color
- Or you can pick 2 or 4 colors that are complementary colors or a tetrad and then pick shades of each needed to fill range

Completely Random
- Pick a random color to represent each range
- This will be easier to do after the materials are picked
- After materials are picked, assign a chosen yarn or fabric to each slot
Conclusion
You should now have a temperature range with which to work as you create your own temperature blanket project. Yay!
If you would like more help or a personalized temperature range, leave a comment or email me. I’ll do my best to help you out.
I have posted Demystifying Temperature Blankets, Part Two in which I discuss how to choose your yarn or fabric.
FREE Temperature Tracker!!!!
Enter your email address and you'll get a completely free, ready to print temperature tracker to use for your project.
8 thoughts on “Demystifying Temperature Blankets, Part One”
So glad I waited now to make one! This is really helpful Margaret, thank you!
Best
Eleanor x
Thank you! I’m glad it’s helpful.
Thank you. I am a beginner crochet and am going to crochet the temperature blanket. It looks like a lot of fun. After reading demystifing temperature blanket I think I can do it. Your information was very helpful. Wish me luck.Vivian
This can be a really nice beginner project because you only work on it a little each day. Hope yours goes well and you do have fun!
Thank you for your comments. I can’t wait to start the blanket and will keep you informed. Again thank you. Vivian
Hi there, I have just moved from Toronto, ON., Canada to Miramichi, NB, Canada. I live in the northern part of NB where it gets very cold, like the other day it was -29 F. It will go to -40 and possibly lower. It was also up in the 90’s when I first moved here in July 2018. I think this will be a great souvenir of my 1st year here. Problem is most charts do not go below 0 degrees. I want to put as much colour as possible here, not just use one colour for 0 to -40. I would you like your opinion on whether to set a temperature guage for 5 degrees separation, 8 degrees separation or 10 degrees. I am using Caron yarn as I have some and it is the only kind available in one store that carries yarn here. I could email order on-line but prefer not to.
Thanks for any help you can assist me with in this crochet endeavour. Also I am using pale pink for sunny dats, pale blue for snow and pale gray for raining days.
Maureen Hardie
If your scale goes (in Fahrenheit) from 90s and up to under -40 and you do 10 degree slots then that would be 13 colors. Depending on the time you spend in each of those lower temps, you can spread those out by 10 degree slots and then the middle ones by less, especially if you add more colors/slots in the middle. A lot of that just comes from watching the weather. I have a Caron Simply Soft blanket that uses 22 colors plus 2 others for border colors.
Let me know if that doesn’t help!
Margaret
The Caron blanket write-up and scale: https://stitchinginthewoods.mclarenfamilycrafts.com/2016/02/06/anniversary-temperature-blanket/