
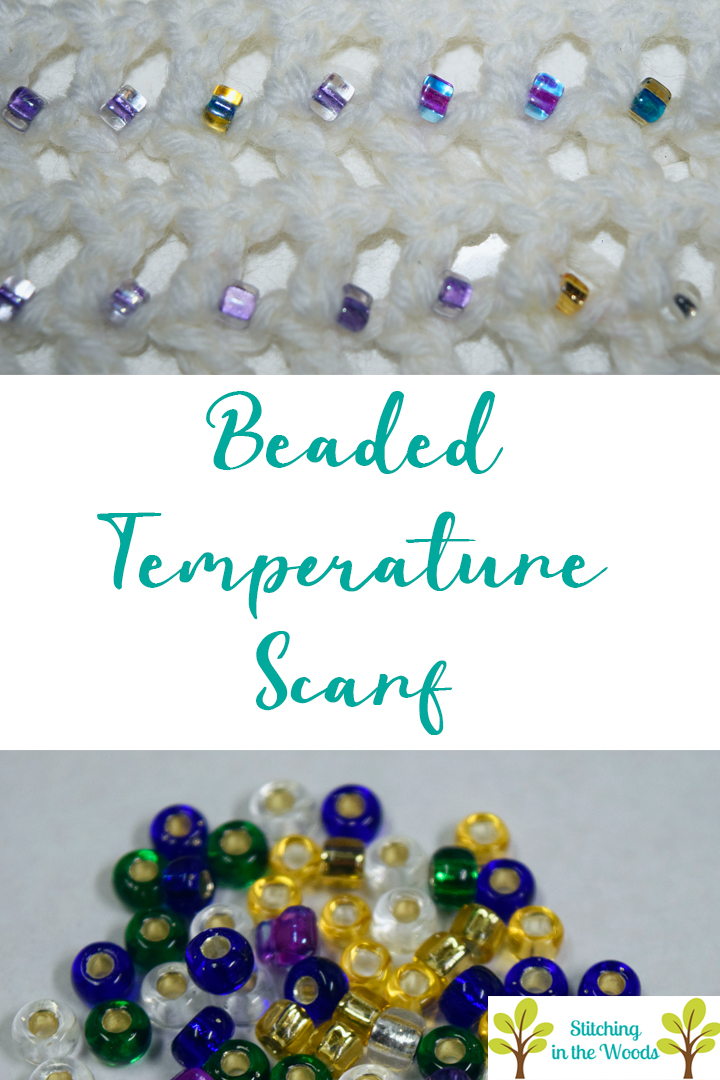
If you’ve been working on your temperature project since January then you may be getting a little tired of your project. Congrats if you’re not, but it’s okay if you are! It’s pretty normal for me. If you want a quick project to reinvigorate you, then look no further than this pattern, my Beaded Temperature Scarf.
I made up this pattern as a quick win, either for those working on another temperature project or for those wanting a smaller project. It’s a nice project to work on in the warm summer months. Also, when you’re finished you’ll have a neat accessory to wear.
If you need some help learning to bead, check out the tips and resources in my blog post here first.
Notes:
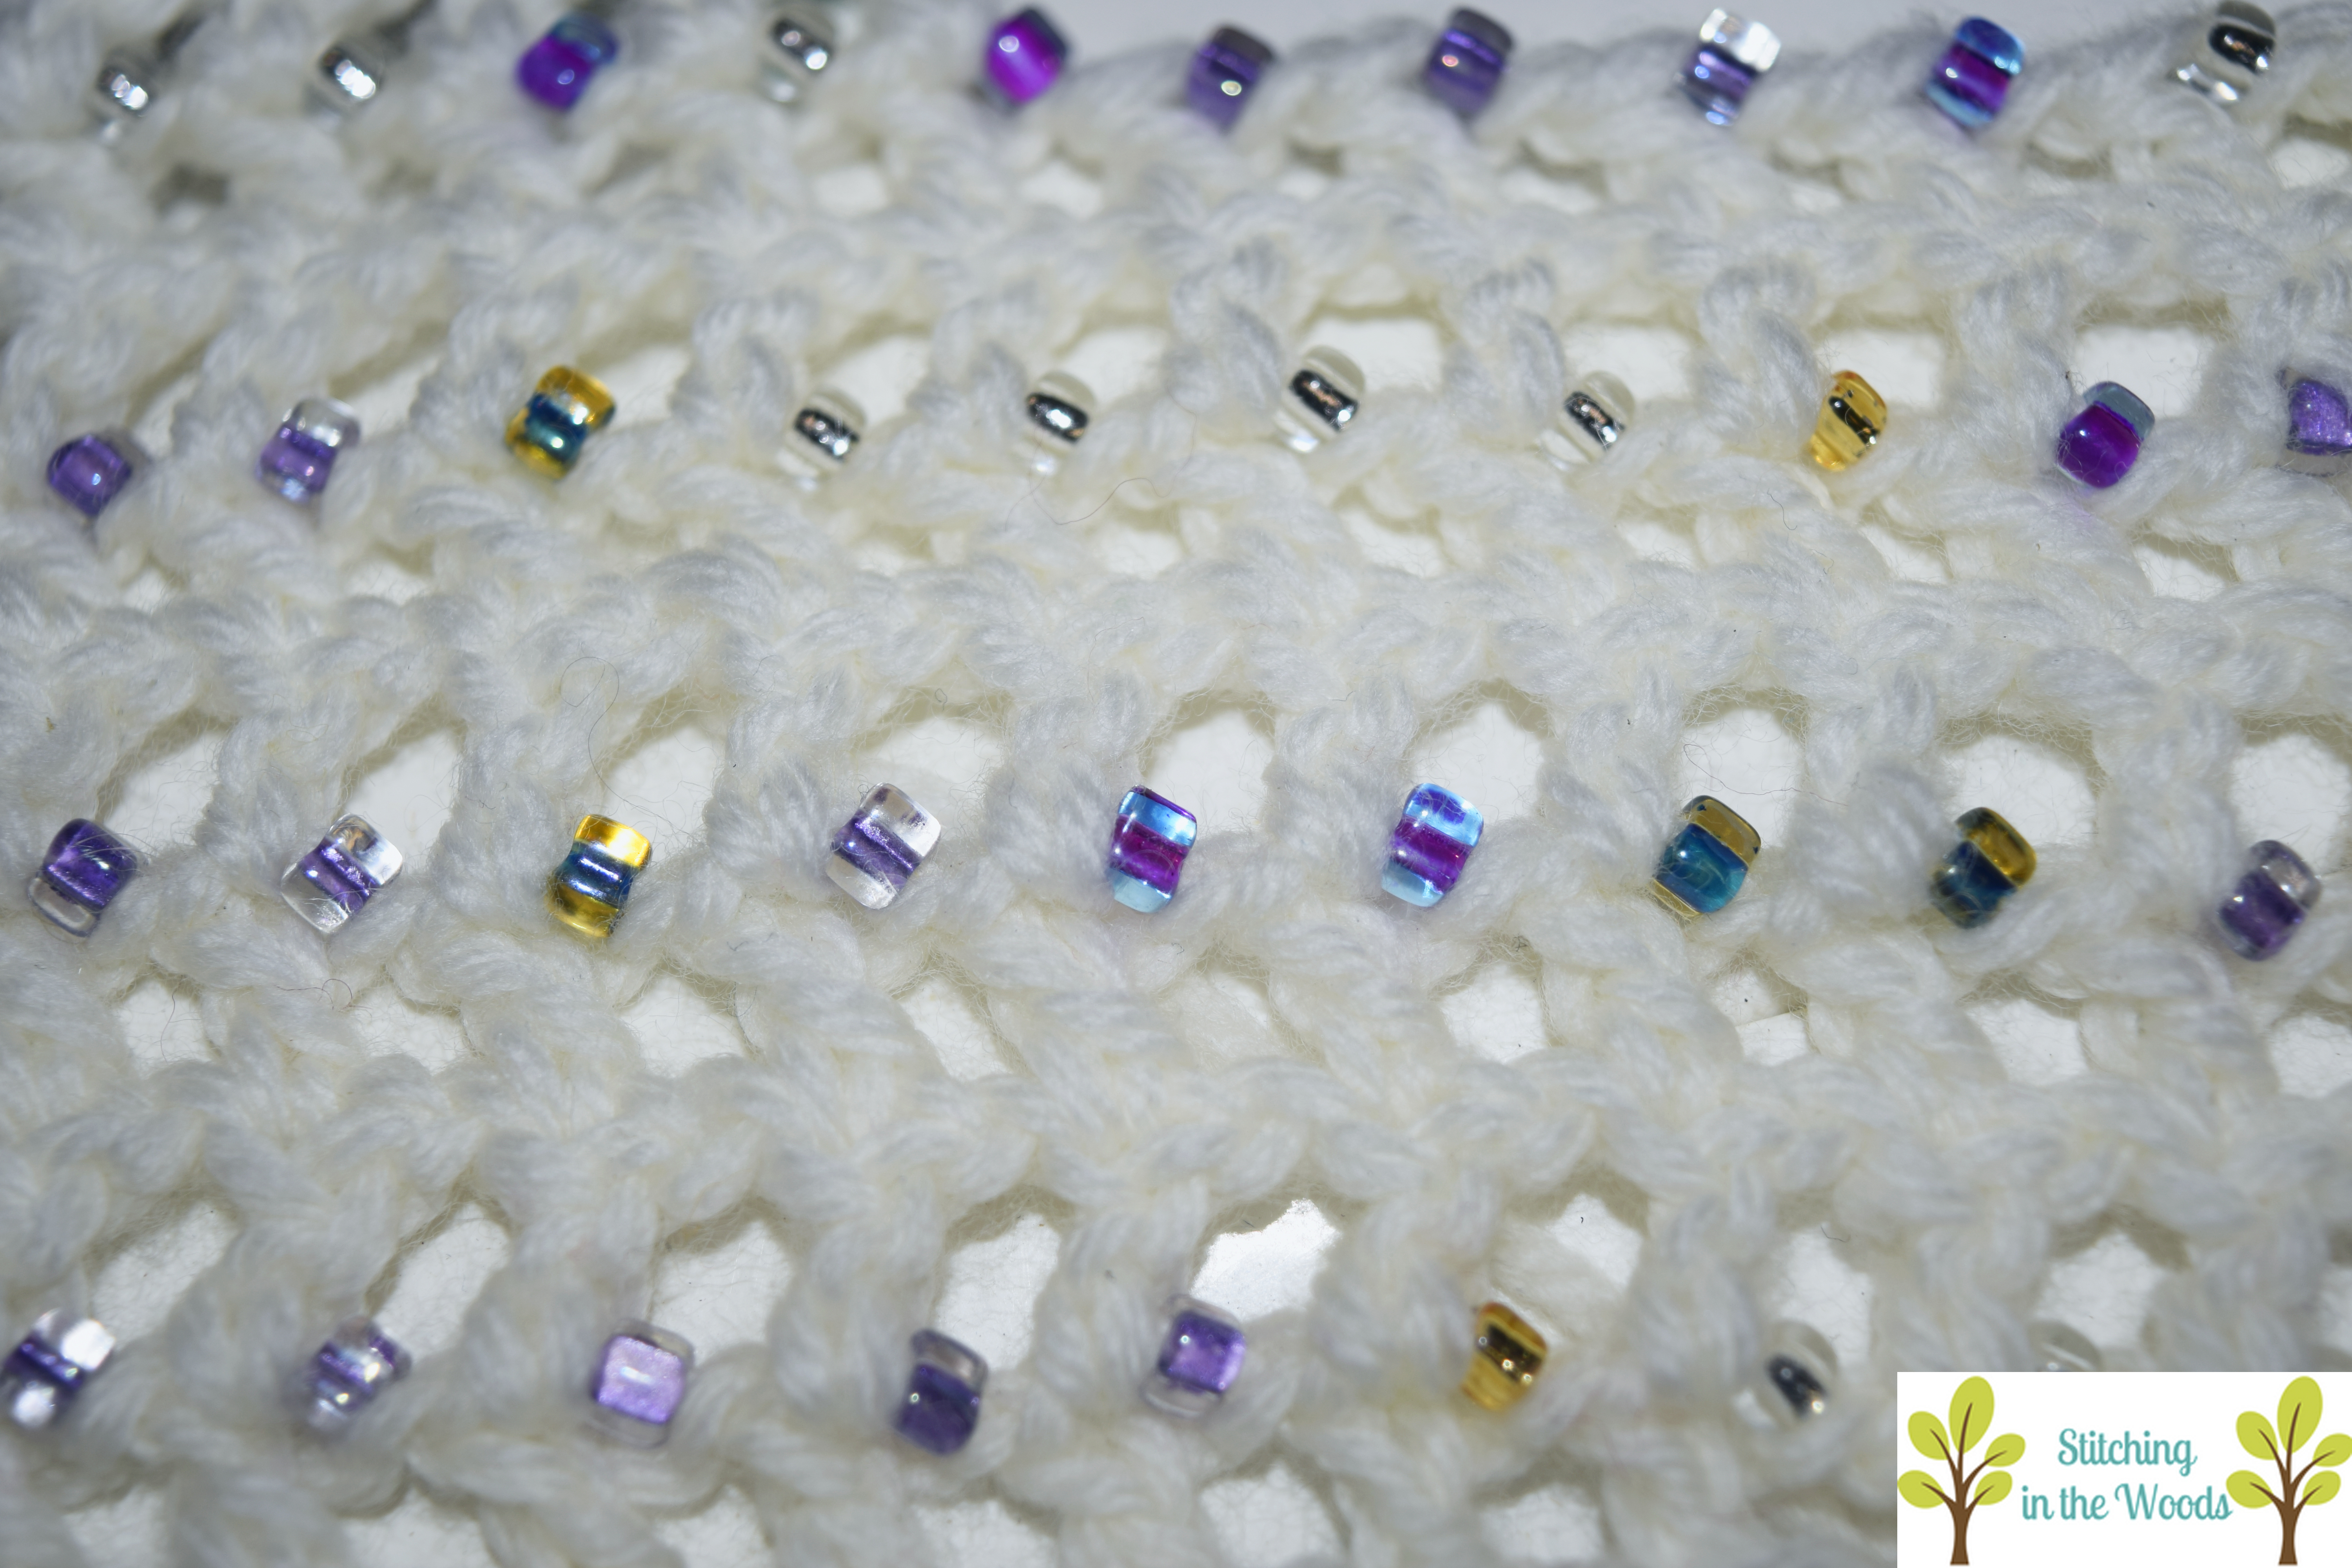
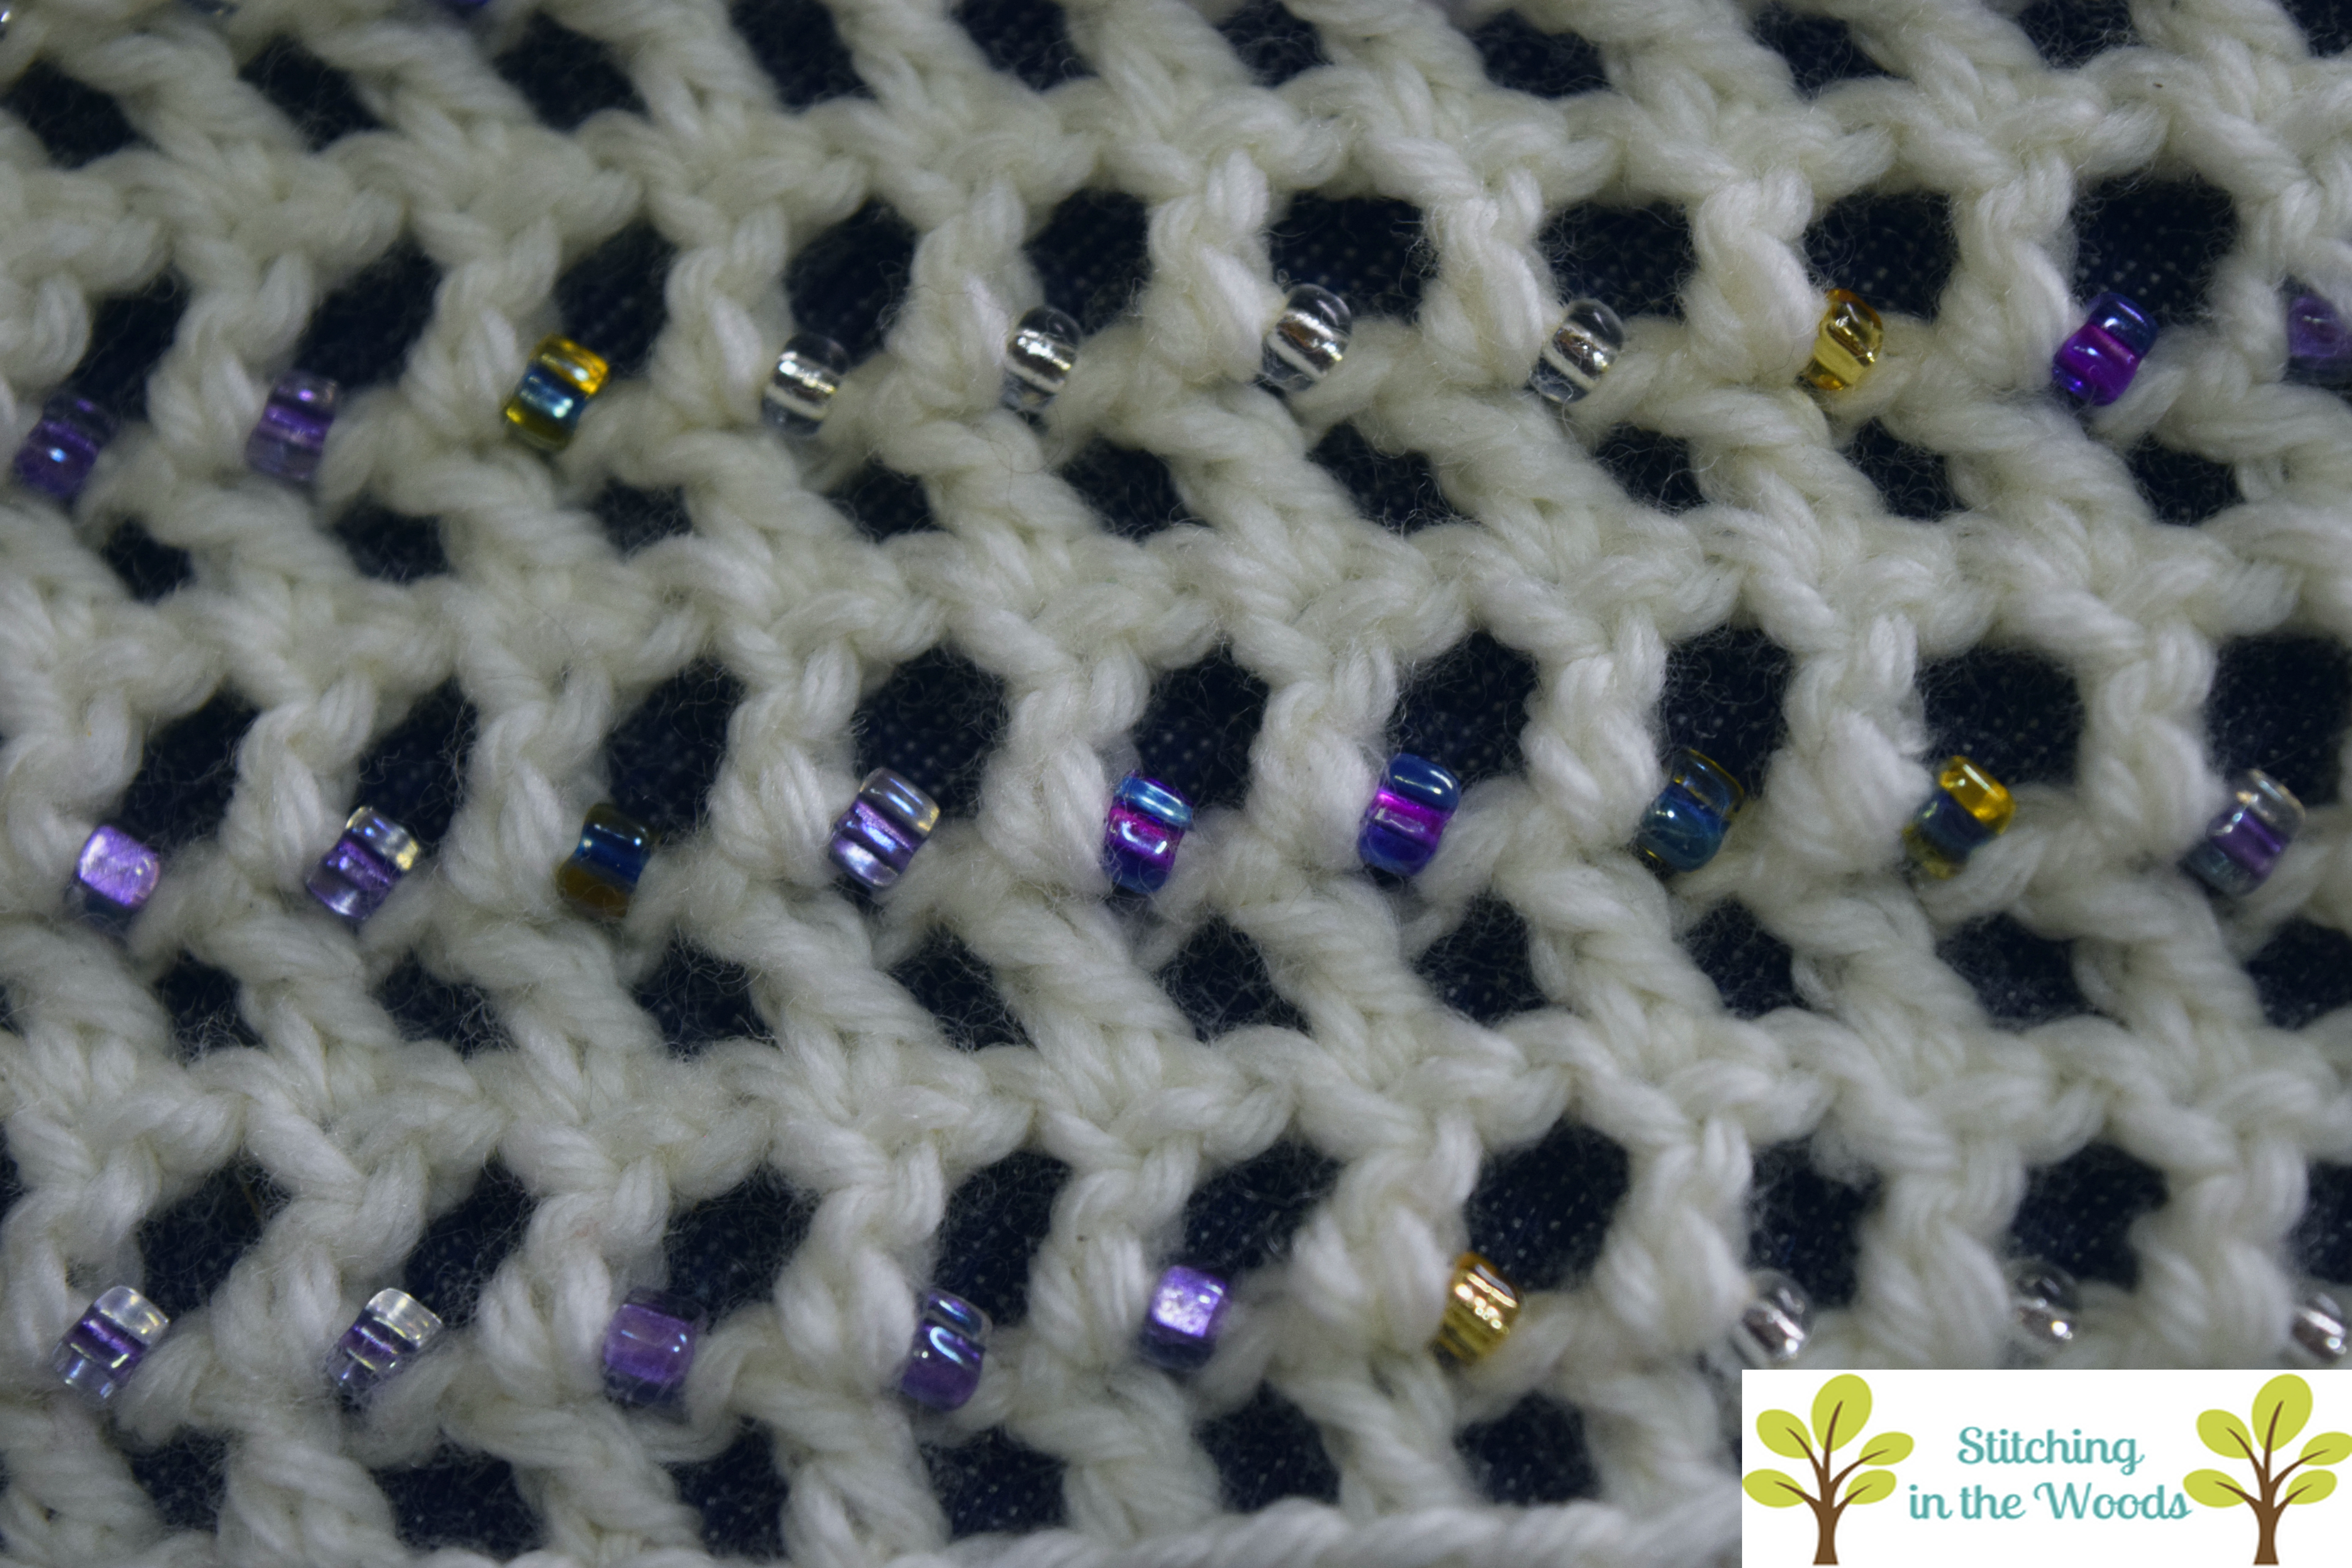
The temperatures for my scarf run from January through December, minus 2 days. I did NOT put any divisions between months. There are 14 beads in each row and beads in every other row if you want to tweak your project some.
The scarf comes out to be 26″ long at a year. If you would like your scarf longer, each 2 weeks you add will add 1″.
I used white for my project. If you use another color, make sure it doesn’t drown out your beads.
My beads were bought from Fire Mountain Gems and I have included the links to the exact ones I used. I used 8 colors, but you can use as many or as few colors as you want.
The chain 4 counts as a dc, ch 1 throughout
Temperature Scale:
91 and up: Blue triangle
81 to 90: Blue round
71 to 80: Green round
61 to 70: Gold seeds
51 to 60: Clear round
41 to 50: Blue & purple triangle
31 to 40: Lilac triangle
30 and below: Amber & blue triangle

Beaded Temperature Scarf
Supplies
Hooks: Clover Amour F hook (affiliate link)
Steel crochet hook that fits through your beads, I used a size 12 Boye (affiliate link)
Yarn: Knit Picks Swish DK in White (2 balls) (affiliate link)
Beads : Detailed above
Gauge
Not really important
1 row = 1/2″
Finished project will be 26″ or your pick
Pattern
Row 1: Ch 32, put first bead (month 1, day 1) on the last loop with the smaller hook. Dc in the 6th ch from the hook. *Ch 1, put bead (month 1, day 2) on the loop, sk 1 ch, dc in next ch* Repeat from * to * to the end of the row, turn. (14 beads, 15 dc)
Row 2: Ch 4, sk ch 1 sp, dc in next dc, *ch 1, dc in next dc* repeat from * to * across to the end of the row, working last stitch into 4th ch of beg of Row 1, turn. (15 dc, 14 ch 1 spaces)
Row 3: Ch 4, add bead, sk ch 1 sp, dc in next dc, *ch 1, add bead, dc in next dc* repeat from * to * across to the end of the row, working last stitch into the 3rd chain of the previous row, turn. (14 beads, 15 dc)
Row 4: Ch 4, sk ch 1 sp, dc in next dc, *ch 1, dc in next dc* repeat from * to * across to the end of the row, working last stitch into the 3rd chain of the previous row, turn. (15 dc, 14 ch 1 spaces)
Rows 5-52: Repeat last two rows (3 & 4) 23 more times (or until you get to your desired length)
Finish by weaving in ends.
Enjoy your new scarf!
Make sure to let me know if you make this by tagging me on Instagram with @stitchinginthewoods or #stitchinginthewoods
FREE Temperature Tracker!!!!
Enter your email address and you'll get a completely free, ready to print temperature tracker to use for your project.
