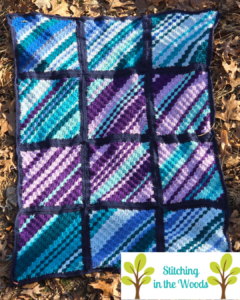
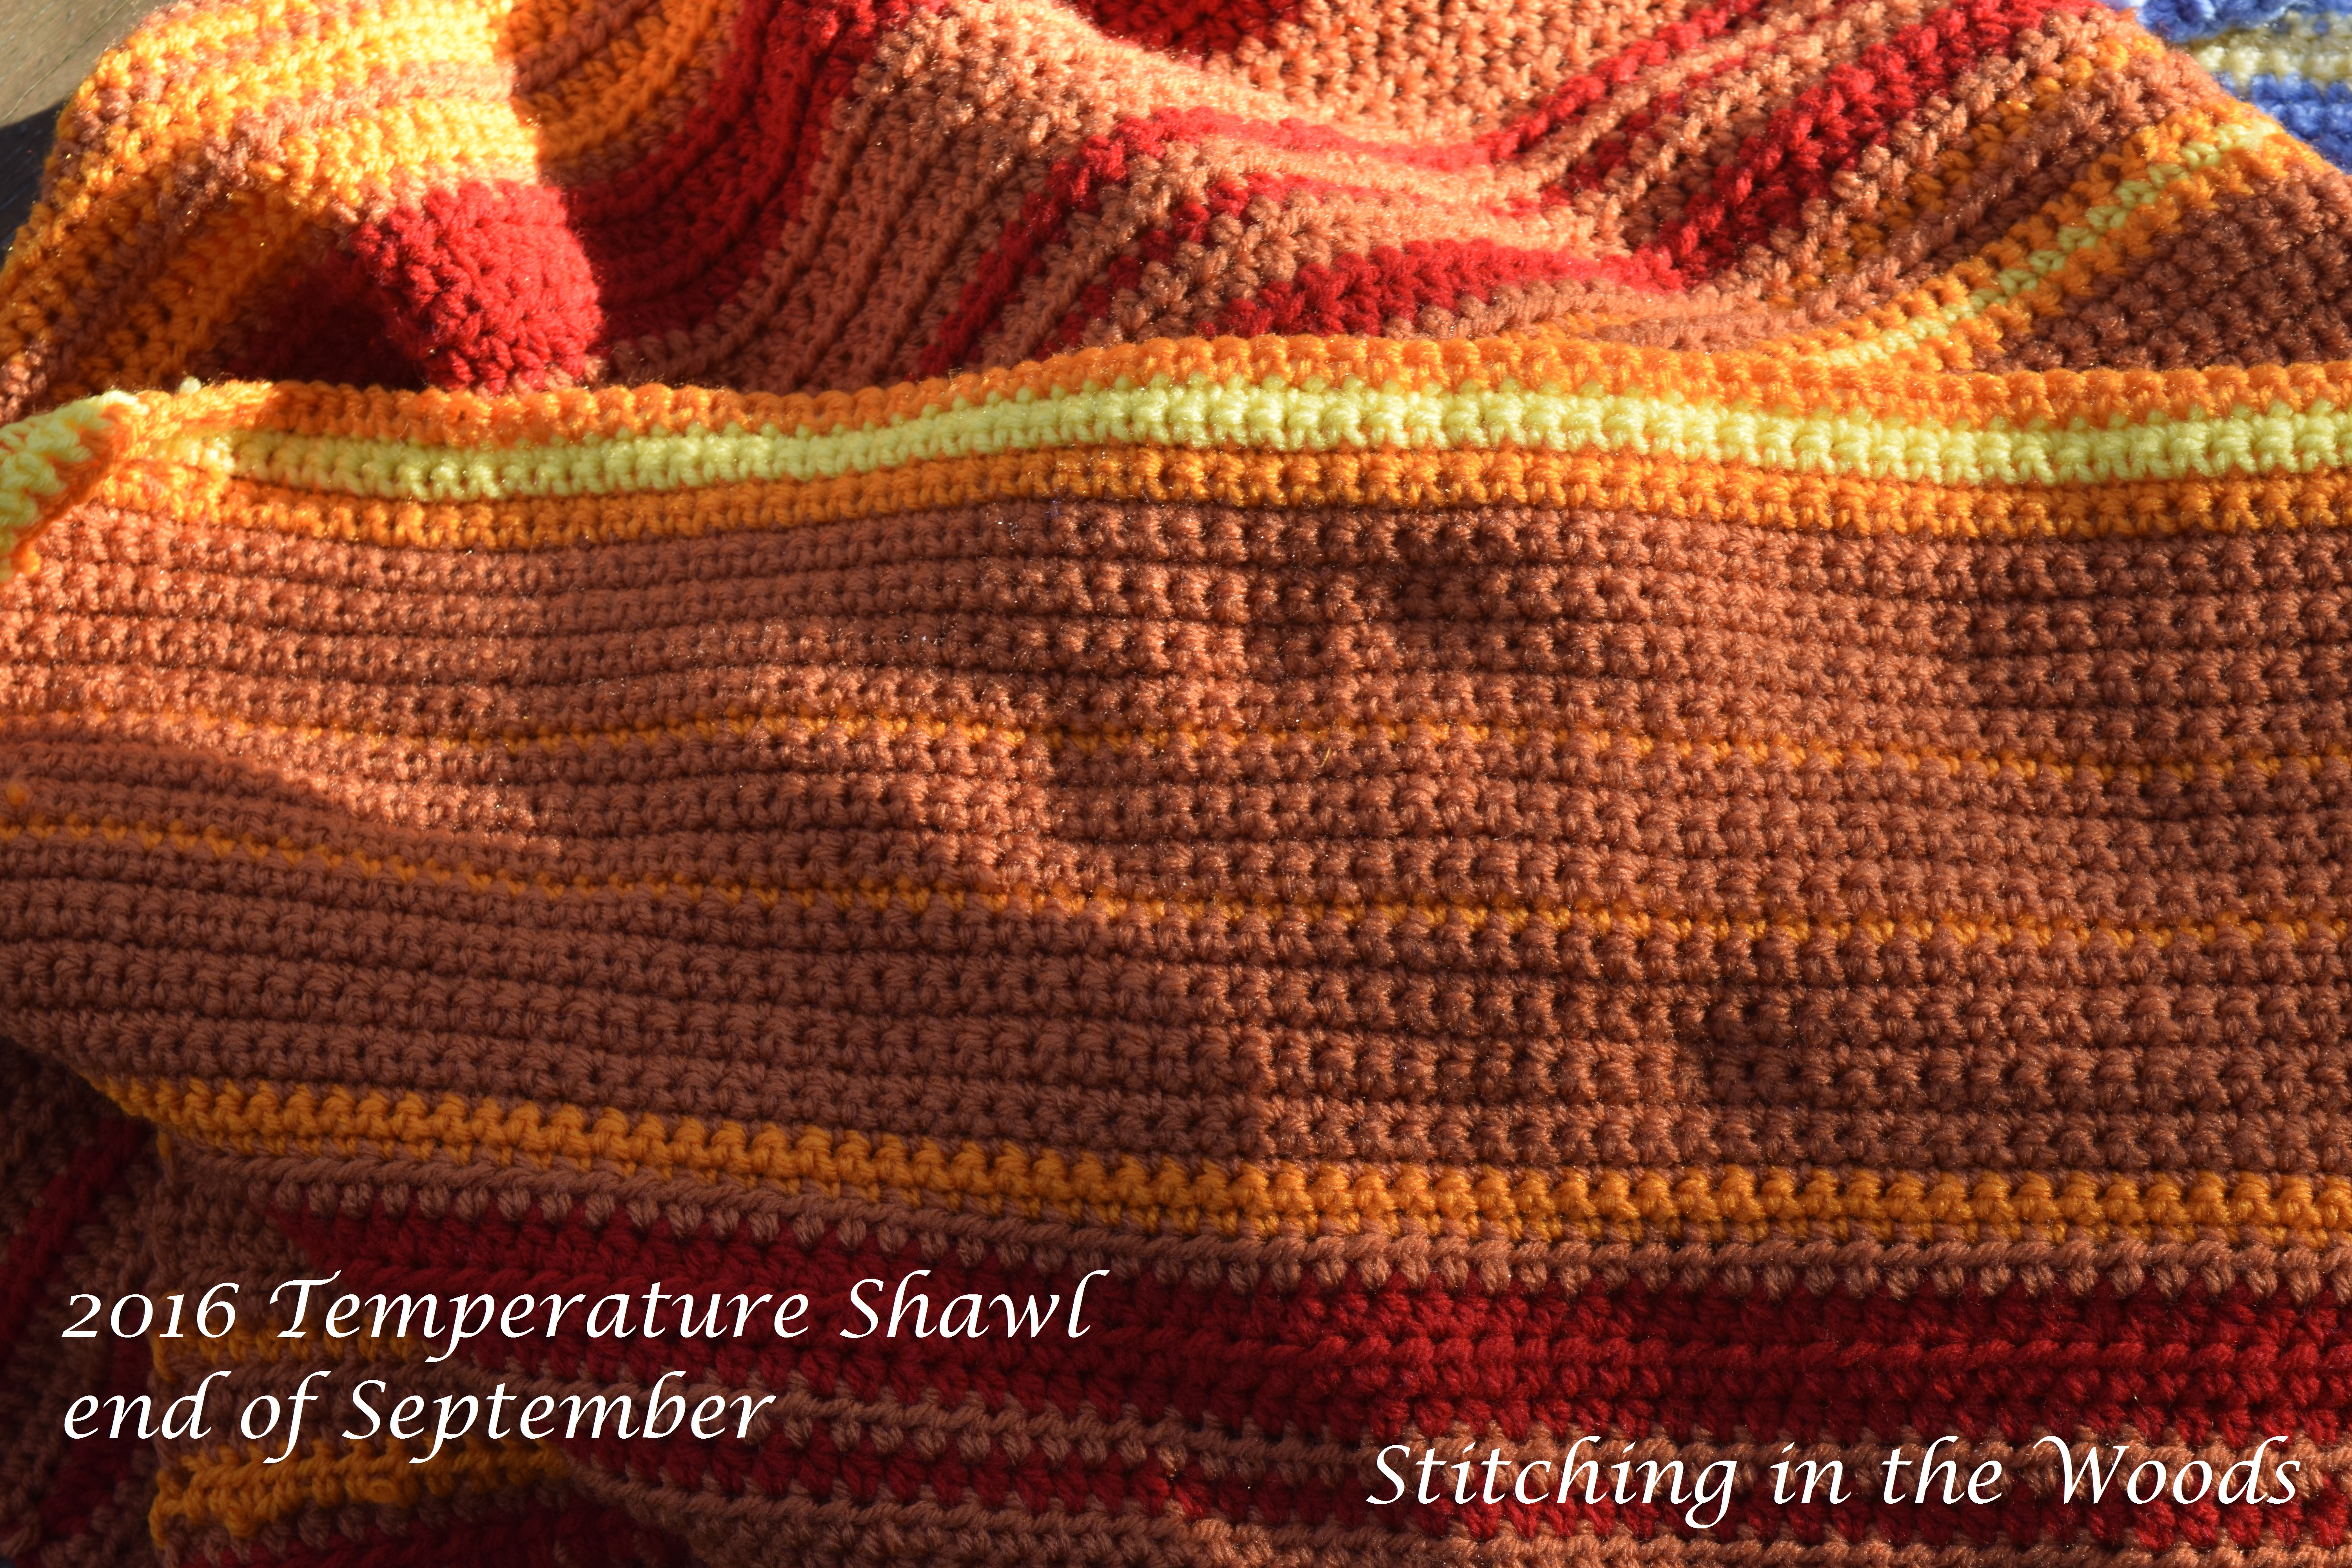
One of the drawbacks of temperature blankets is they can get rather large. This project keeps the blanket a manageable size. As a side benefit, it also works up quickly. It also is very portable since you’re only working one month at a time while doing the main squares.
If at any point you get overwhelmed by any of the planning involved with your temperature blanket, then check out the Start Here page for help.
This pattern is completely free on the website. If you would like a formatted PDF to print, you can buy one on Gumroad or Ravelry.
(Note: There are affiliate links in this post. You can see my affiliate policy here and how affiliate links work here.)
Yarn:
Caron Simply Soft (worsted weight, 6 oz/170.1 g, 315 yds/288 m) Buy on Amazon (affiliate link) Buy at Herrschner’s
Main colors: 1 skein of Orchid, Purple, Robin’s Egg, Blue Mint, Pagoda, Soft Blue, Berry Blue, Royal Blue, Country Blue
Joining and border color: 2 skeins of Dark Country Blue
To see all these colors, you can check out my temperature scale here.
Note: Simply Soft is a worsted weight but it’s on the thinner side. Check the gauge or Yarnsub.com if substituting a different yarn. If you’re afraid of running out, then get 2 skeins each of the main colors and 4 of the joining and border color.
Alternate Yarn:
Knit Picks Brava (worsted weight, 100 g, 218 yds) [affiliate link]
Main colors: 2 balls each of Eggplant, Freesia, Tranquil, Marina, Hunter, Sky, Cornflower, Celestial, Solstice Heather
Joining and border color: 4 balls of Asphalt Heather
Hook & Notions:
Clover Amour H (5.0 mm) hook (or size needed to get gauge) [Amazon affiliate link]
Stitch markers (ideally locking) for the corners. I use Clover locking stitch markers. [Amazon affiliate link]
Gauge:
Each set of 3 double crochet (without the chain 3): .75 in/1.9 cm
Measurements:
Full Corner to Corner (C2C) square without border: 11.5 in/29.21 cm by 11.5 in/29.21 cm
Full C2C square with border: 13 in/33.02 cm by 13/33.02 cm
Whole blanket with single crochet border: 39.5 in/100.33 cm by 53.5 in/135.89 cm
(Centimeter measurements are just conversions of the inches)
Abbreviations
ch = chain
C2C = corner to corner
dc = double crochet
sc = single crochet
st = stitch
sl st = slip stitch
sp = space
yo = yarn over
Special stitch
Last loop color change: change color by picking up the new color as you’re working the last yarn over of a stitch, which would be the 3rd yarn over in a double crochet stitch.
Notes
- For the month C2C square, “across” means up the diagonal with each set of double crochets being in the chain 3 of the previous row’s blocks.
- If you keep up with weaving in the ends and joining the squares, you’ll have less to do to finish the blanket at the end of the year. Don’t weave in the ends from joining the motifs together at first. This makes it easier on you if you realize you joined the months wrong like I did.
- Be careful if you’re working several days at once. You can get into a rhythm doing your squares and end up going faster. Doing so can tighten your gauge or cause you to miss pattern changes like starting the decreases.
- Leave the stitch markers in the corners of the squares until you’re done with joining and the border. The inside corners can be taken out once you’re done joining the squares and there are 4 corners meeting. The outside corners can be left until you’re done with putting the start of the border on the blanket. Taking the markers out right before you work the stitches makes working into those stitches easier.
Instructions
Month C2C square
Row 1: Ch 6, dc in 4th ch from the hook & in the next 2 ch, turn. (1 square)
Row 2: Ch 6, dc in 4th ch from the hook & in the next 2 ch, (sl st, ch 3, 3 dc) in ch 3 sp of row 1, turn. (2 squares)
Row 3: Ch 6, dc in 4th ch from the hook & in the next 2 ch, (sl st, ch 3, 3 dc) twice, turn. (3 squares)
Rows 4-15: Ch 6, dc in the 4th ch from the hook & in the next 2 ch; (sl st, ch 3, 3 dc) across to the last block (sl st, ch 3, 3 dc) in the last ch 3 sp (change color to next rows’ color if needed using the last loop color change (see special stich); turn. (15 squares at the end of row 15)
Row 16: Do like rows 4-15 but don’t change the color at the end of the row, turn. (16 squares)
Row 17 (and following decreasing rows): Sl st across the first 3 dc; if changing color do so now by sl st into space left by ch st, (sl st, ch 3, 3 dc) across to block before last, sl st in last block’s space left by ch st, turn. (15 squares at end of row 17, 2 squares at end of row 30)
Row 31: Sl st across the 3 dc, if changing color do so now. Sl st, ch 3, 3 dc; sl st to previous row, fasten off. (1 square)
Outside rounds
Round 1: Starting in the top right corner, when day one is in the top left corner, join 1 sc just to the left of the corner, (3 sc in the side or top of each C2C across, 3 sc in the corner, marking the center corner st with a stitch marker.) 3 times. Sl st to beginning sc.
Round 2: Ch 2 (counts as last stich in 3 dc in the corner stitches), (dc in next sc and in each sc across, 3 dc in each corner st, moving stitch marker to middle of the 3 dc corner stitches) 3 times. Sl st to beginning sc, fasten off.
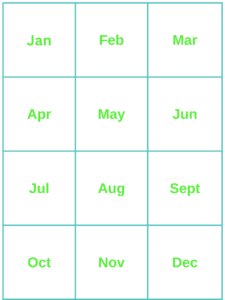
Joining months
Use the mattress stitch or your preferred joining method to join 2 months at a time, following the diagram below to create a strip of 3 months. As you finish each following strip, join it to the previous strip of 3 months. This joining method allows you to join as you go through the year.
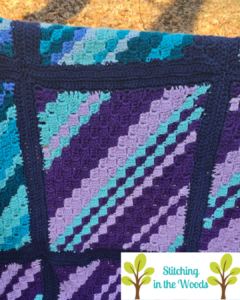
Border
Put the border of your choice on the blanket. I like to pick borders that can incorporate my temperature scale from this book: Around the Corner Crochet Borders by Edie Eckman (ISBN 978-1-60342-538-4). [Amazon affiliate link]
If you share your project on Instagram or Facebook, please tag me so I can enjoy your work. My username is stitchinginthewoods in both places.
FREE Temperature Tracker!!!!
Enter your email address and you'll get a completely free, ready to print temperature tracker to use for your project.