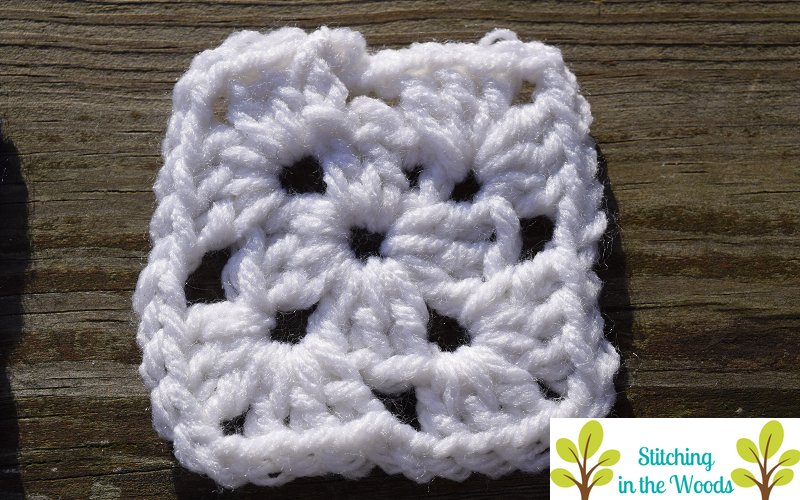
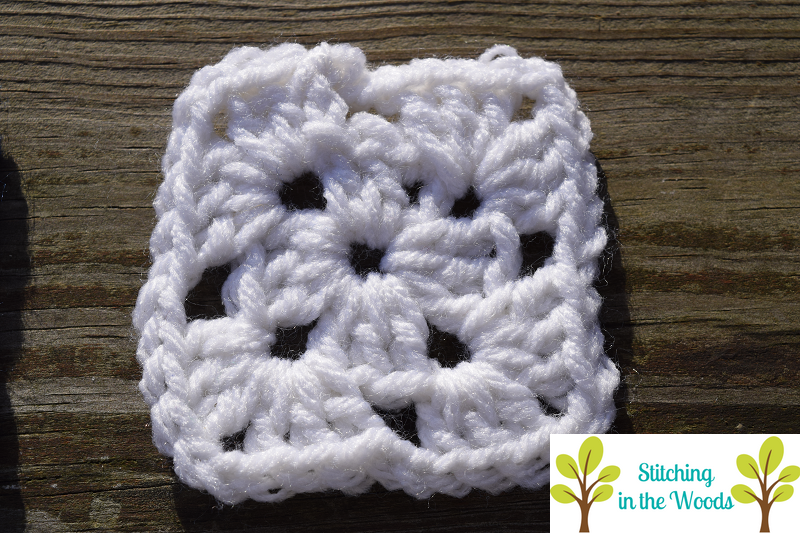
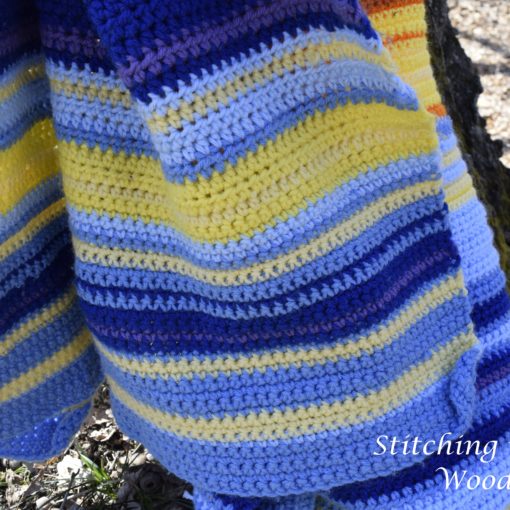
For 2019 I decided to take on making a granny square temperature blanket again. I wasn’t completely happy with the way my 2017 square looked because it didn’t look enough like a granny square to me. Due to this, I wanted to adjust it some so it looked a bit more like a traditional granny square.
I feel I managed to achieve this with my new pattern. The adjusted square ended up being 3 inches square. If I do the same 20 squares a row I did with the 2017 blanket then I’ll end up with a blanket that’s around 60 inches square. It’ll probably end up being a bit bigger due to borders and joining.

Yarn
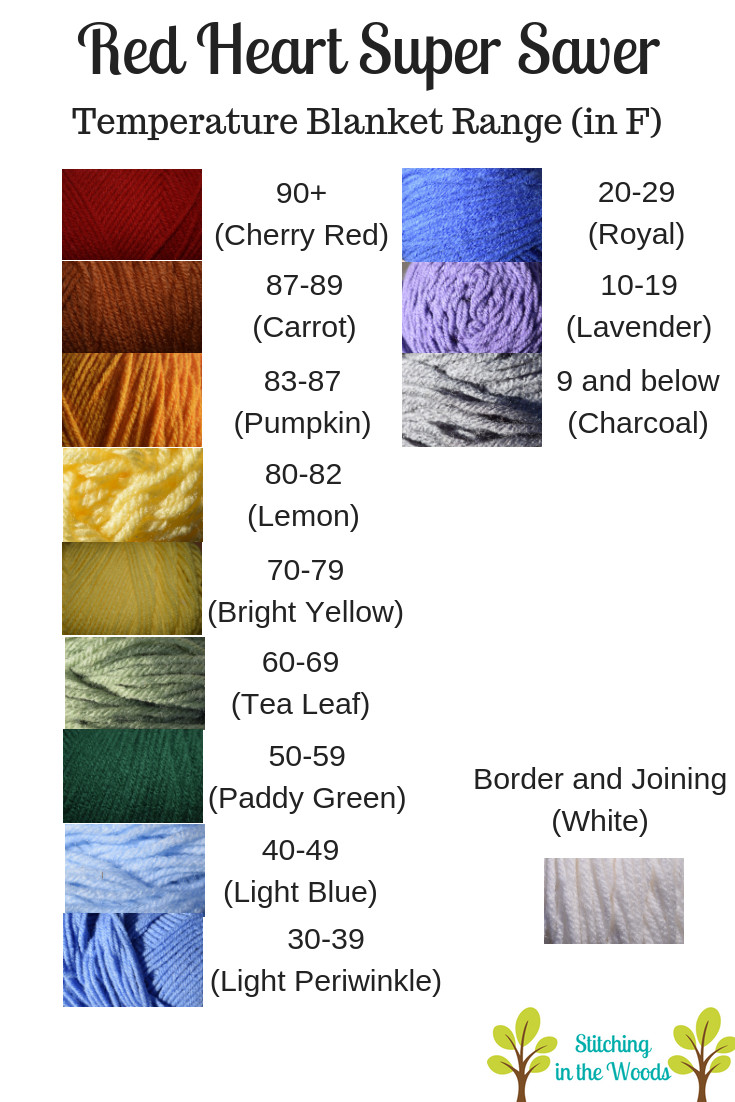
The yarn I’m using for this blanket is the same as my 2017 blanket. I like the color choices, so to me there’s no reason to fix something that’s not broken. I’m still including the color scheme, though. It’s the same as the 2017 blanket, but I’m updating the graphic for this post.
Granny Square Temperature Blanket Pattern
Hook: H
Yarn: Red Heart Super Saver
Special Squares
To get to the right number of squares needed to make the blanket square you need more than the 365 (366 in a leap year) days. This means you need 35 (34 in a leap year) extra squares to fill out your blanket.
Possibilities for these squares:
- Month dividers
- Birthdays
- Anniversaries
- Square(s) to embroider the year
- Special events or holidays
- Season start days
Arrangement
Starting in the top left corner with the January month square (or January 1st depending on what squares you choose to use), put each additional square to the right of the day before, ending with 20 squares in a row.
The 21st square will be under the first square. Do each row of 20 this way. If you need help picturing it, make a chart like I did.
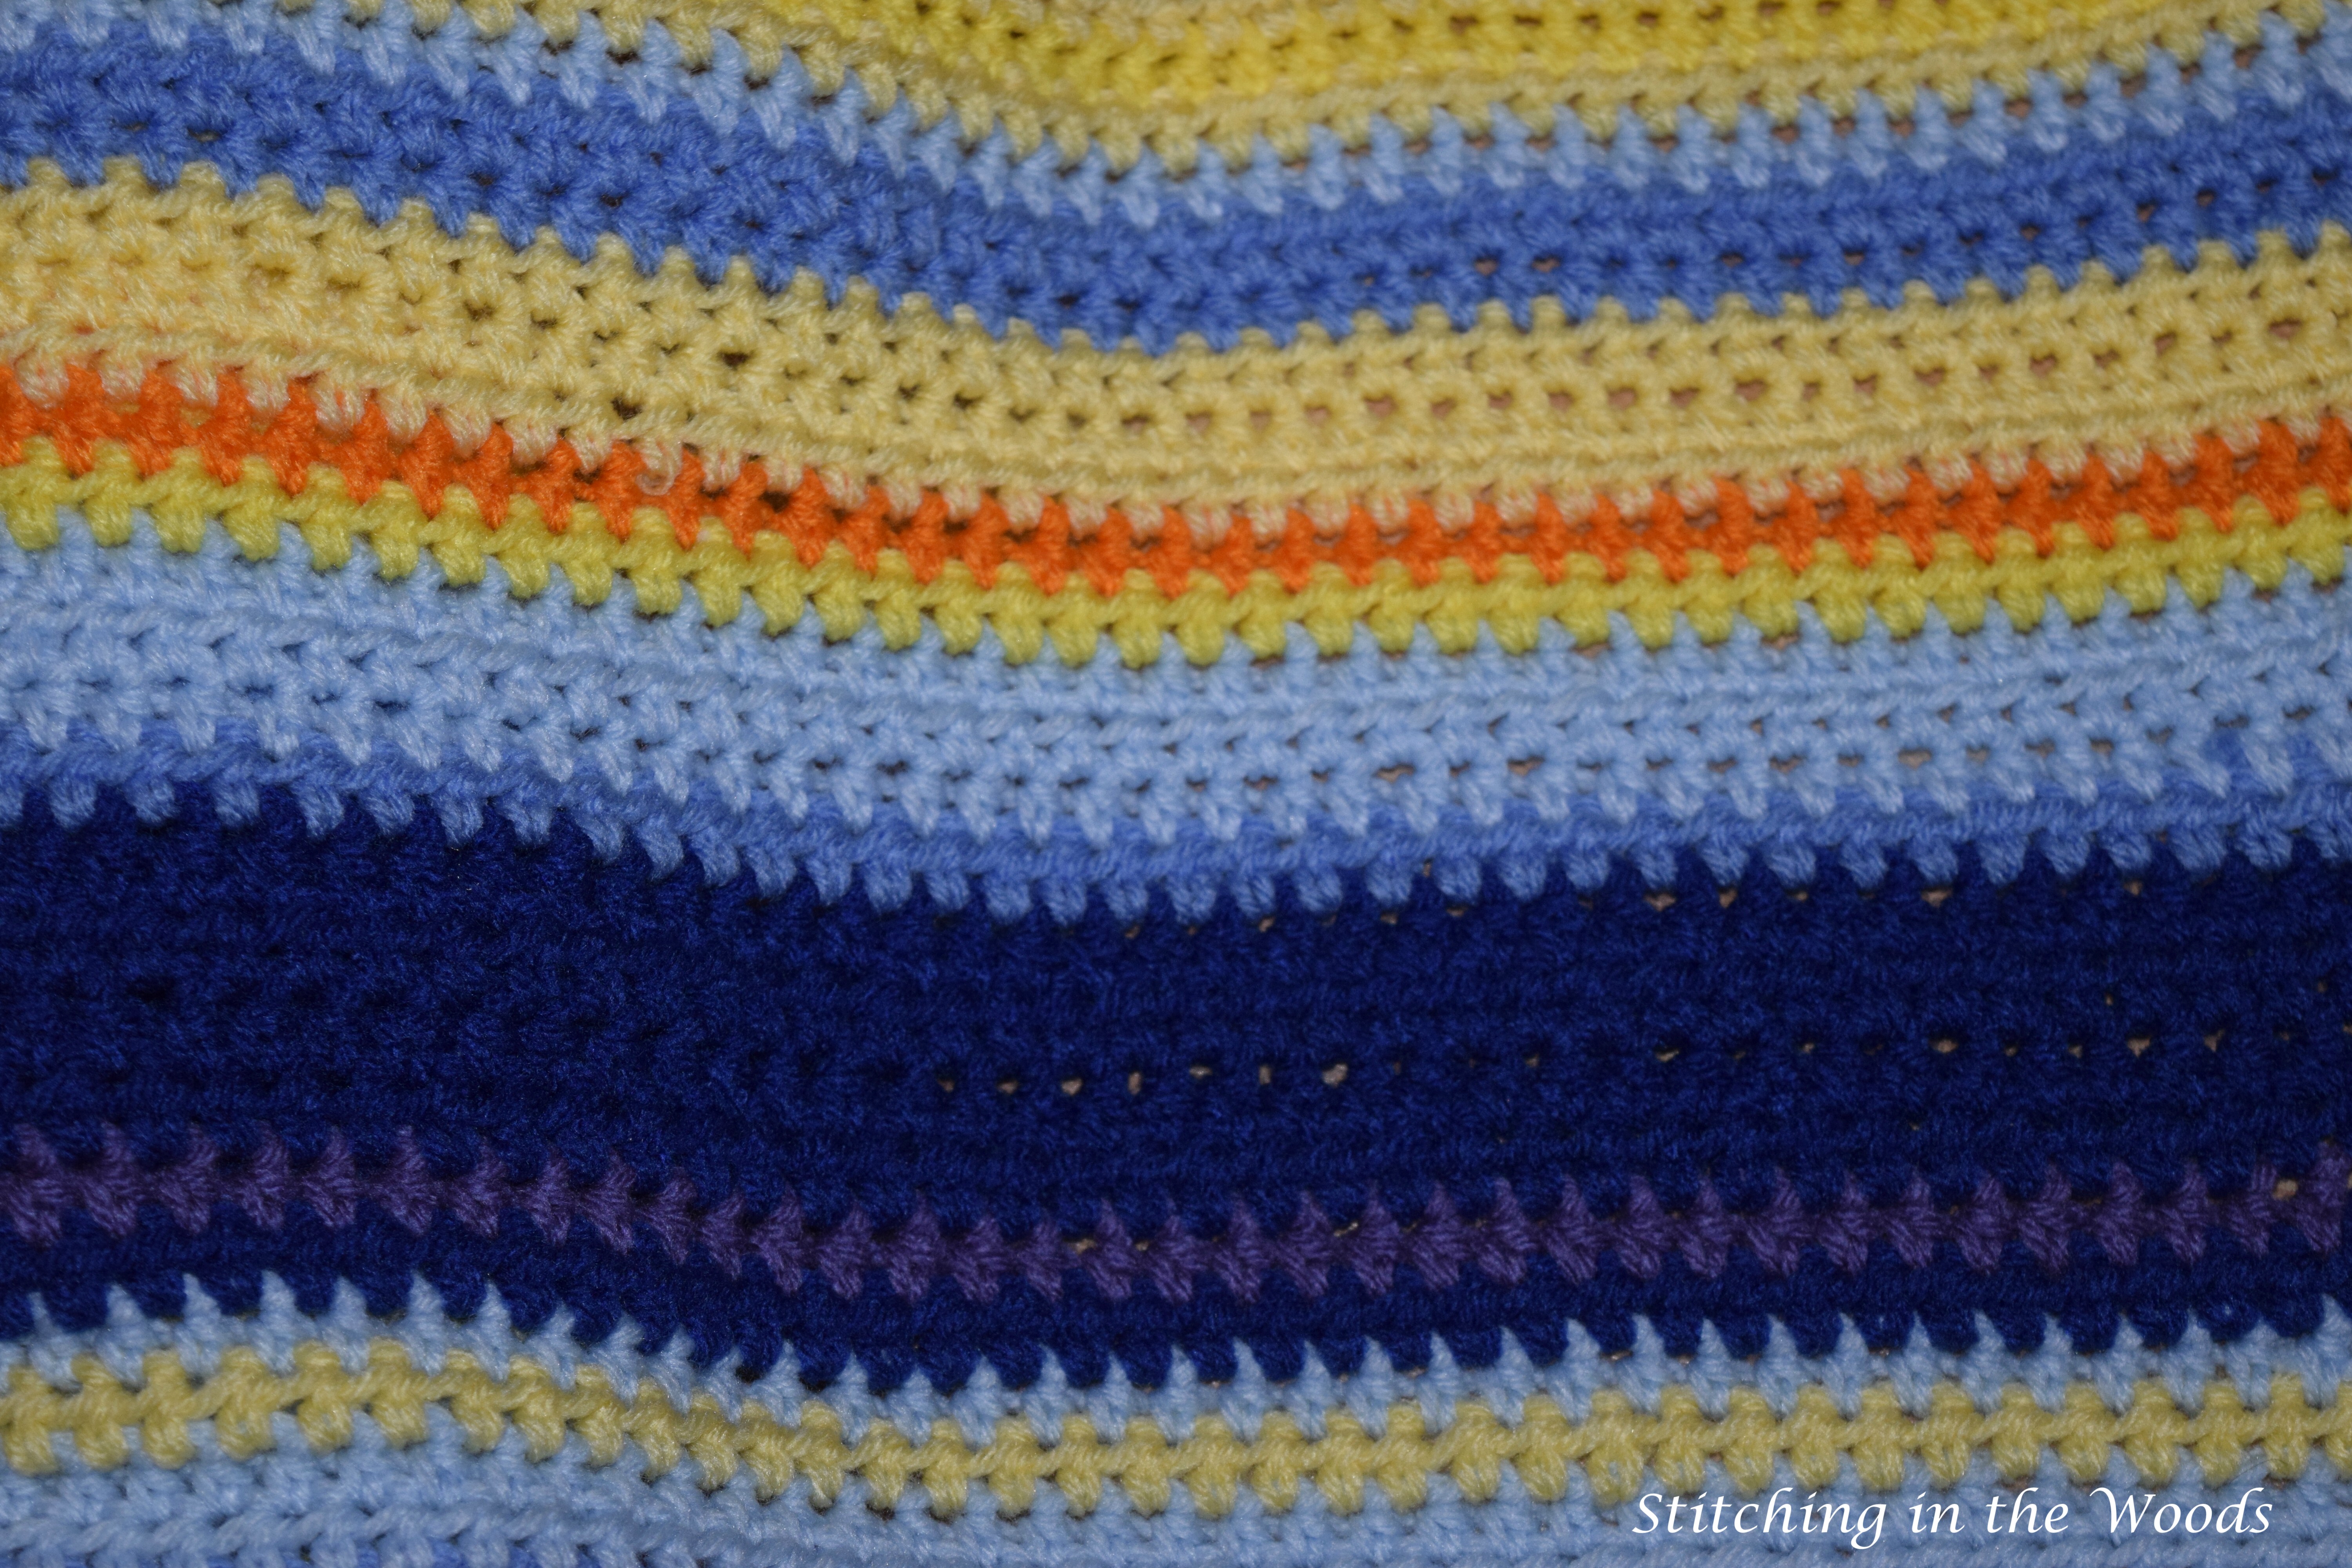
Which color to use
If doing a high/low square, do round 1 in your high or low and round 2 in the other. If you’re only doing a high or a low by itself, then make both rounds the same color. You could also do round 1 in your temperature color and round 2 in a border color. Perhaps that border color could change each month even. If you do special squares those will be different colors, too. The possibilities are endless!
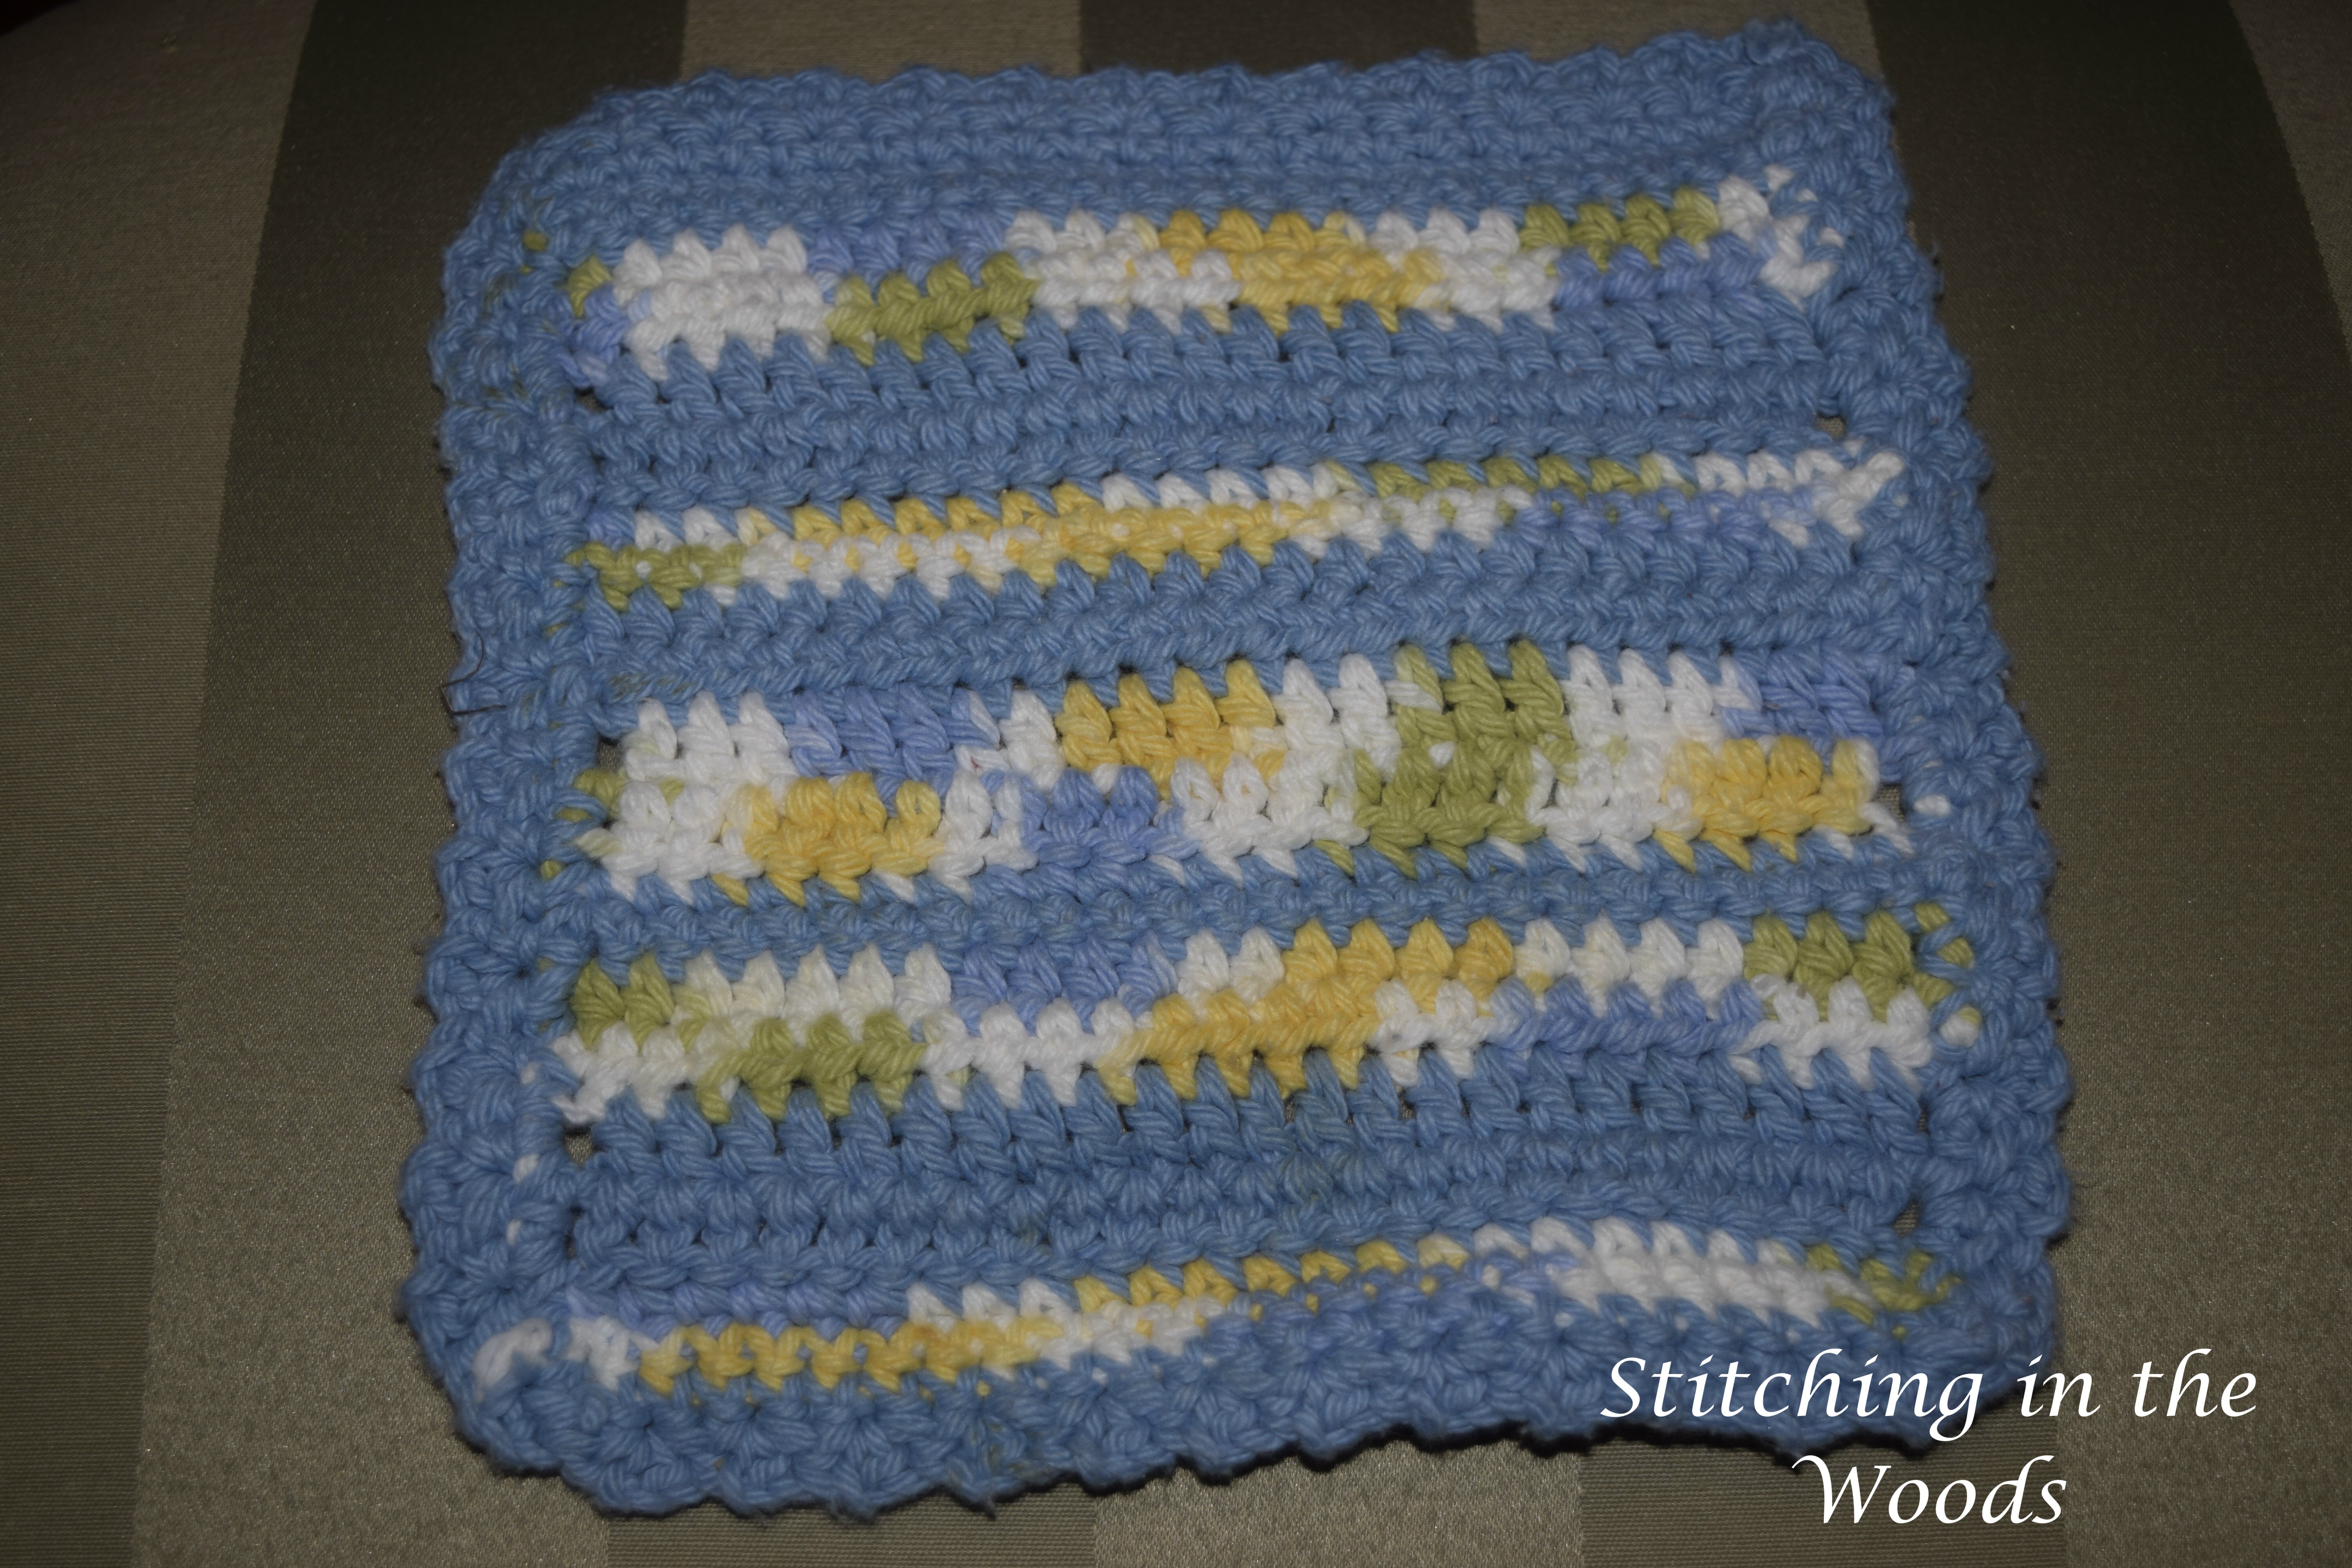
Individual Granny Square Pattern
Foundation: ch 4, sl st in 1st chain to make ring
Round 1: ch 2, 2 dc, [ch 2, 3 dc] 3 times, ch 2, sl st to top of ch 2 (fasten off if doing a different color for round 2)
Round 2: sl st to corner (or join with second color in any corner), ch 2, 2 dc, ch 2, 3 dc (first corner made), ch 2, 3 dc, ch 2, 3 dc (corner) ch 2, repeat twice more, fasten off
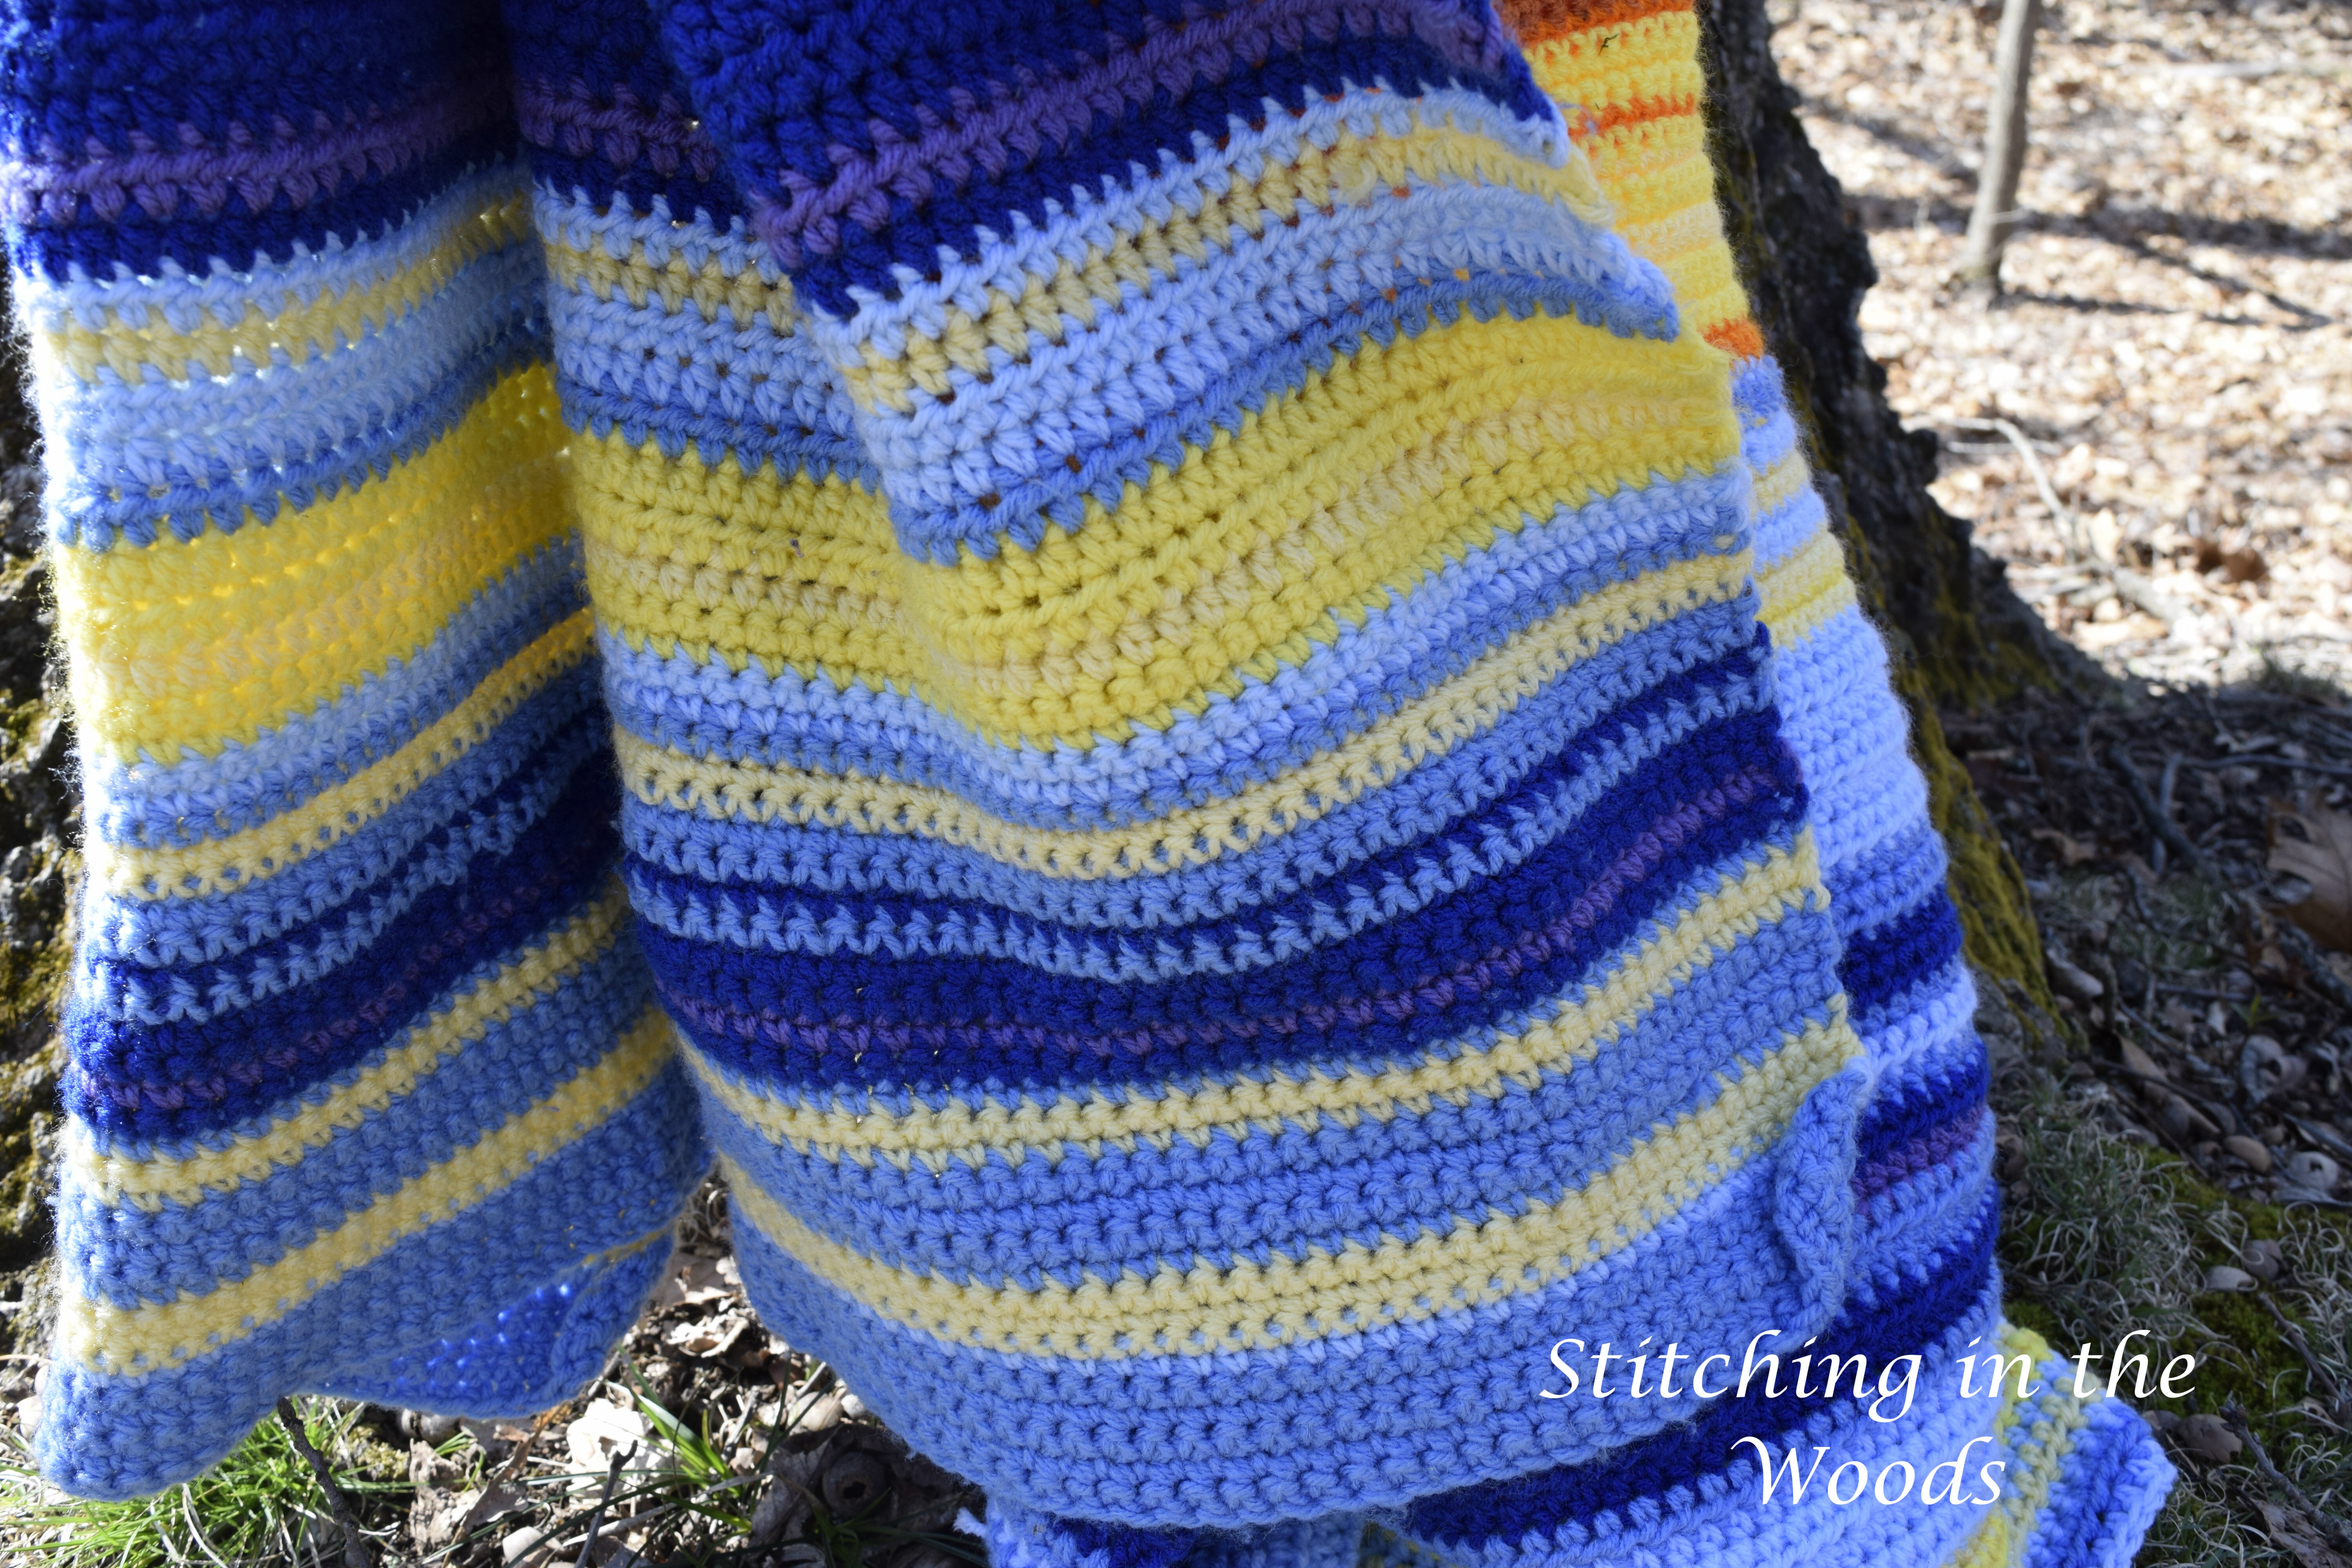
Joining
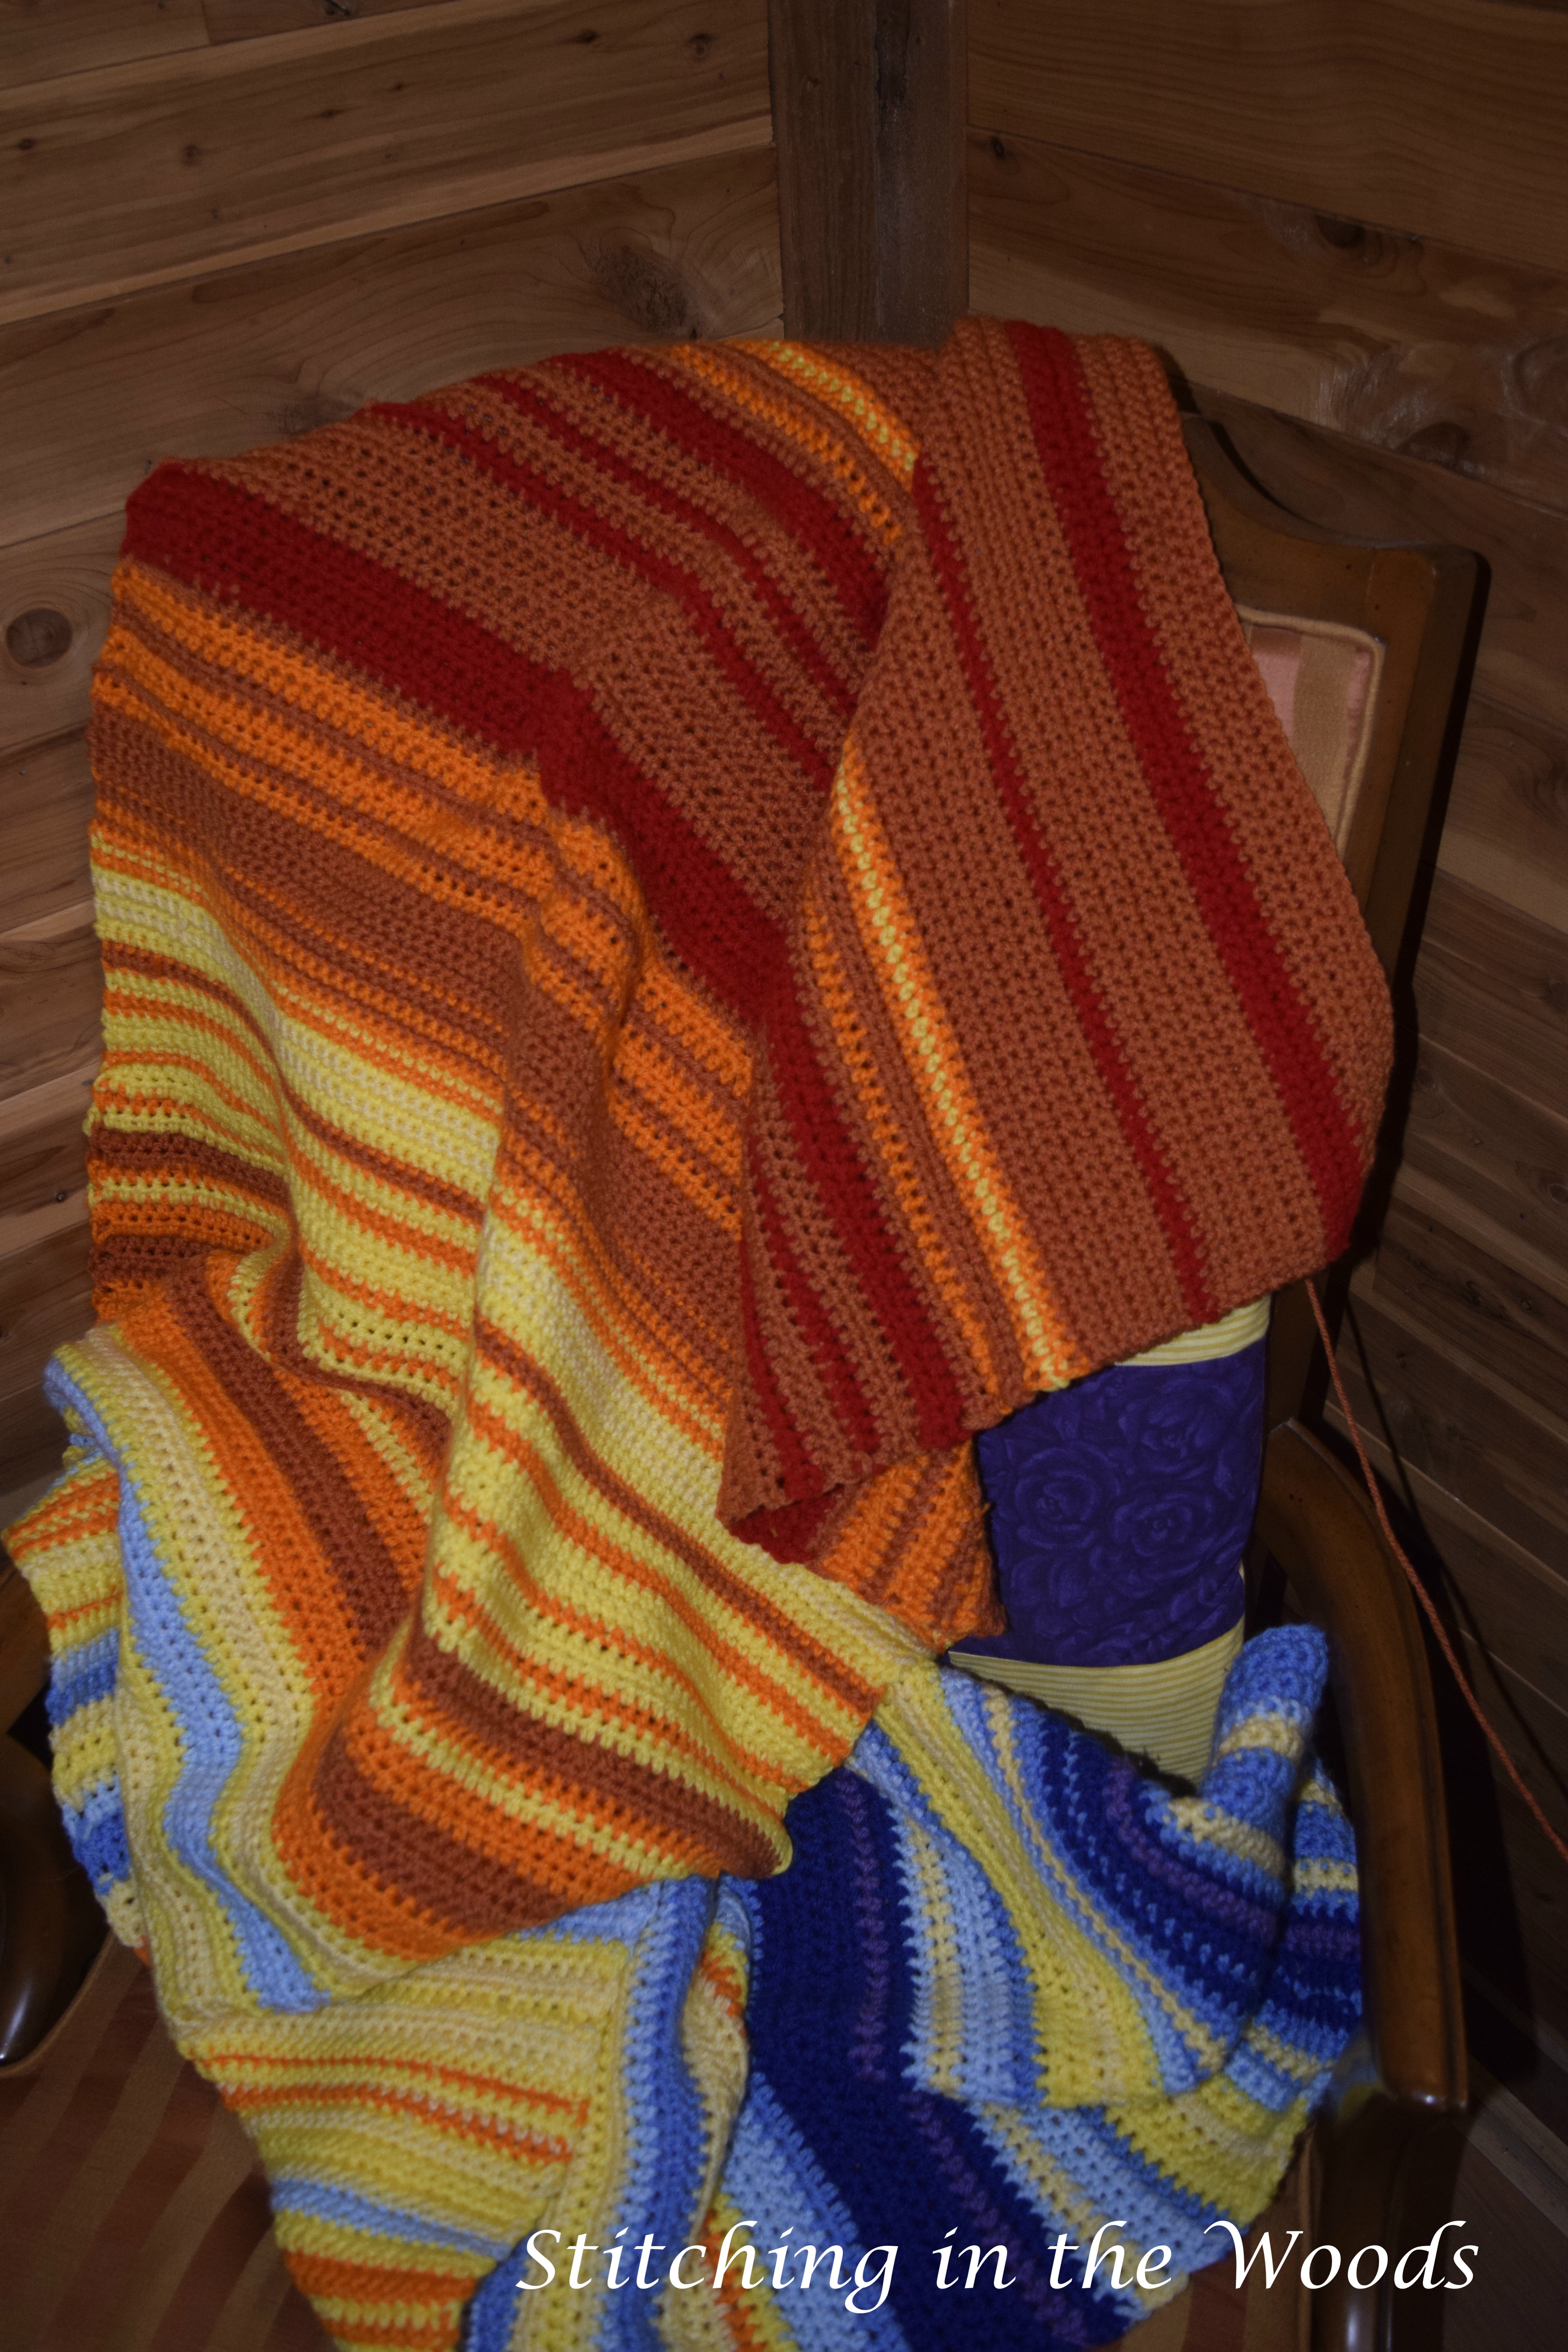
You can adjust this as you wish, but for your blanket to look like mine you will use a single crocheted join. To do this you hold both wrong sides of the squares or rows together and single crochet in each stitch across the side of the squares or rows.
Border
For a simple border you can single crochet around the entire blanket. Otherwise, you can look up a border online or in a borders book. The borders book I have is The Complete Book of Crochet Border Designs by Linda Schapper. (Amazon affiliate link) If you look at the related books you could also find some other good ones.
What kinds of events would you commemorate with your extra squares?
FREE Temperature Tracker!!!!
Enter your email address and you'll get a completely free, ready to print temperature tracker to use for your project.
One thought on “Granny Square Temperature Blanket”