Current me:
Welcome to my first temperature blanket tutorial! I know temperature blankets can be intimidating and this was my first effort to help others to figure them out. I wrote this in December 2015, so “this year” means 2015. Happy reading!
Past me:
It’s getting close to the end of the year again, which means my mind is turning to trying to do a temperature blanket again. I tried one this year but I think I made it too complicated to keep it going consistently. Moving toward the beginning of the year didn’t help either.
For those unfamiliar with the concept, I’ll explain what a temperature blanket is. It’s a blanket you add a row to each day. The color of the row changes based on the temperature of each day. It makes a neat colorful record of the temperatures of the years. I’ll break down the components for you.
Temperature Scale
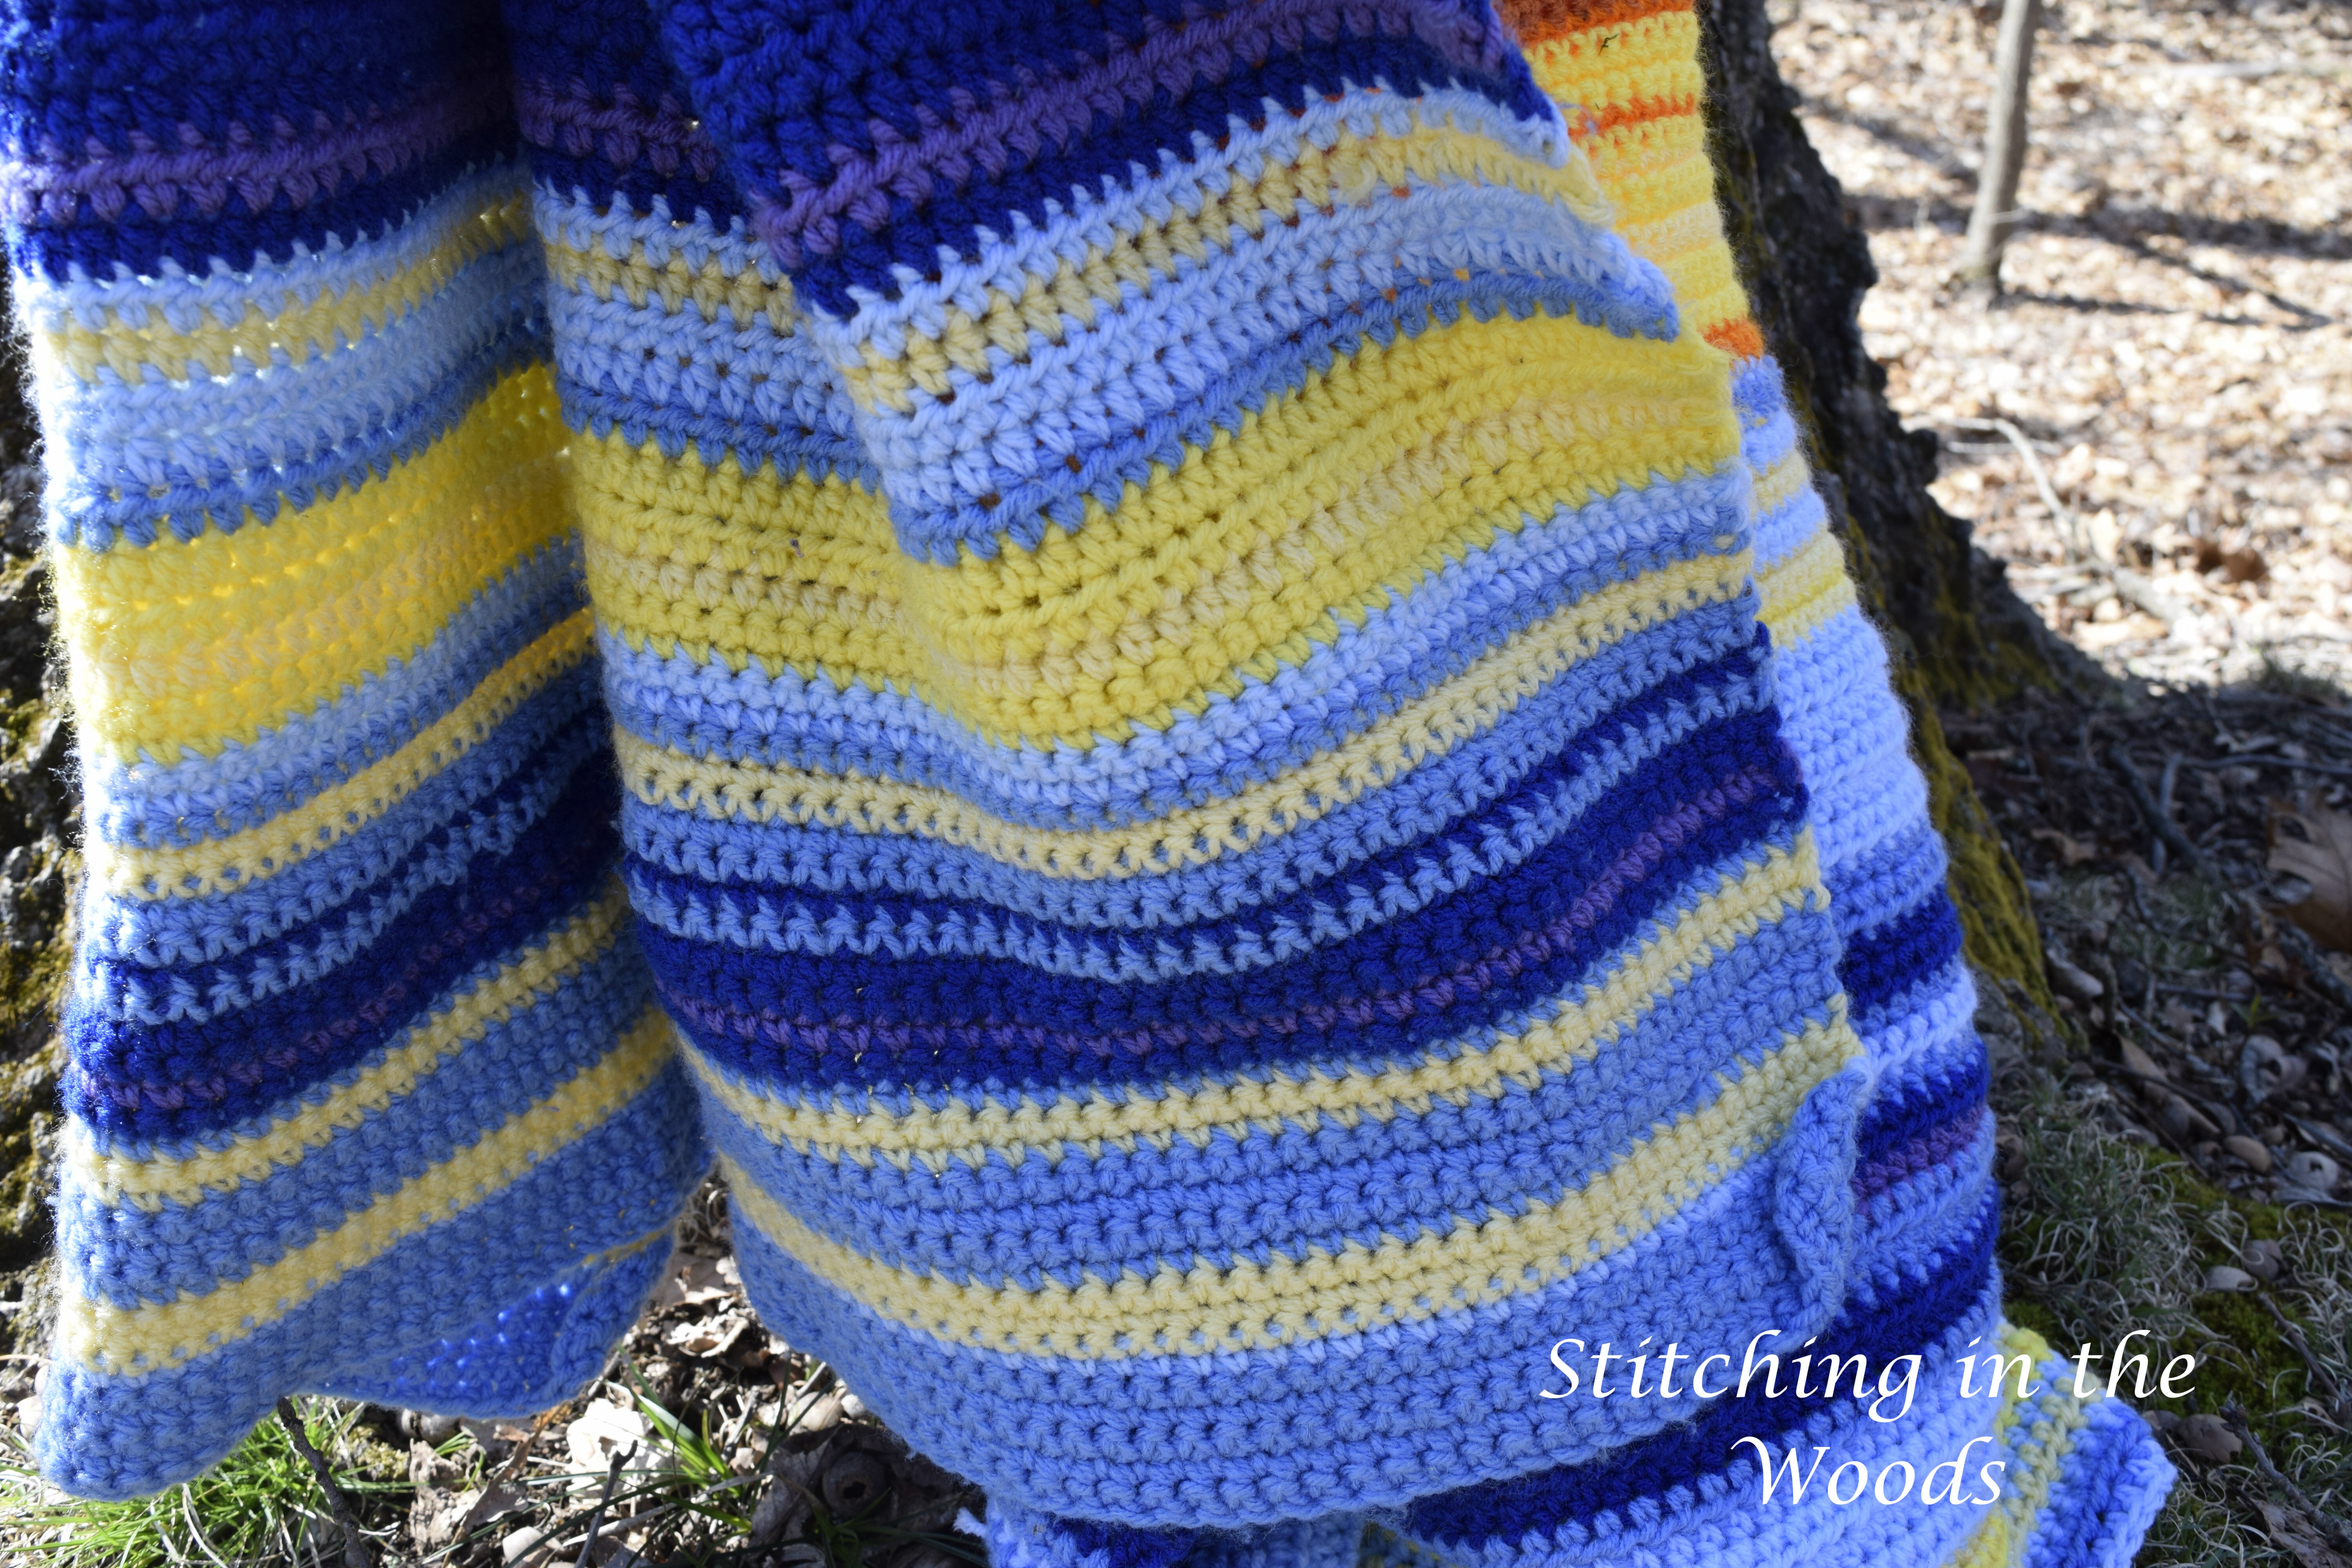
I assigned a temperature range (in Fahrenheit) for each color. Since I chose to use Red Heart Super Saver yarn, so I’ll use their color names for my example.
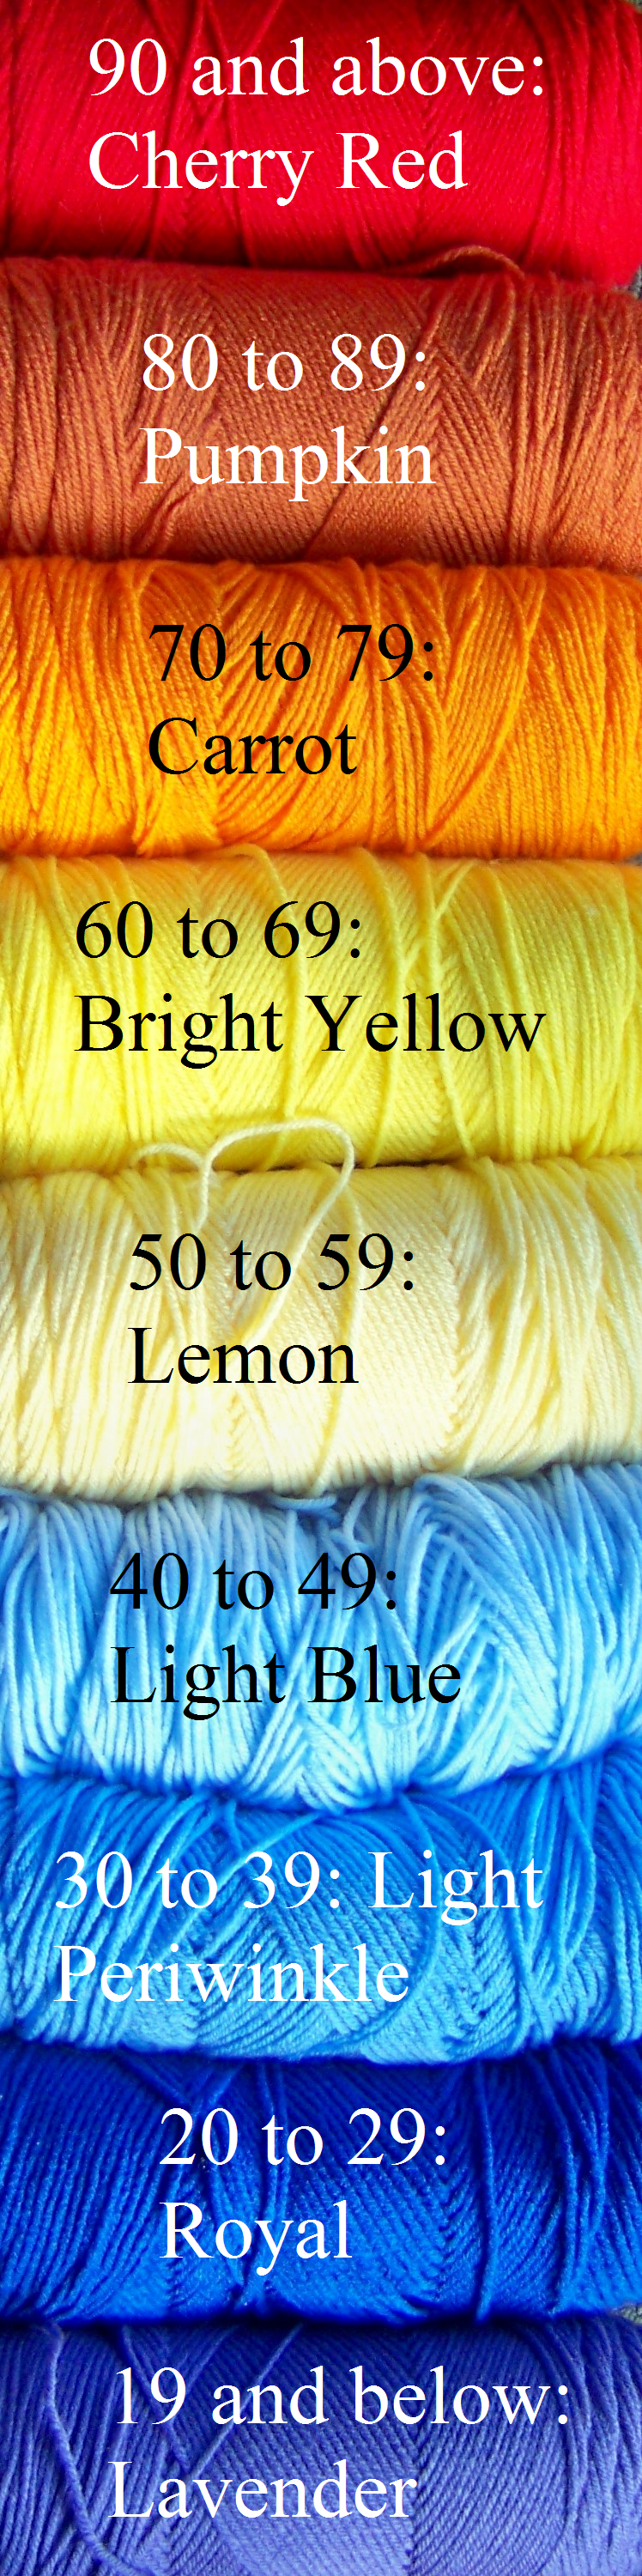
In case you can’t read that:
- 90 and above: cherry red
- 80 to 89: carrot
- 70 to 79: pumpkin
- 60 to 69: bright yellow
- 50 to 59: lemon
- 40 to 49: light blue
- 30 to 39: light periwinkle
- 20 to 29: royal
- Below 20: lavender
I take the “official” high of the day from the local NOAA/NWS weather report and crochet a row of that color each evening. You could use the temperature at a set time each day like noon or 3 pm. I’ve also seen suggested it that you could change yarn colors for if it rains or snows. At that point I would feel like it’d be more of a weather blanket, though. Not a bad idea, just a different concept.
A tip for the temperatures: If you can’t crochet a row one day (or several), write down the temperature on a calendar to remember it so you can catch up later.
Adjusting Your Temperatures
Back to business, time to talk adjustments to my temperature assignments. They work here in Indiana, but they would probably need to be adjusted for somewhere with a different climate. I’ll include a possible range for somewhere further south (I’ll use Florida since I have friends living there, though I’m guessing on their normal temperatures).
- 100 and above: cherry red
- 90 to 99: carrot
- 80 to 89: pumpkin
- 70 to 79: bright yellow
- 60 to 69: lemon
- 50 to 59: light blue
- 40 to 49: light periwinkle
- 30 to 39: royal
- Below 30: lavender
So you can see the temperature range is easily adjusted for your local climate. If your days are usually hotter, move the temperatures up. If the days are usually colder, move them down. Also, if your local temperatures don’t vary much you can shrink the increments to 3 degree differences. Thanks to those in the Facebook crochet groups that mentioned this idea (you can see it implemented in a way on another blanket of mine here).
If you’re still having a little trouble figuring out how these adjustments work you might find this post helpful.
The Stitches
This year I tried to change the stitch each month, but I think that was too complicated. This year I did a single crochet for January; a single crochet, chain two for February; and a double crochet shell for March. March is when I fell off the wagon, so I didn’t think up any more stitches.
This coming year I’ll trade off between single and half-double crochet stitches. I’d add double or treble stitches, but I don’t want the blanket getting too long.
- January: single crochet
- February: half-double crochet
- March: single crochet
- April: half-double crochet
- May: single crochet
- June: half-double crochet
- July: single crochet
- August: half-double crochet
- September: single crochet
- October: half-double crochet
- November: single crochet
- December: half-double crochet
Of course, you can feel free to adjust the stitches to your liking. I just recommend you don’t make it too complicated of a stitch or you won’t get your blanket done. I should know. 😉

Estimating Blanket Length
If you’re curious, you can estimate how long your blanket will be at the end of the year. I’ll show you an example with my version of the blanket. In the Super Saver yarn I know my single crochet stitches are about 3/8 inch tall and my half-double crochet stitches are 1/2 inch tall. If I take the amount of days I’d be single crocheting (184) and multiply it by 3/8 inch (.375) I’d get 69 inches of single crochet stitches. I’d do the same for the half-double crochet: 182 (this year’s a leap year) x .5 = 91 inches. Add the two figures and you get that my temperature blanket should be around 160 inches (13 1/3 feet) this year. Now you see why I don’t want to add larger stitches. 🙂
I’ll note here that this blanket ends up as more of a bed runner than an actual blanket. You can add less or more chains/stitches to get different products. I’ve seen suggestions for full blankets (around 300 stitches across), scarves (around 25 stitches across), and more.
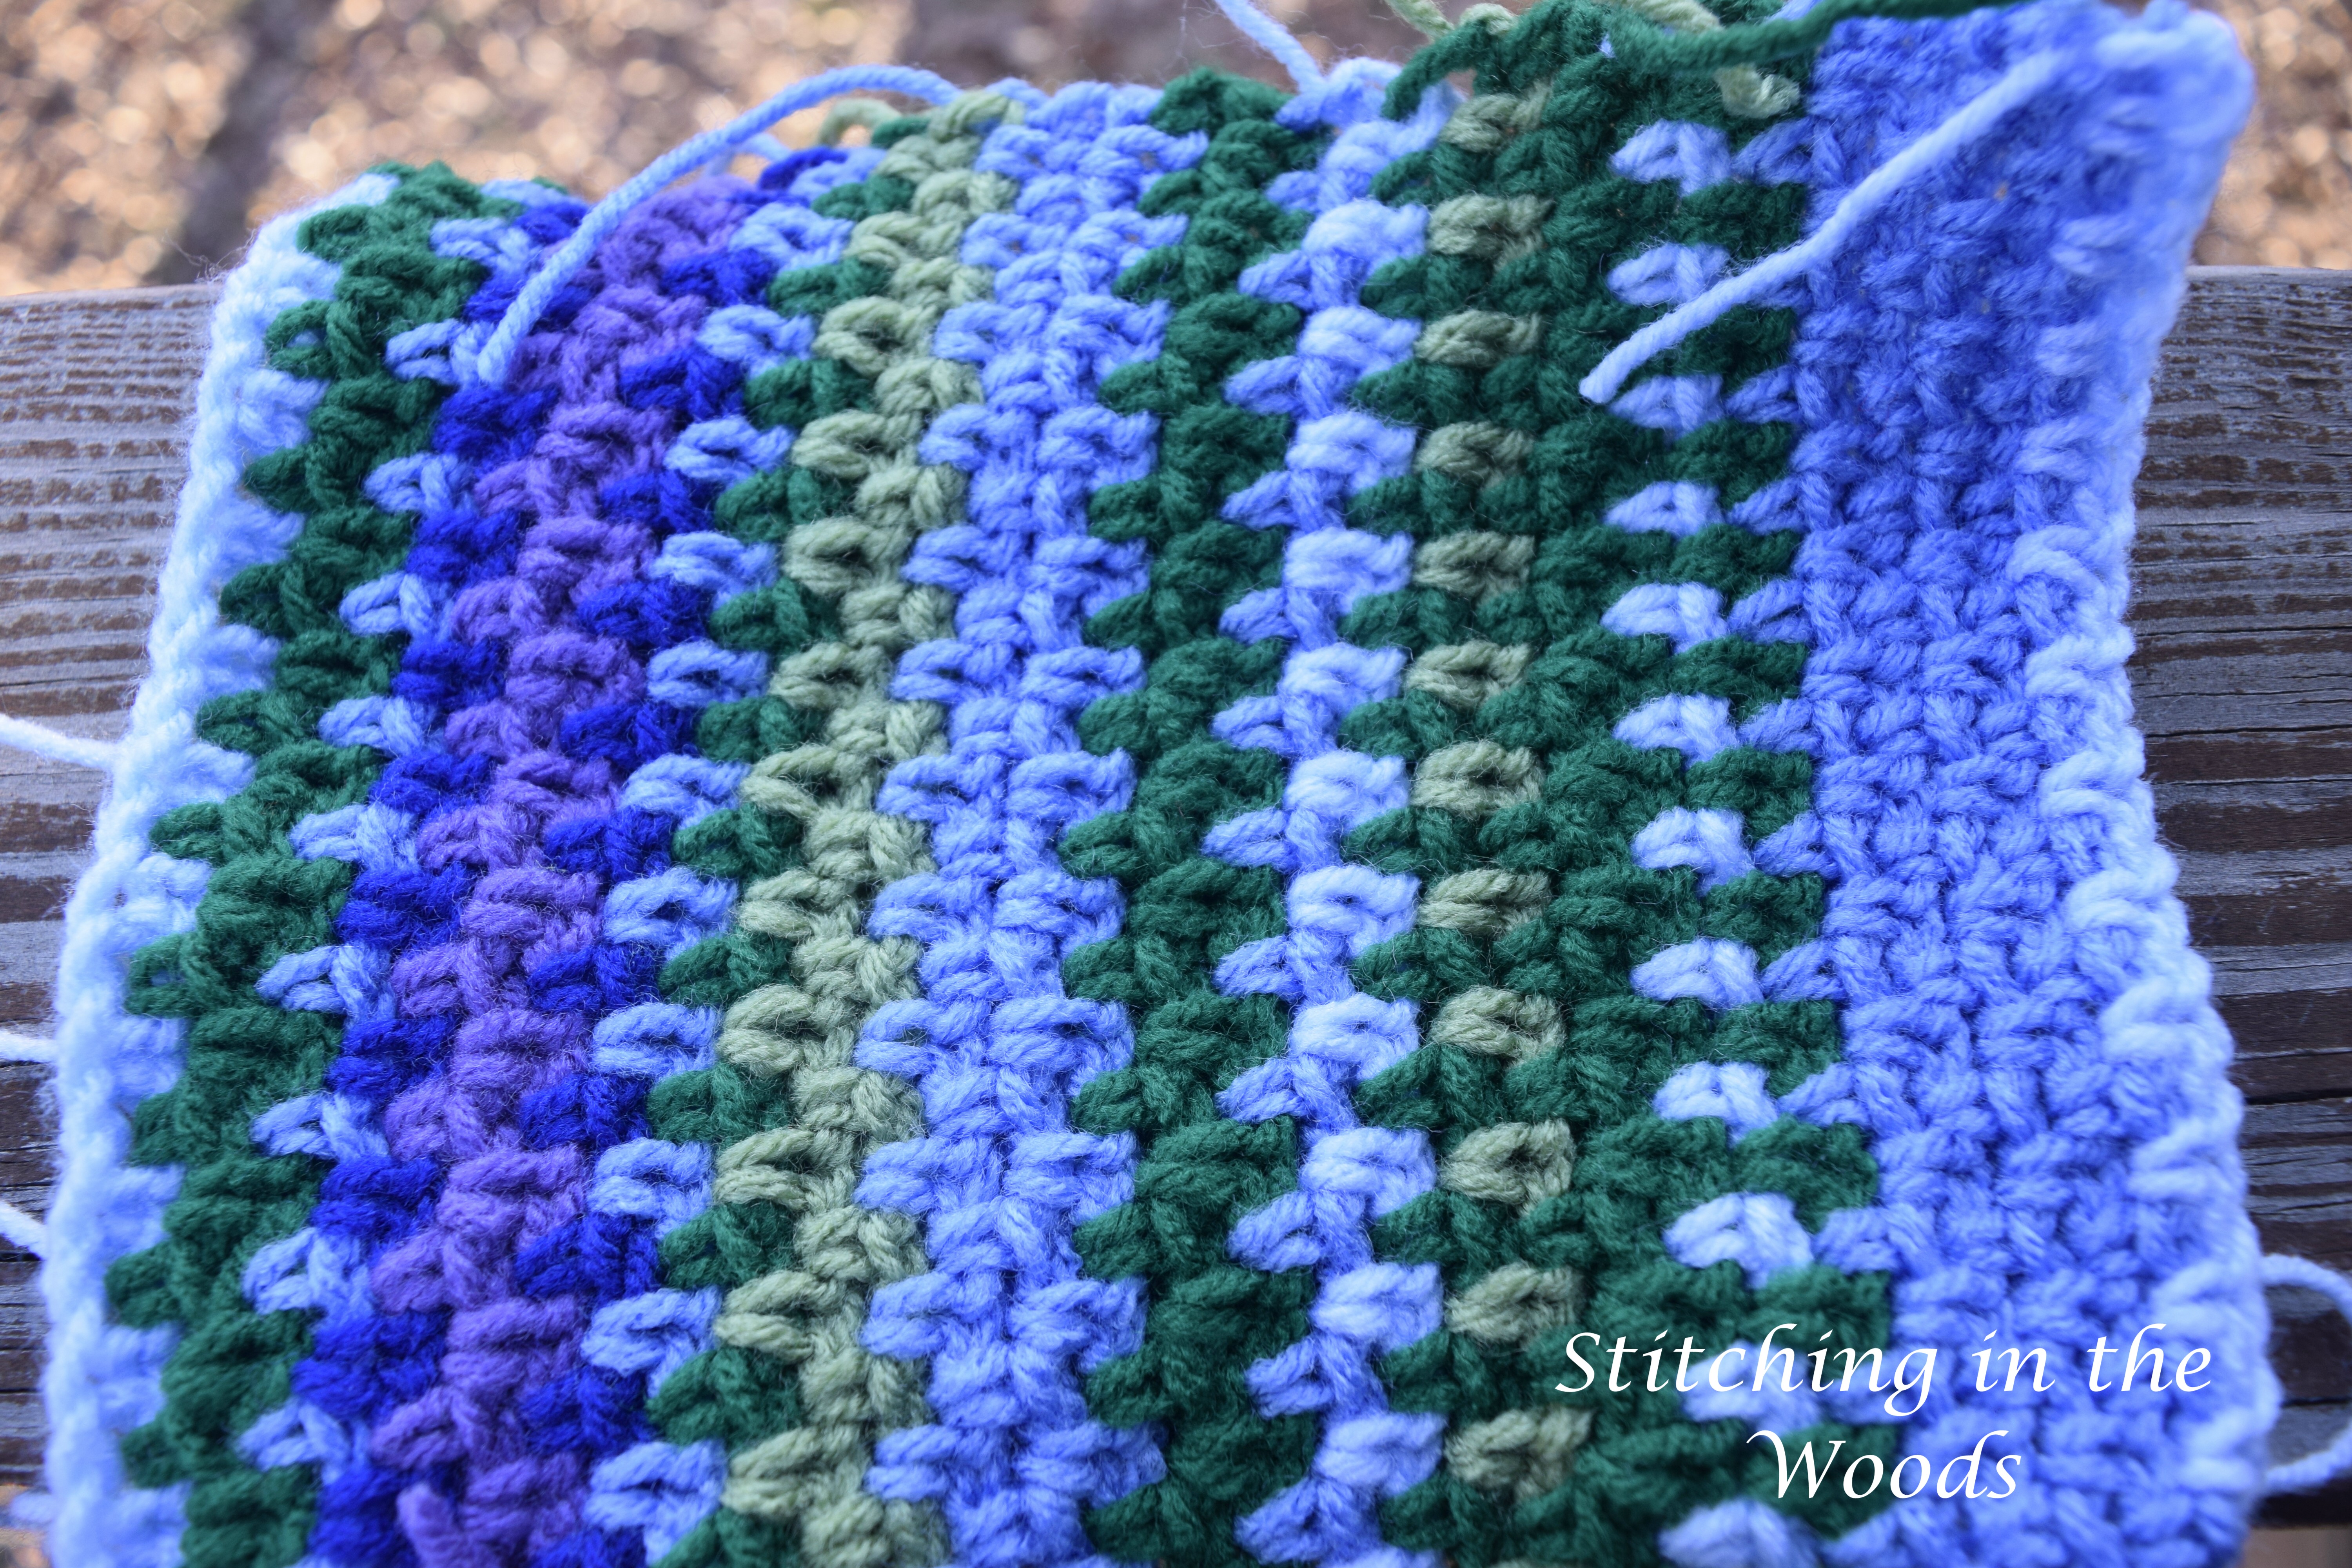
Red Heart Super Saver Rainbow
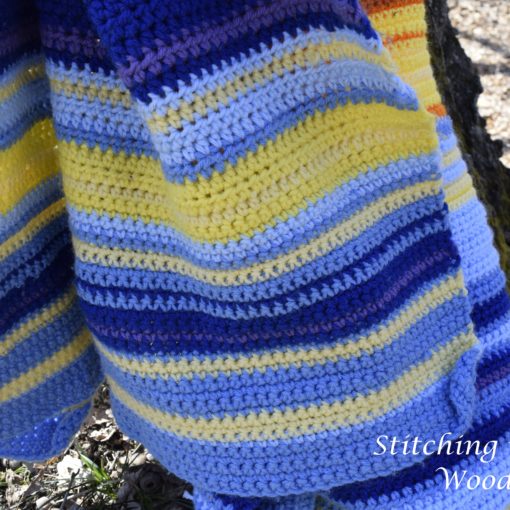
Temperature Blanket (now Shawl) updates
Temperature blanket pattern
I am including a pattern for those who like following a pattern, but this temperature project is VERY easy to customize. You can change the colors, the stitches, the yarn, and the list goes on. Have fun!
If you would like a PDF of this pattern you can find it for a small cost on Ravelry or Gumroad.
Difficulty: Easy/Beginner
Size: My blanket will be about 160 inches long by 36 inches wide. Yours will vary depending on yarn and how tight/loose you crochet. Gauge is NOT important for this project.
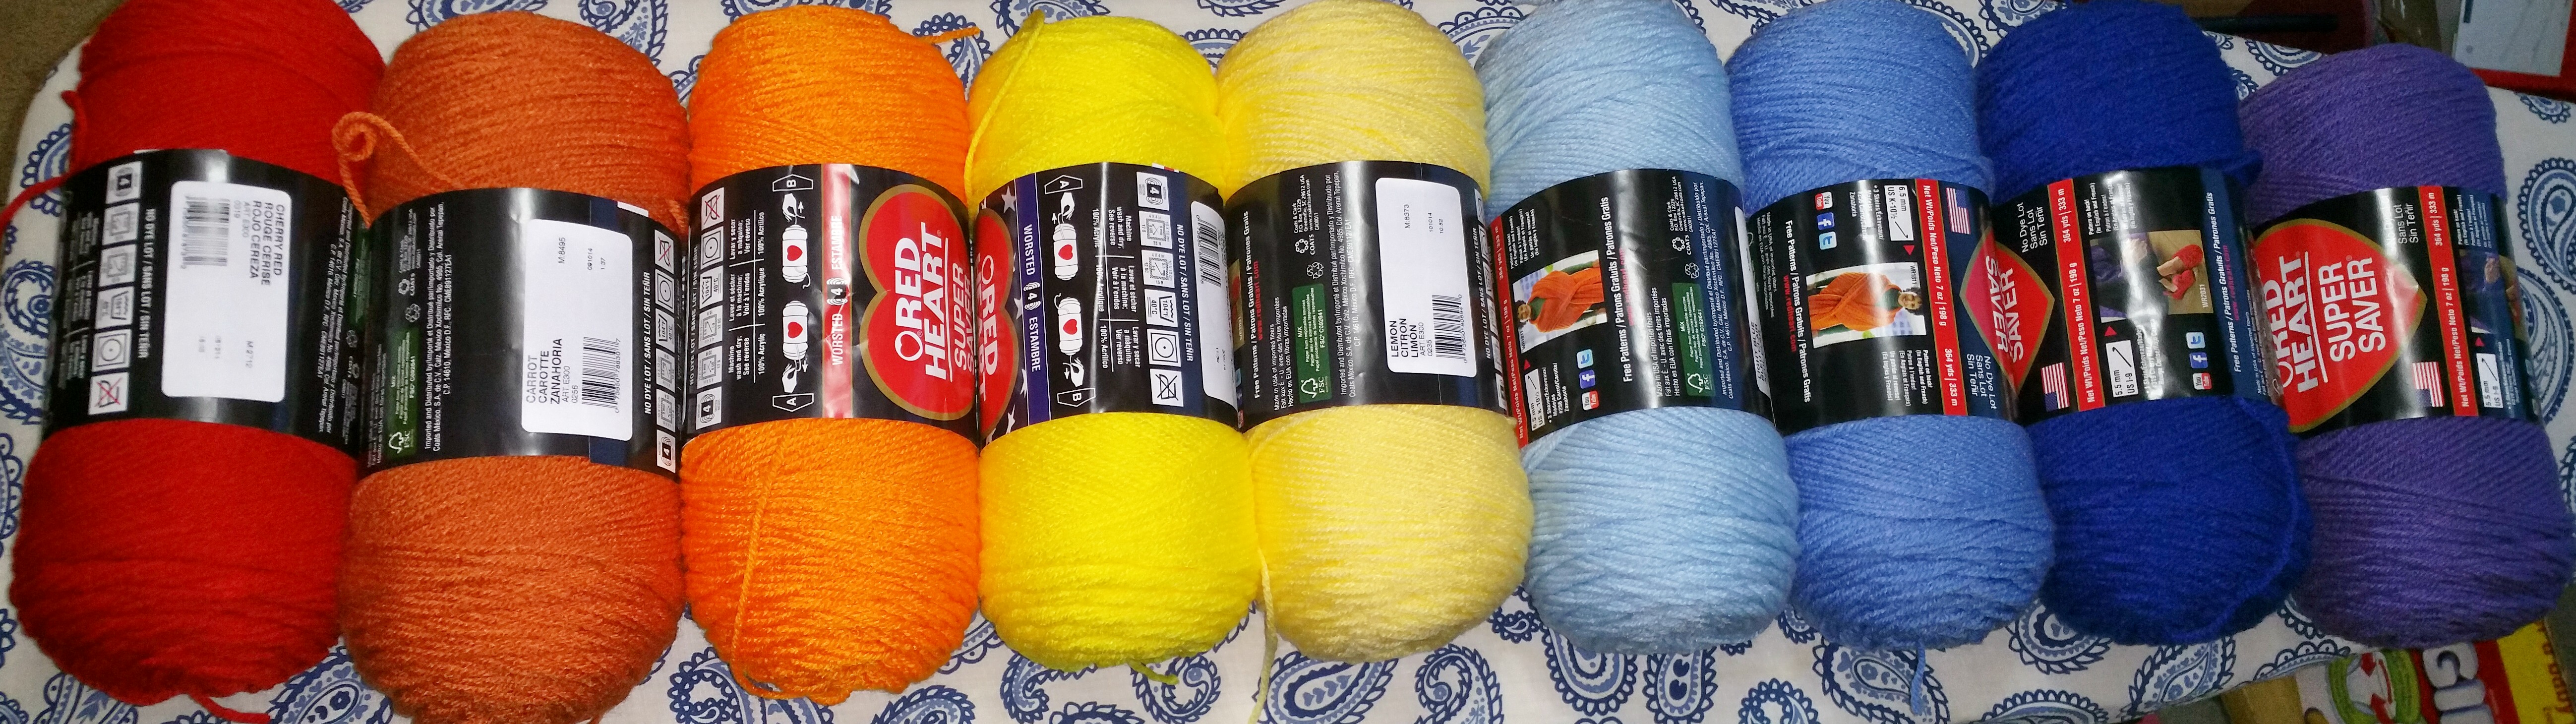
Yarn: 1 each of Red Heart Super Saver (7 oz) in cherry red, carrot, pumpkin, bright yellow, lemon, light blue, light periwinkle, royal, and lavender (or pick 9 colors in the yarn of your choice)
Hook: H or your choice
Pattern:
Row 1: On January 1st, ch 101 in the high or temperature color of the day. Sk 1 ch, sc in each stitch across, turn. (100 sc)
Row 2: On January 2nd, ch 1, then sc in each stitch across in the high or temperature color of the day, turn. (100 sc)
Rows 3-31: Continue to crochet a row each day, turning after each row. The stitch and color are determined by the temperature scale and month pattern you choose. For example, January 15th with a high of 20 (brr!) would mean I’d single crochet a row of royal.
Row 32: On February 1st, ch 2, then hdc in each stitch across in the high or temperature color of the day. (100 hdc)
Rows 33-365 (or 366 on a Leap Year): Continue to crochet a row each day. The stitch and color are determined by the temperature scale and month pattern you choose. A May 17th high of 72 would be a single crochet row of pumpkin. A December 6th high of 51 would be a half-double crochet row of lemon.
Variations:
For more of a scarf (my test one was 9″ wide): ch 26, sk 1 ch, sc in each stitch across, turn (25 sc) and continue in the rest of the pattern using 25 in place of 100
For a BIG blanket (my test one was 108″ wide): ch 301, sk 1 ch, sc in each stitch across, turn (300 sc) and continue in the rest of the pattern using 300 in place of 100
Things to remember:
- In single crochet, the ch 1 doesn’t count as a stitch, while the ch 2 in half-double crochet does. This means you will work a stitch into the top of the turning chain of each half-double crochet row. You could also stitch into the first stitch if you want. Go with what looks best to you, just check your count from time to time.
- When changing colors, it’s easier to change it by picking up the new color as you finish the last stitch of the row.
- In single crochet, you do this by doing the last stitch until there are two loops on the hook, then yarn over with the new color and pull it through both loops. Then continue with the pattern in the new color.
- In half-double crochet, you do this by doing the last stitch until there are three loops on the hook, then yarn over with the new color and pull it through all three loops. Then continue with the pattern in the new color.
- Sort of obvious, but you will have to buy a new skein of a color when you run out of one. You could estimate how many of each color you’d need by looking at your area’s typical temperatures, but starting with two of each should be more than enough to get you through a few months unless you’re lucky enough to have the temperature staying around the same each day for a long time. I live in Indiana so that doesn’t happen to me. Unless it’s summer.

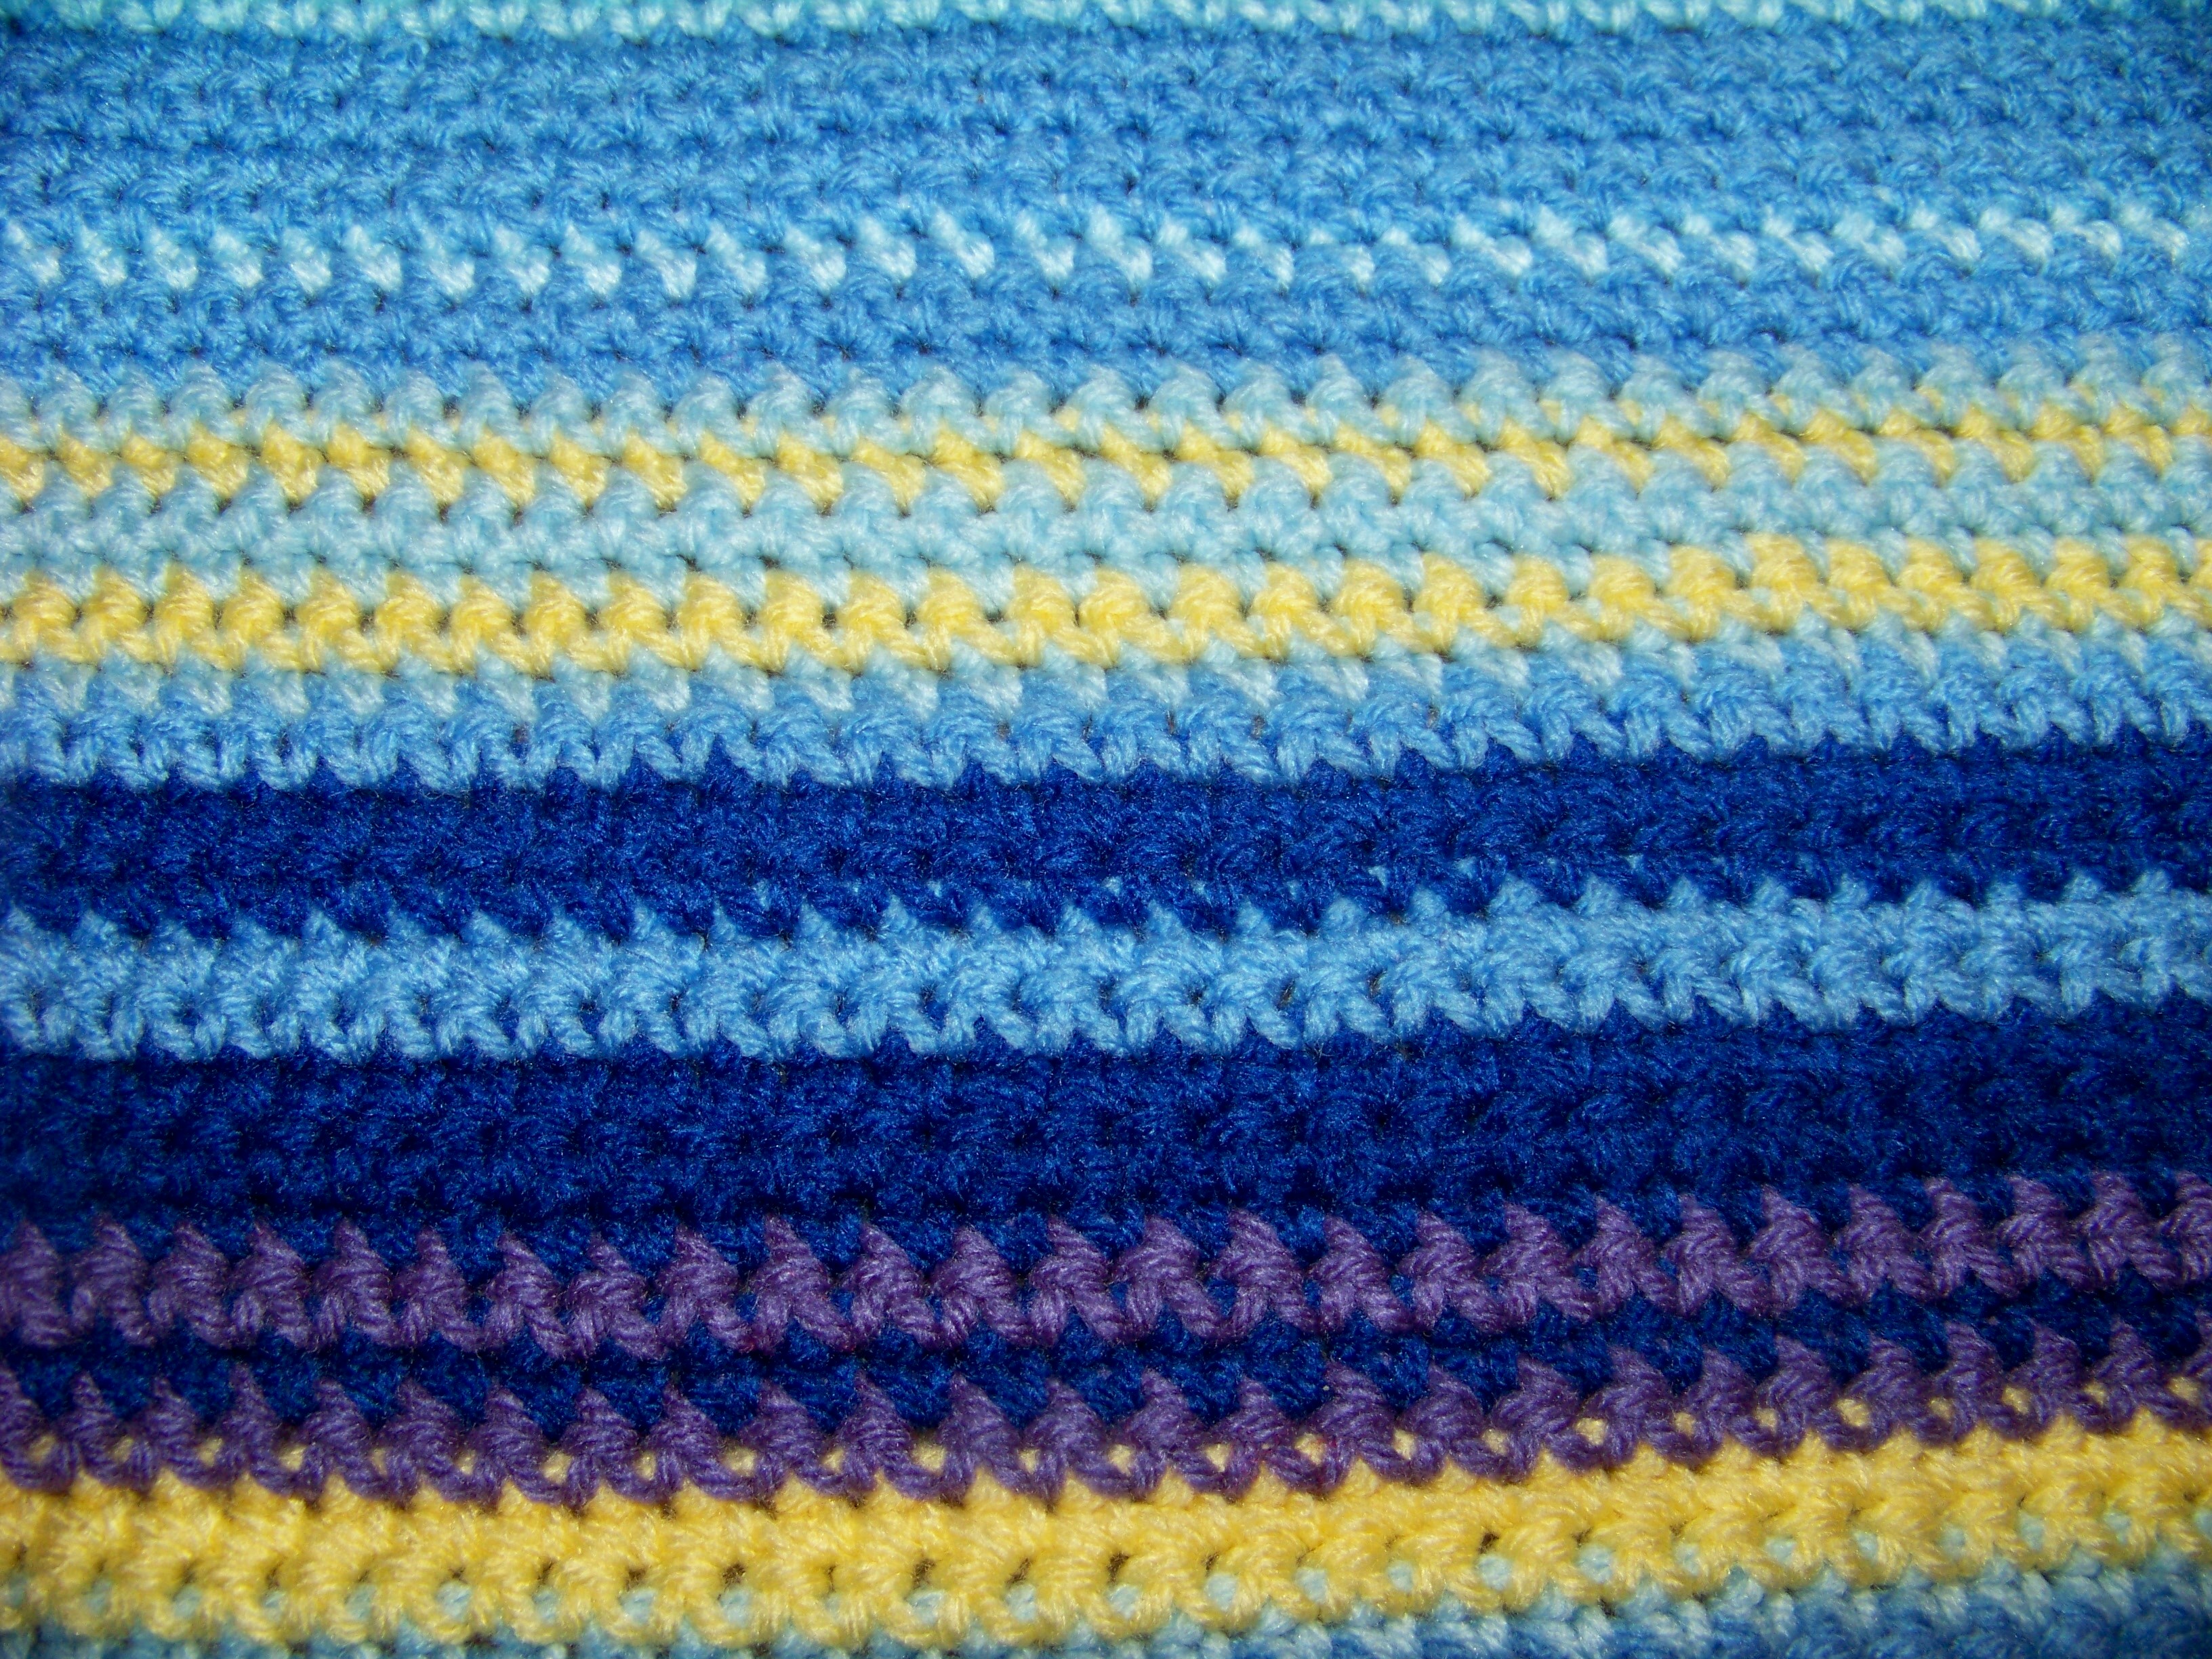
Finished project pictures
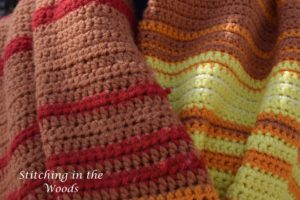
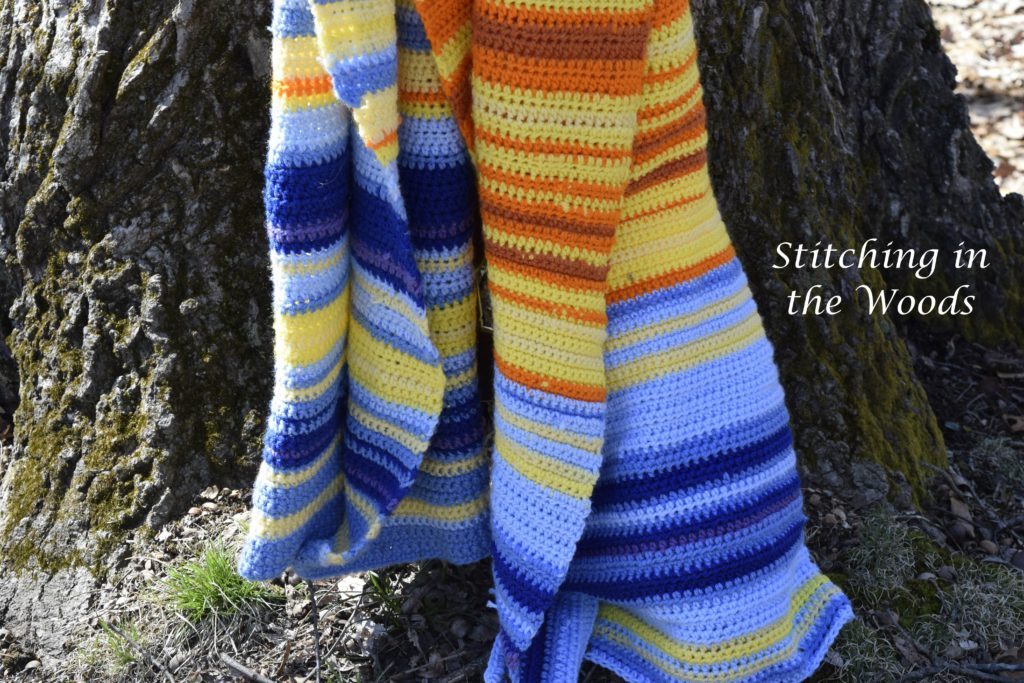
I made this into a shawl in the end, but as you can see it ended up being a really big one.
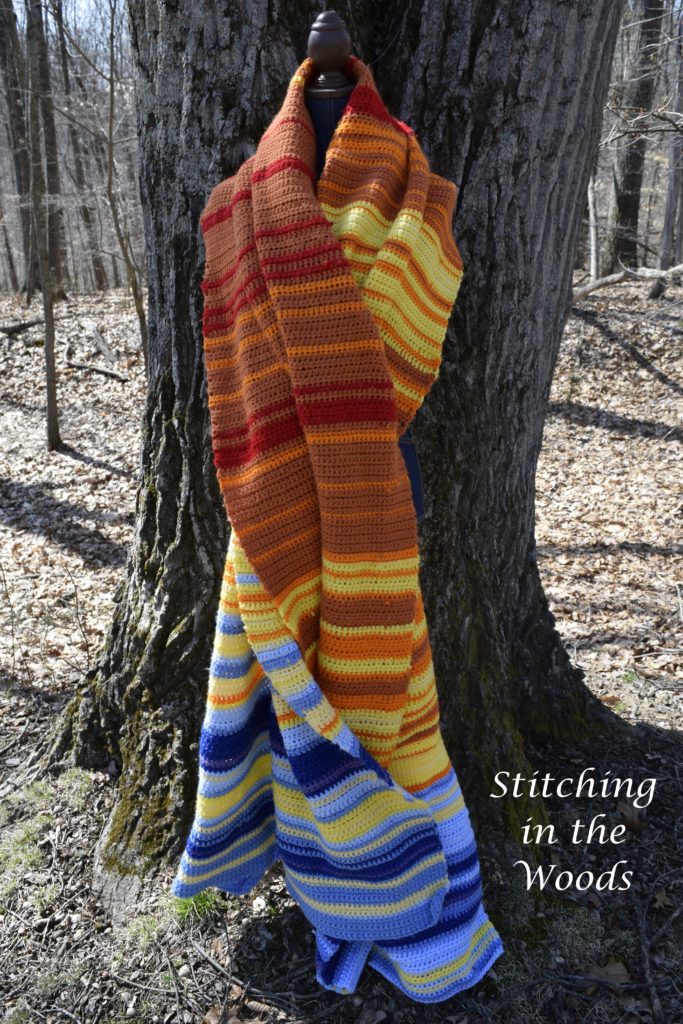
This is the shawl laid out. I had to get up pretty high to get a good picture! 🙂
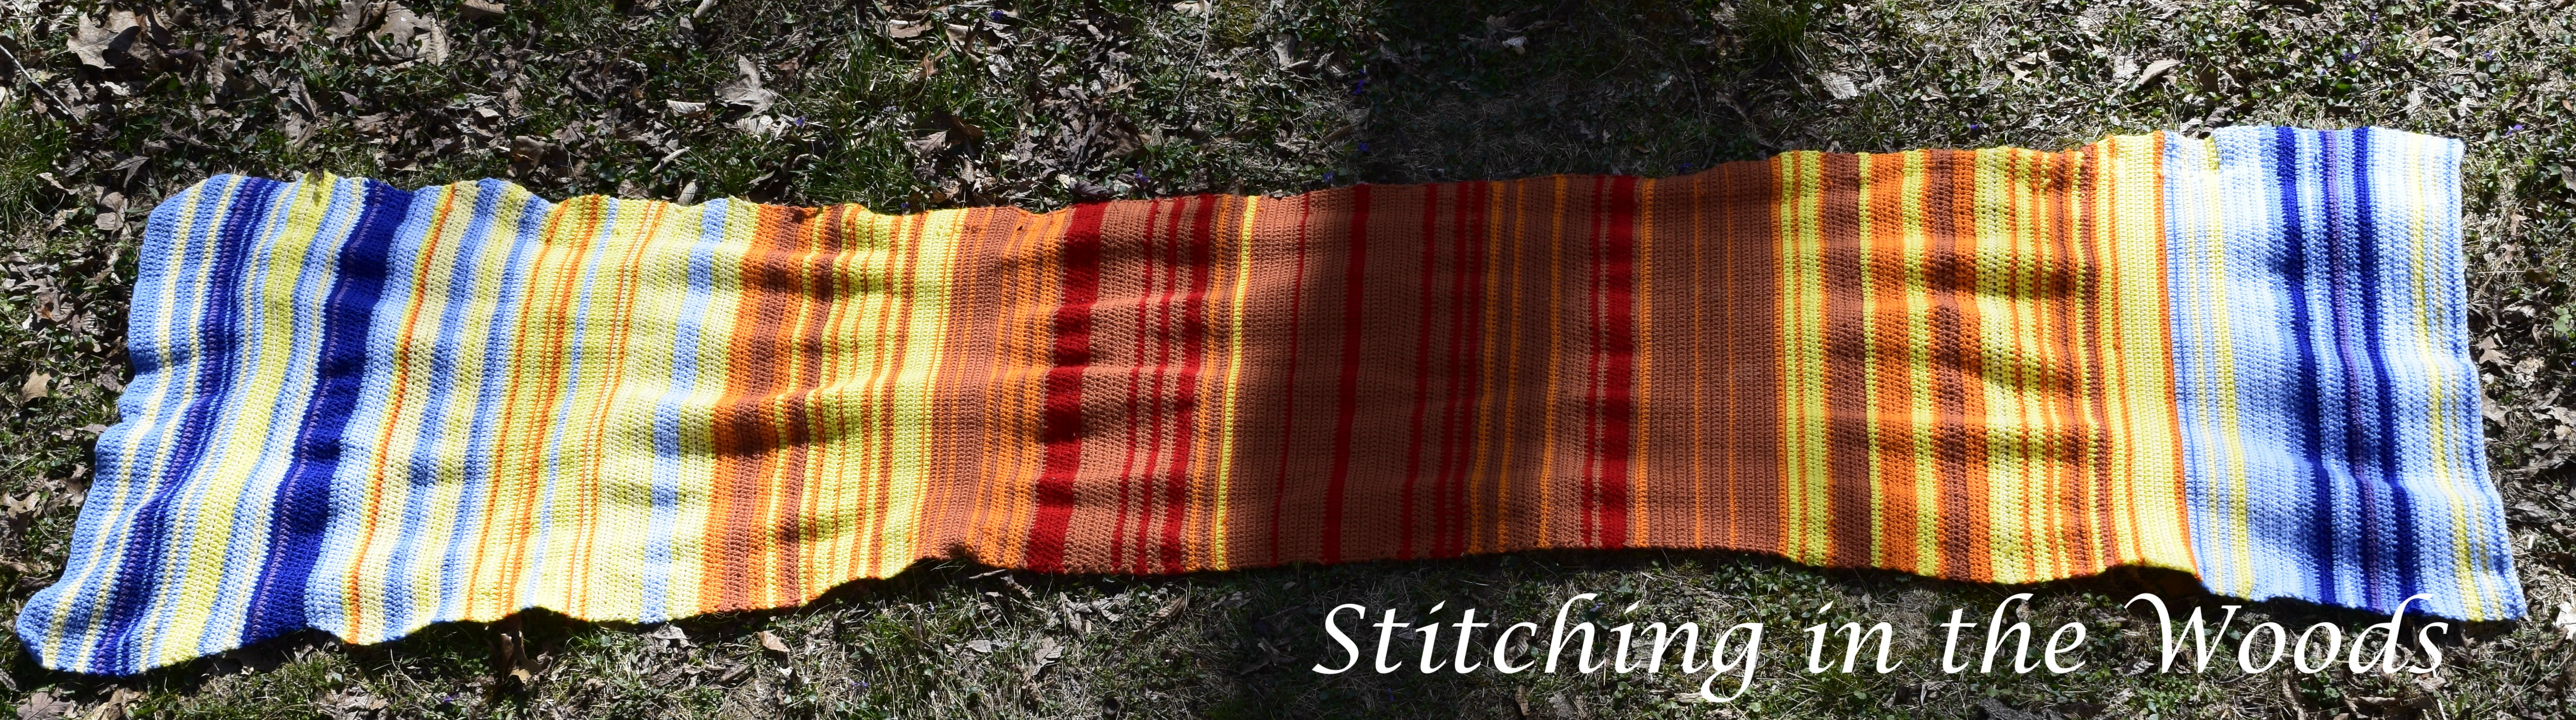
There were a lot of oranges in this blanket.

Wrap-up Notes:
In all fairness, I should note that the concept of a temperature blanket isn’t mine, but the pattern is my work. So if you like it, share it from here. Thanks!
If you’re ready to plan your own temperature blanket, my 4 Day Email Course will walk you through planning it, one day at a time.
If you have any additional questions, leave a comment or email me at the email link by the top or bottom of the page!
FREE Temperature Tracker!!!!
Enter your email address and you'll get a completely free, ready to print temperature tracker to use for your project.
23 thoughts on “Crocheted Temperature Blanket”
I am just getting started. I am going to buy my thread tomorrow.
How exciting! I always like starting a new project. Finishing them is the hard part! 🙂
I just taught myself to crochet about a month ago and, of course, I’ve been a helpless addict since that first, simple, forgiving, finished project (a rose). So naturally, I’ve scoured every pinterest, Ravelry, and dedicated forum known to yarnkind twice already and I must tell you, this is the coolest thing I’ve discovered thus far. Thank you so much!
You’re very welcome! Also, welcome to the world of crochet!
I can’t wait to try it.
I want to see if I can do this in a ripple blanket!! Shouldn’t be too hard to figure out!!
A ripple blanket sounds like a neat idea!
Just a thought:
A corner-to corner blanket would be the best blanket to make for this project, IMHO. If you divide the year in half, you would work 183 rows increasing, and then 182 decreasing and your blanket would be completely square – 365 total rows. If you’ve never done a corner-to-corner throw/blanket, here is a link to a pattern on Red Heart’s website: http://www.redheart.com/free-patterns/crochet-corner-corner-throw
I agree that corner to corner is a really good idea for this blanket. I mentioned it in my Demystifying post but not on this one.
I did a non-temperature corner to corner for our queen size bed and really liked it. I might do one like that for next year. Next year is pretty far away for me at the moment though.
I have not made a temperature blanket before but am going to try one for this year(will have to go back and look at archived temps since it is the middle of March now). I am thinking of doing all single crochet with double crochet rows on significant dates during year(family birthdays, anniversary)
Sounds like a good plan. Hope you have fun with it!
Margaret
I started mine this year January 2017 doing a simple granny stitch and so far am very happy with it, I also am in the middle of making one for my daughter I used the archives for the year she was born and will be giving it to her for a birthday gift. I cant wait to see how it turns out. I love the color combos that you used and the idea of using different stitches for each month is definitely something that I want to try.
A granny stitch will look neat. It’s always nice to see how things work up in the end. Hope she likes her birthday gift!
Was wondering if some one could use the rainbow colors instead of the temp colors,but use the same concept would it be possible.
I think it would work just as well to use a set pattern of colors. Then you could limit the size easier.
Margaret
Very interesting. I live in Florida, have to try this, since I am always looking for a new project. Thank you.
You’re welcome. Good luck on your new project!
Margaret
I live in Iowa so at 100 or above I’ve added burgandy. Then there’s the below zero. I’d like to include these temps because they become important to us who deal with these extreme high and low temps. Besides, I’m a weather buff. Still working on colors for the very chilly temps. Probably follow weather graphs. So fun!
I agree about including extreme temperatures. It emphasizes our suffering to include them in our blankets. 🙂
In my most recent years I added a grey below my lavender for anything under 10 degrees because I felt it needed better documentation.
Margaret