Welcome to the final installment of my Demystifying Temperature Blankets series in which I’ll be discussing how to pick your stitch and/or pattern. If you missed Part One and Part Two, be sure to read those, too. I’ll be assuming you’ve already read them.
![]()
Decision Time
Before you start deciding on stitches or patterns, you need to decide what temperatures you’ll be using. You’ll need to decide if you’re using the high, the low, both, the average, or whatever. You need to know how many temperatures each day you’ll be covering so you can figure out how to work it into the method or pattern you choose. So if you didn’t go back to read the first two parts, stop trying to get around it and go read them! 🙂
Crocheters and Knitters
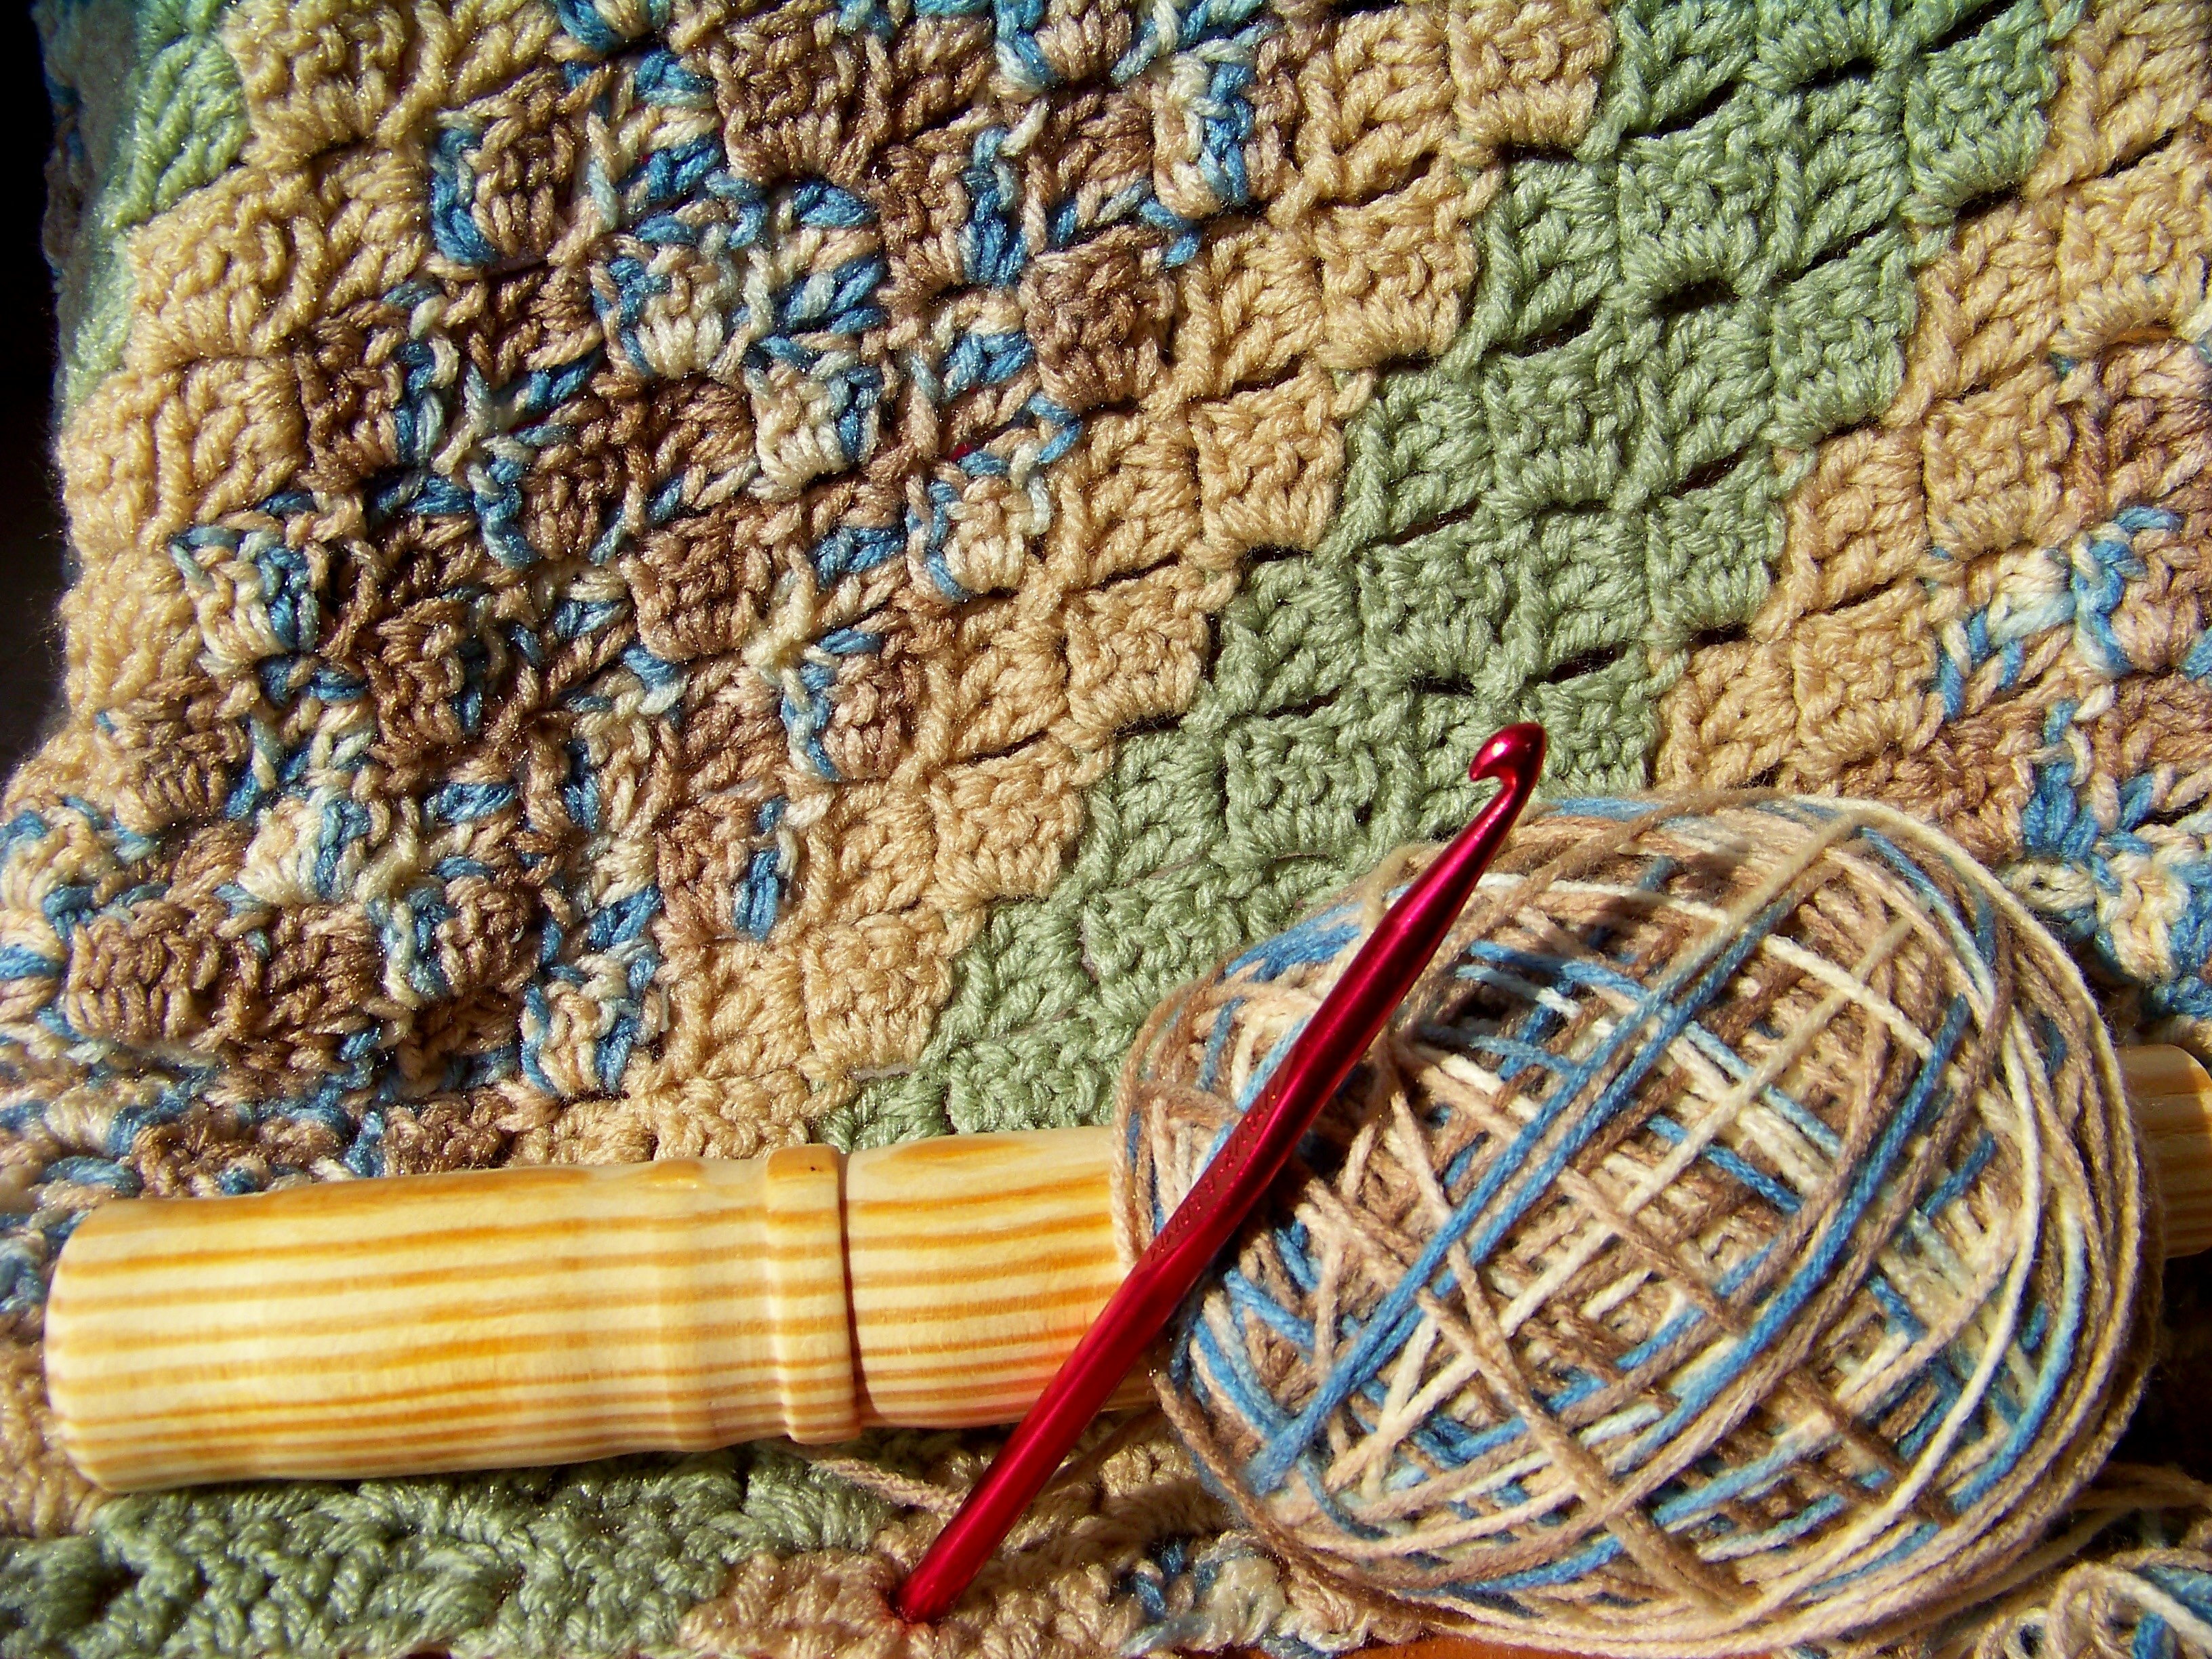
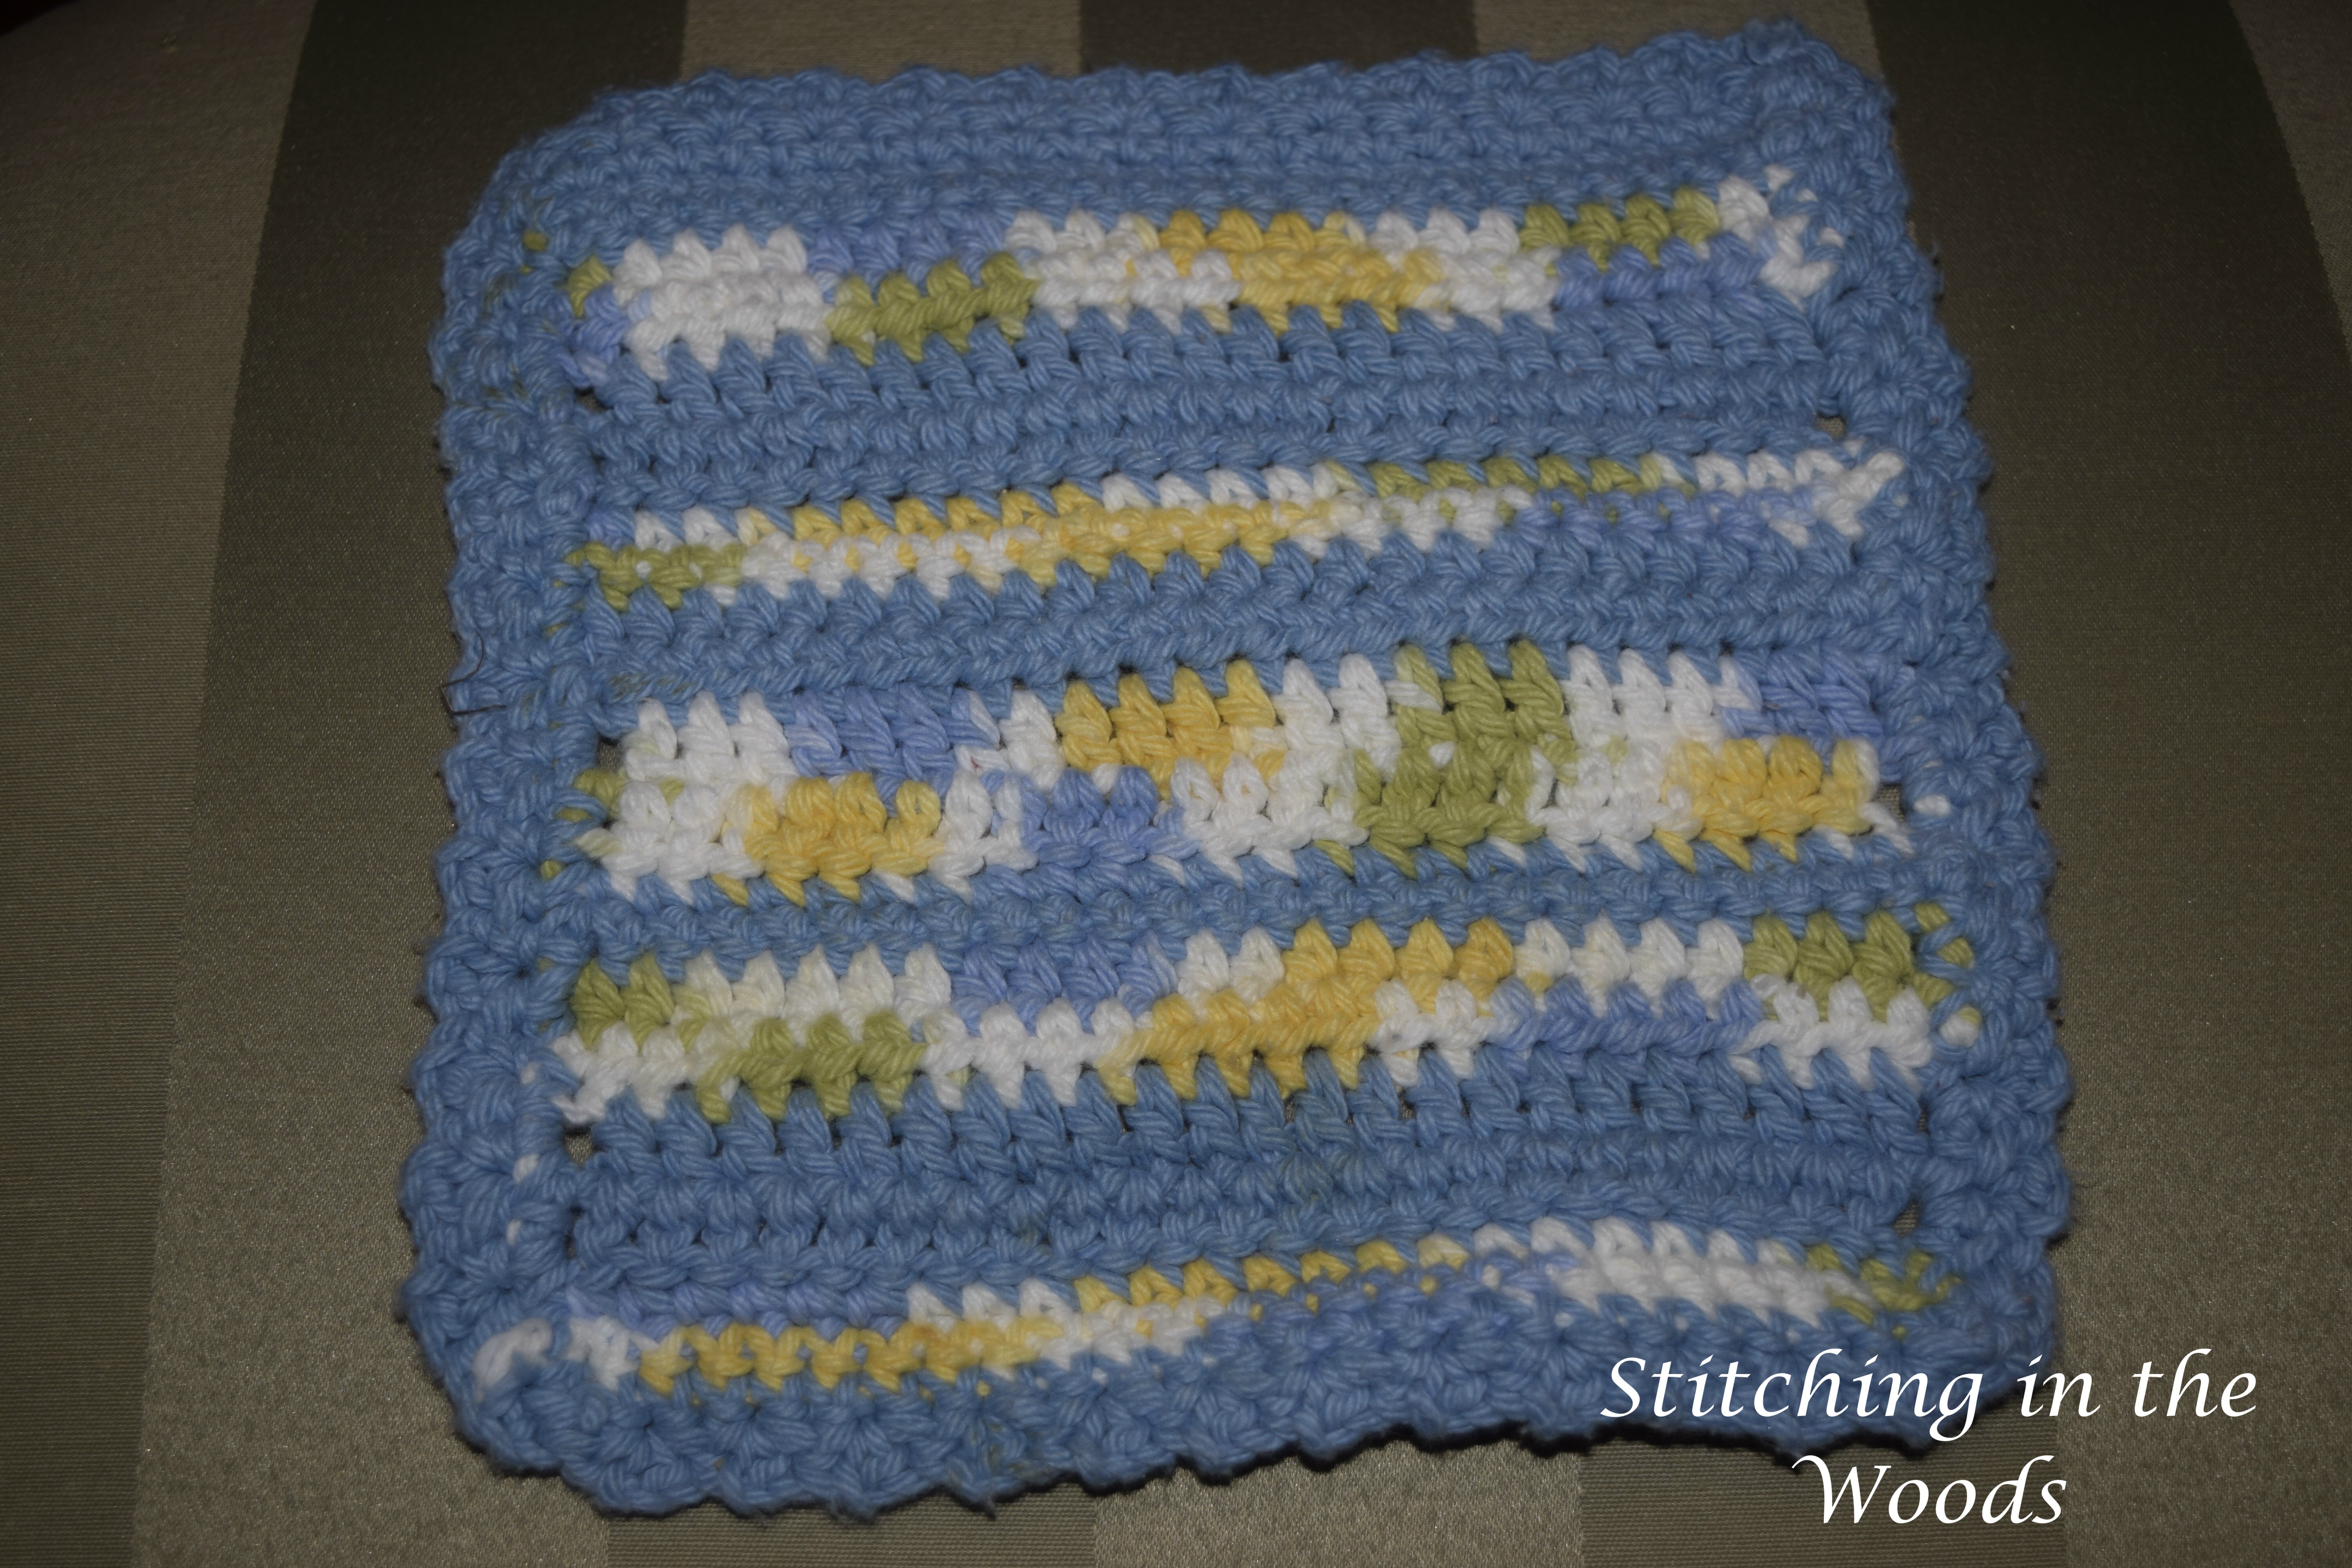
I would be biting off more than I could chew if I listed every single crochet stitch or pattern you could use for a temperature project. Some stitches that I’ve seen that are popular among those making temperature projects are Apache Tears, chevron, single crochet, linen/moss stitch, corner to corner, and half-double crochet. Doing small motifs to join together into a larger project is very well suited to use as a temperature project. Don’t forget that you can take break a larger motif down by row or into smaller motifs as needed.
I am by no means a prolific knitter so I don’t consider myself at all qualified to make suggestions for knitted projects. But for both crocheters and knitters you can look for patterns that either have several color changes or that can be adapted to change color frequently. Pinterest is a good place to look for patterns and I’ll be adding temperature project-worthy ones to my temperature project board to help out.
Estimating Project Size (Yarnies)
Both crocheter and knitters, however, can use the same method of estimating the final size of the project. Simply make a test swatch and multiply each row’s height by 365 or 366 to get how long the project will be. The width is relatively easy as it’s just as wide as you want it to be. Just keep chaining or casting on until the project is wide enough. If you are doing a project such as a four seasons/quarters corner-to-corner then you can still estimate size by figuring out each square individually using the test swatch method and putting the four measurements together in whatever arrangement you plan.
Quilters
You could use any sort of block or pattern you want. As with the crocheters and knitters you can look for patterns that allow for multiple, random colors or that can be adapted for them. Seeing as I’m a novice quilter I can’t offer a lot of suggestions, but I do have a couple. One idea is you could go basic with a square of material representing a day. For the more ambitious, a log cabin block with each strip representing a day of the week seems like an interesting idea.
Quilters have it a bit easier than yarnies in that we can cut the pieces to a precise measurement that doesn’t vary greatly from person to person. We still need to test and plan out how big the end product will be, though. Again, with the precise measurements it’s a little easier to accomplish this with a quilt.
Conclusion
With that I conclude this three part series. I’ve had fun writing it. My hope is that you now have a clearer idea of what a temperature project entails. I also hope you now have the confidence to move forward with your own project. If you need or want additional help, email me (link at the top of the page), message me on Facebook via my blog’s profile, or leave a comment.
Can you suggest any patterns or methods to use for temperature projects (especially for knitters)?
FREE Temperature Tracker!!!!
Enter your email address and you'll get a completely free, ready to print temperature tracker to use for your project.
4 thoughts on “Demystifying Temperature Blankets, Part Three”
Hi! I’m seriously considering doing this, as an afghan, but I’m stumped about size. Specifically, if I do just a straight single crochet row each day, finishing out at a 1/4″, the final project will be over 7 feet long. That’s huge! If I do a simple double crochet, each row will finish at 1/2″, and the afghan will be over 15 feet. Ack! So how do you do a row a day with more than a single crochet and keep the project manageable?
Thanks!
The size of the project can be pretty daunting.
Here are a few possibilities for reducing the size:
-using half-double crochet, though I’m not sure how much shorter than your double crochet it is
-do a half a row a day (as in each row is two days)
-in a similar vein, do two skinnier panels and sew them together at the end of the year (or just do two separate afghans)
-using a smaller weight yarn
-making a motif for each month (granny square or corner-to-corner possibly) and connect them all at the end of the year
Let me know if this doesn’t help!
When we use the temperatures should it be from the day or night?
It’s really up to you, but if I was using just one I would use the day. Sometimes the high is at night, but that’s very rare where I live at least.