Disclaimer: This post contains an affiliate link. See my affiliate policy here.
Welcome to the second installment of my Demystifying Temperature Blankets series! In our last post we made a temperature range for our project. In this installment we’re going to look at how to pick out the materials, be they yarn or fabric.
Yarn
Other than finishing a project, buying yarn is my favorite step of any project. If you have a favorite yarn, don’t be afraid to use it for this project. It can be hard to motivate yourself to keep working on it the whole year, so having your favorite yarn to play with can help you keep going through the doldrums. When I started my temperature projects my go-to yarns were Red Heart Super Saver and Caron Simply Soft. I used them for practically everything I made, so it made sense to me to use them for my temperature blankets. I also liked the added comfort of knowing how the yarn worked.
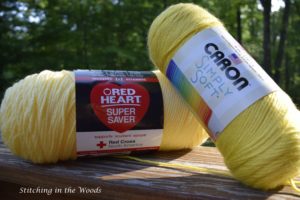
You don’t have to stay with your familiar yarns, though. You could choose to branch out to a new yarn that you’ve always wanted to try but never had. I would be wary of dye-lotted yarns, but they may not be a problem. Some dye-lotted yarns are still consistent from lot to lot while others vary significantly. These variations might be a nice addition to the variations in your blanket.
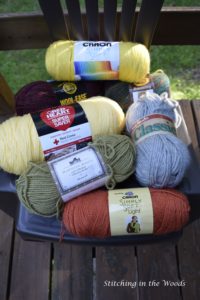
If you’d like to save some money, try to raid your stash. My stash isn’t big because I rarely buy yarn just because it looks or feels neat. As such, I don’t tend to have a lot of yarn laying around that isn’t tied to a certain project. I do have skeins left over from finished projects, though.
I don’t tend to like to mix yarns from different brands or lines, but that doesn’t mean you can’t. Wherever the yarn from your stash comes from, be sure to carefully mix your yarn brands/lines. You’ll want to try to make sure the yarns are the same thickness. You can’t rely on the weight category to help you make your decision. I’ve found some yarns in the 4 category that seemed more like they belonged in the 3 category and some yarns in the 5 category that seemed more like 4 yarns. You should also consider washability. I wouldn’t use a hand wash only yarn with a machine wash yarn. You probably could as long as you only hand wash it, but it’s just not something I’d do. Yet.
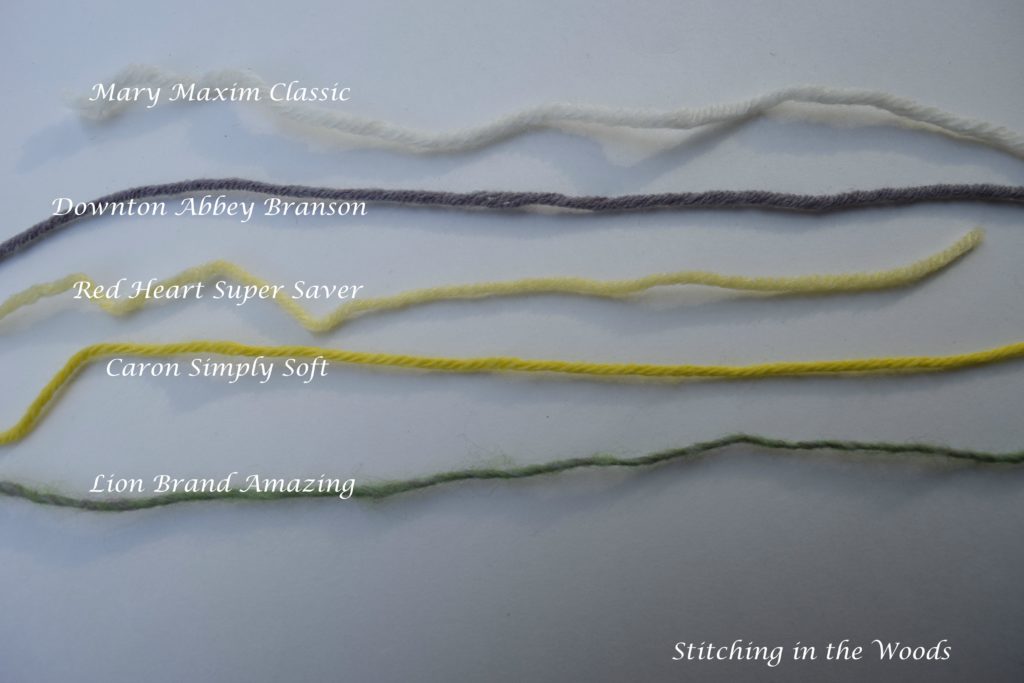
Once you’ve decided the source of your yarn (store or stash), you can start picking which yarn fits in what colors. From our last post we have both a temperature range and a color pattern. In my example I’m using the temperature range I made up for Nashville, Indiana.
- 100+
- 87-99
- 76-86
- 65-75
- 54-64
- 42-53
- 31-41
- 20-30
- 10-19
- Below 10
For ease of discussion I’ll say I’ve picked a rainbow color scheme for my yarn. I would need 10 different colors but there are only 6 colors in the rainbow (I left out indigo). So I’d need to double up 4 of my colors. Part of what I’m factoring in is how certain temperatures make me feel. If I feel a temperature is cold, I’d want a cool color (blue, green, purple). If I feel a temperature is warm, I’d want a warm color (red, orange, yellow). Below you can see the assignments I’ve made for each range.
- 100+: Red
- 87-99: Dark Orange
- 76-86: Light Orange
- 65-75: Dark Yellow
- 54-64: Light Yellow
- 42-53: Light Green
- 31-41: Dark Green
- 20-30: Light Blue
- 10-19: Dark Blue
- Below 10: Purple
I decided to use the middle of the range as a starting point for the cool or warm colors. That’s why the oranges and yellows are dark then light while the greens and blues are light then dark.
The last part of this would be to plug yarn colors into your range. I’ll use Red Heart Super Saver for my example, since I’m more familiar with their colors.
- 100+: Red (Cherry Red)
- 87-99: Dark Orange (Flame)
- 76-86: Light Orange (Pumpkin)
- 65-75: Dark Yellow (Bright Yellow)
- 54-64: Light Yellow (Lemon)
- 42-53: Light Green (Spring Green)
- 31-41: Dark Green (Paddy Green)
- 20-30: Light Blue (Light Blue)
- 10-19: Dark Blue (Blue)
- Below 10: Purple (Amethyst)
If you find yourself re-thinking your color scheme to match the yarn you like, go with the flow. Say you chose a rainbow color scheme but the brand of yarn you like has several shades of your favorite colors. You could then change your color scheme to match the yarns you’d found. By now you’ve probably started to realize how easy it is to customize this project.
Fabric
Even if you only use yarn, take time to read this section.
A lot of the concepts presented for choosing your yarn could also apply to choosing fabric, so I’ll take this time to point out the unique challenges or perks of using fabric. If you skipped or skimmed the yarn section I’d go back and read it before reading further.
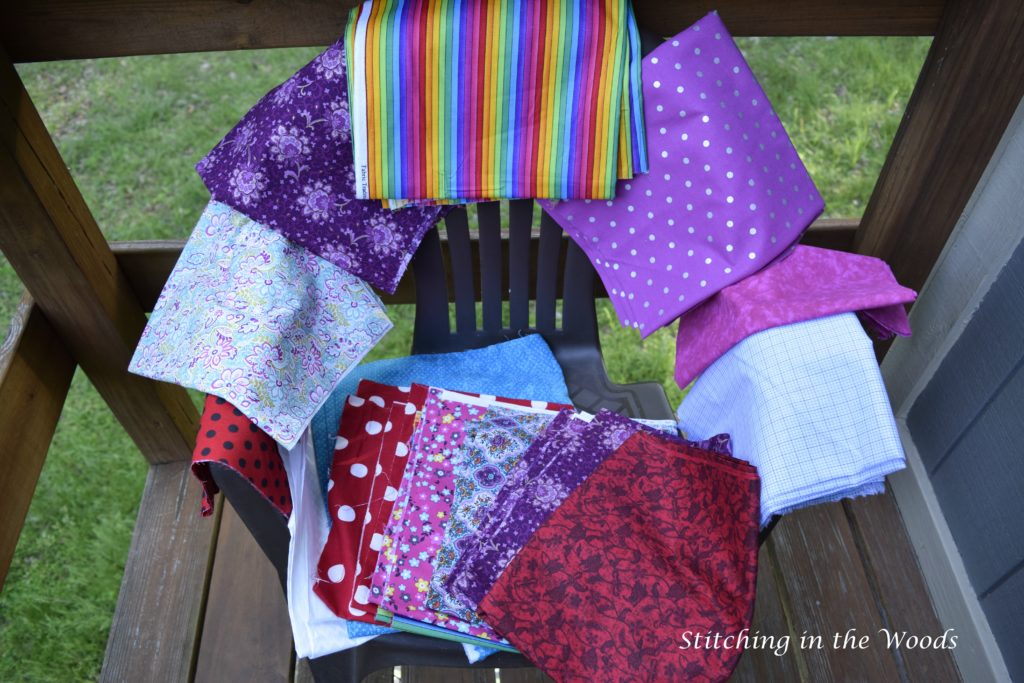
Assigning the general colors for each range is the same as with yarn. When you start picking specific fabrics to go with your ranges you face a challenge the yarn users don’t. Fabric doesn’t only come in different colors, but different patterns. So for the red slot you need to decide if you want to use one red fabric in a specific pattern or if you want to use several different red fabrics (of the same or very similar shade) in different patterns. Another problem unique to quilted temperature projects is that you need to try to pick a fabric that has a smaller print or no print at all.
As with yarn, you could mix brands or stick with one brand. If you mix brands you’ll want to make sure the different fabrics generally have similar thickness and drape.
Here’s a possible fabric range picked from the Little House Fabric Collection.
- 100+: Dark Red (Red Floral)
- 87-99: Light Red (Pink Vine)
- 76-86: Orange (Beige Floral)
- 65-75: Dark Yellow (Yellow Floral)
- 54-64: Light Yellow (Yellow Trailing Floral)
- 42-53: Light Green (Green Floral)
- 31-41: Dark Green (Green Daisy)
- 20-30: Light Blue (Blue Floral)
- 10-19: Dark Blue (Blue Daisy)
- Below 10: Purple (Purple Floral)
Notice I had to change my dark orange to a light red to match the collection.
A temperature project is a perfect stash-buster project. I haven’t made any quilts yet (still working on my first), but Buddy can tell you that I’m already a fabric hoarder. I’ve found I’m more likely to randomly buy bits of fabric without a project in mind than I am random skeins of yarn. If you’re like me and need help building your stash, Keepsake Quilting has scrap bags you can buy.
Check out Keepsake’s fabrics sorted by color.
Now that we’ve picked out our materials we’ll look at the stitches or patterns we want to use to put them together. Click here to read part three!
Questions? Comments? Leave them below!
FREE Temperature Tracker!!!!
Enter your email address and you'll get a completely free, ready to print temperature tracker to use for your project.
5 thoughts on “Demystifying Temperature Blankets, Part Two”
Hi, i live in a country which is very up and down temperature wise. Eg the other day the temp started at 5 degrees Celsius and went up to 27 cegrees cel. This is peak of summer and unusual. Although it is normal to be cold and warm to hot in the same day I have only been living here 2 months.
How crochet the row/s showing coolest to hotest temp each day, or does that mean i have to do 2 rows a day? which may mean too much time. I am hoping to make a cover for single bed or afghan done in rows.
Thanks
That’s quite the temperature swing! You could do half the row in the high and half in the low. Then you won’t add length to your blanket yet you can see how the temperatures changed.
Margaret
Thanks, I was wondering. Think 2 rows a week would make things long.
Hi I want to crochet a double size historical temperature blanket, which will have 365 rows (representing a temperature each day). I would like to do it in Navajo Indian Diamond stitch. I need to know 1- which type of yarn shall I use (don’t want it to be too long); 2- what hook to use:and finally how do I calculate each yarn amount required to complete the blanket. I will need to buy the required wool all in one go, as here where I live, wool yarn tend to go discontinue quite a lot.
I really like that stitch! That’s on my list of temperature stitches to try.
Double size is anywhere from 80” by 90” (203 to 230 cm) to 90” by 100” (230 to 255 cm) from what I could find. If the size is the most important thing, then you would need to find a yarn that would let you match your final size.
That would be a gauge of 100” or 255cm divided by 365.
Figured out, it’s 3.65 rows per inch or 1.4 rows per centimeter. My gauge with an H hook doing a stitch similar in height to the Navajo one and Super Saver yarn (a medium to thick worsted weight) is pretty well right on that.
So, I’d recommend an average worsted weight yarn and an H/5mm hook. Even if you go with a thinner worsted I would still use an H/5mm hook, but just know your blanket will be a bit closer to the first size I mentioned above.
How much yarn to buy really depends on your range and local weather. But to give you a rough estimate I would get 728 yards (666 meters) of your top and bottom range colors and 1092 yards (999 meters) of your middle colors. I really think that’s way over, but it gives you a lot of room to work with if they discontinue colors or lines as frequently as you mentioned (isn’t that annoying!?).
Summary just in case my explanation got confusing. My recommendation:
Worsted weight yarn
H/5mm hook
728 yards/666 meters of top and bottom colors
1092 yards/999 meters of middle colors
Good luck on your blanket!
Margaret