
I’ve been delayed in my posts because of several reasons. The first was that Buddy took a finishing class at Marc Adams School for Woodworking. The second was our local homeschool convention. The third was that I hadn’t really done anything with my temperature projects for most of the month. I’ve been trying to expand my crochet boundaries, which makes it harder to return to projects I’ve already started.
Now that I’m done making excuses, let’s get to talking about crochet.
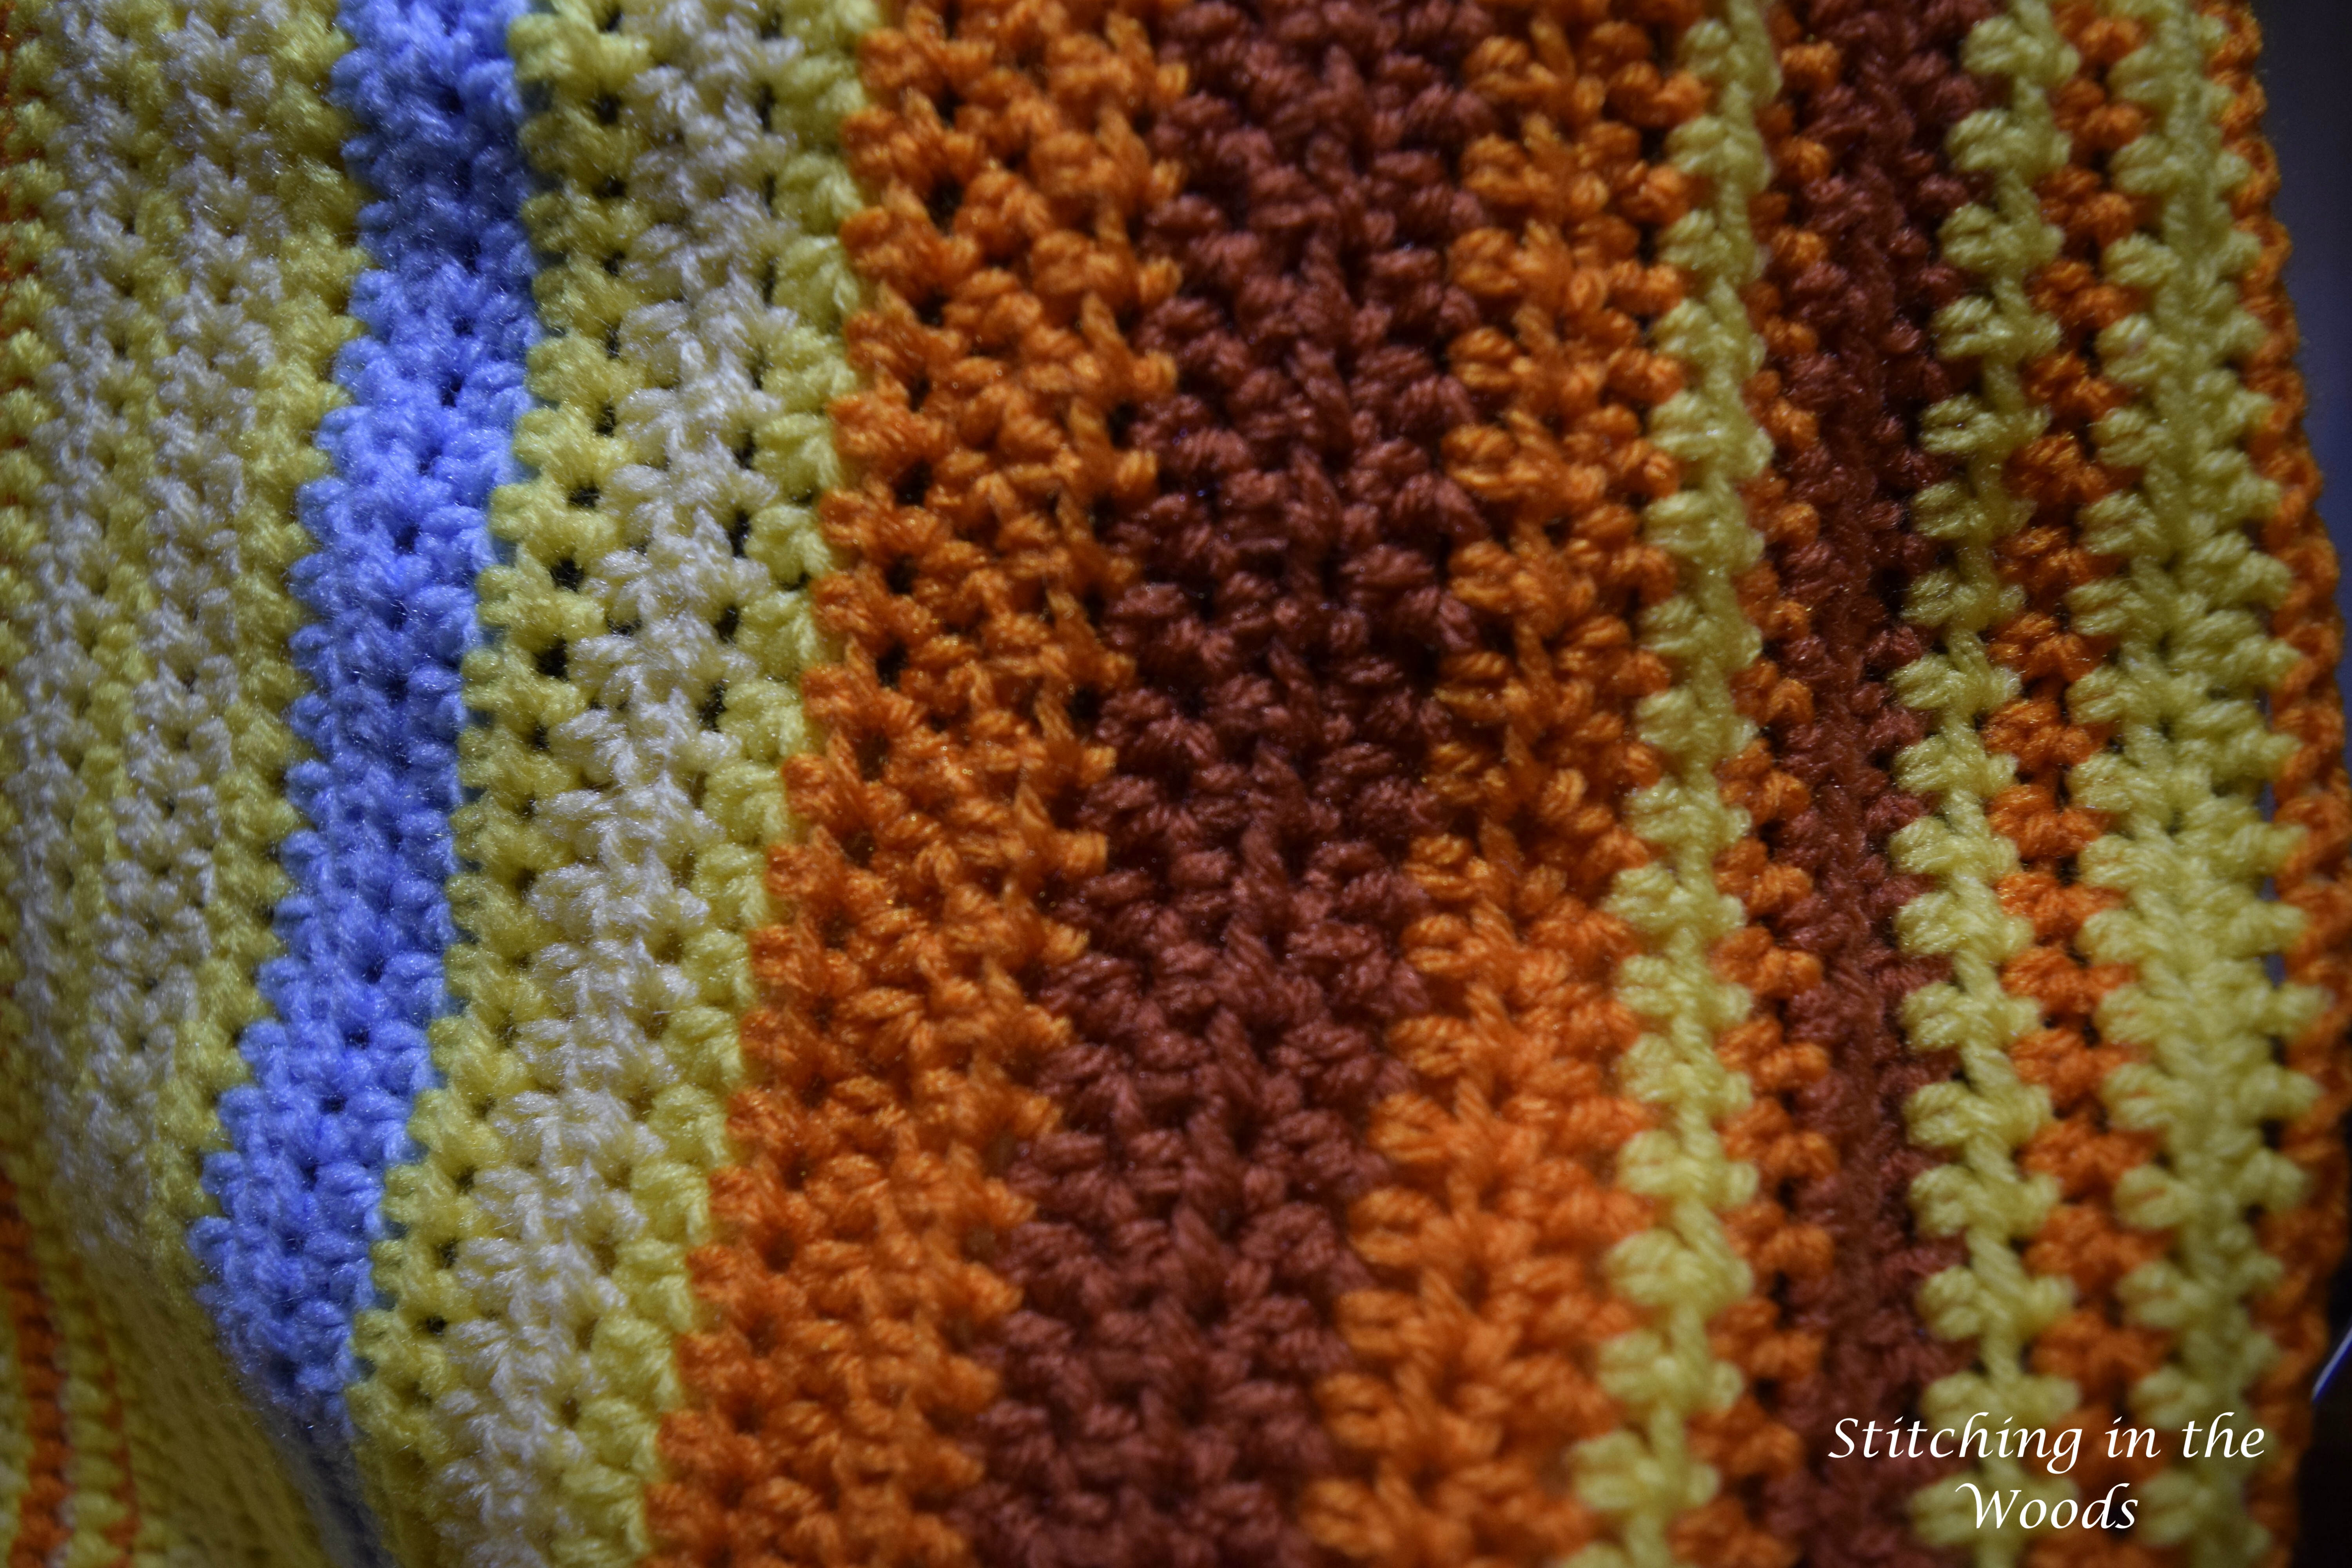
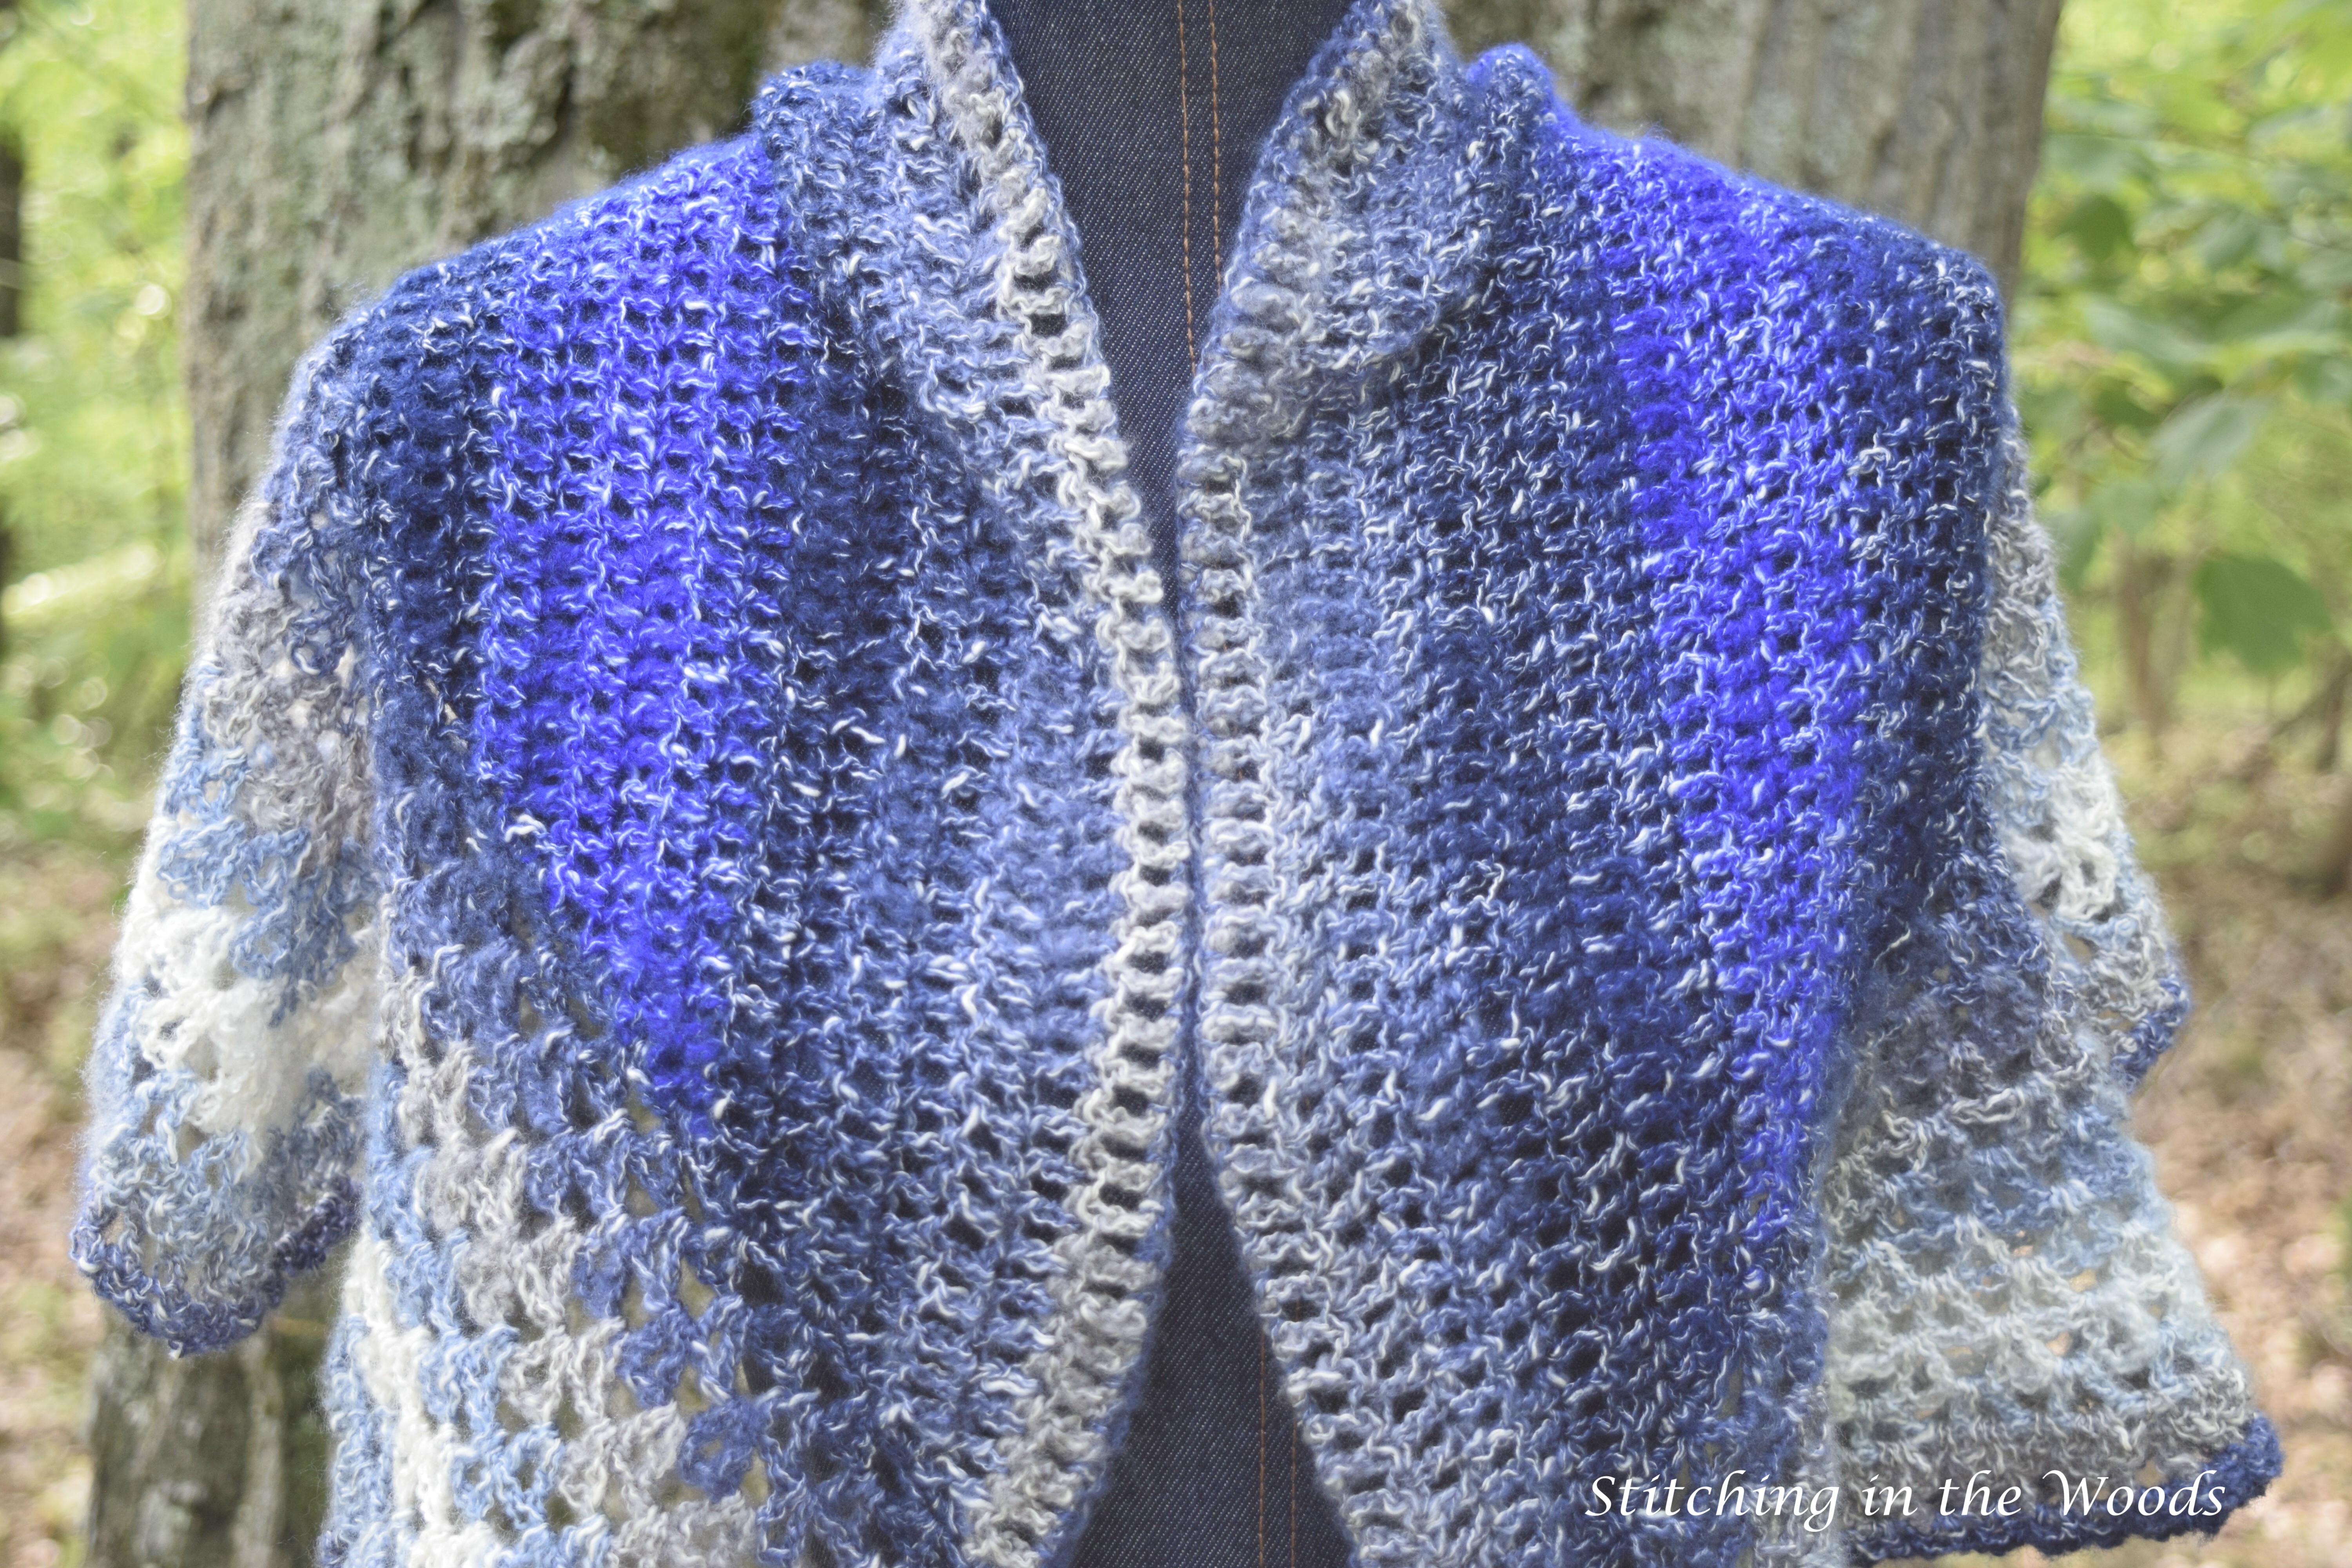
Temperature Shawl
There isn’t much to talk about with this project. I did finish my April rows. As I was completing the rows I tried to pay attention at the end of each row because that’s where I messed up in February. I managed to not mess up this time, but I realized that I kept having the urge to skip the chain at the end of each row. To me that confirms that my angled edges were probably due to skipping the chain.
I found out that it was a nice mindless project to work on while I was mulling over curriculum decisions at the IAHE convention.
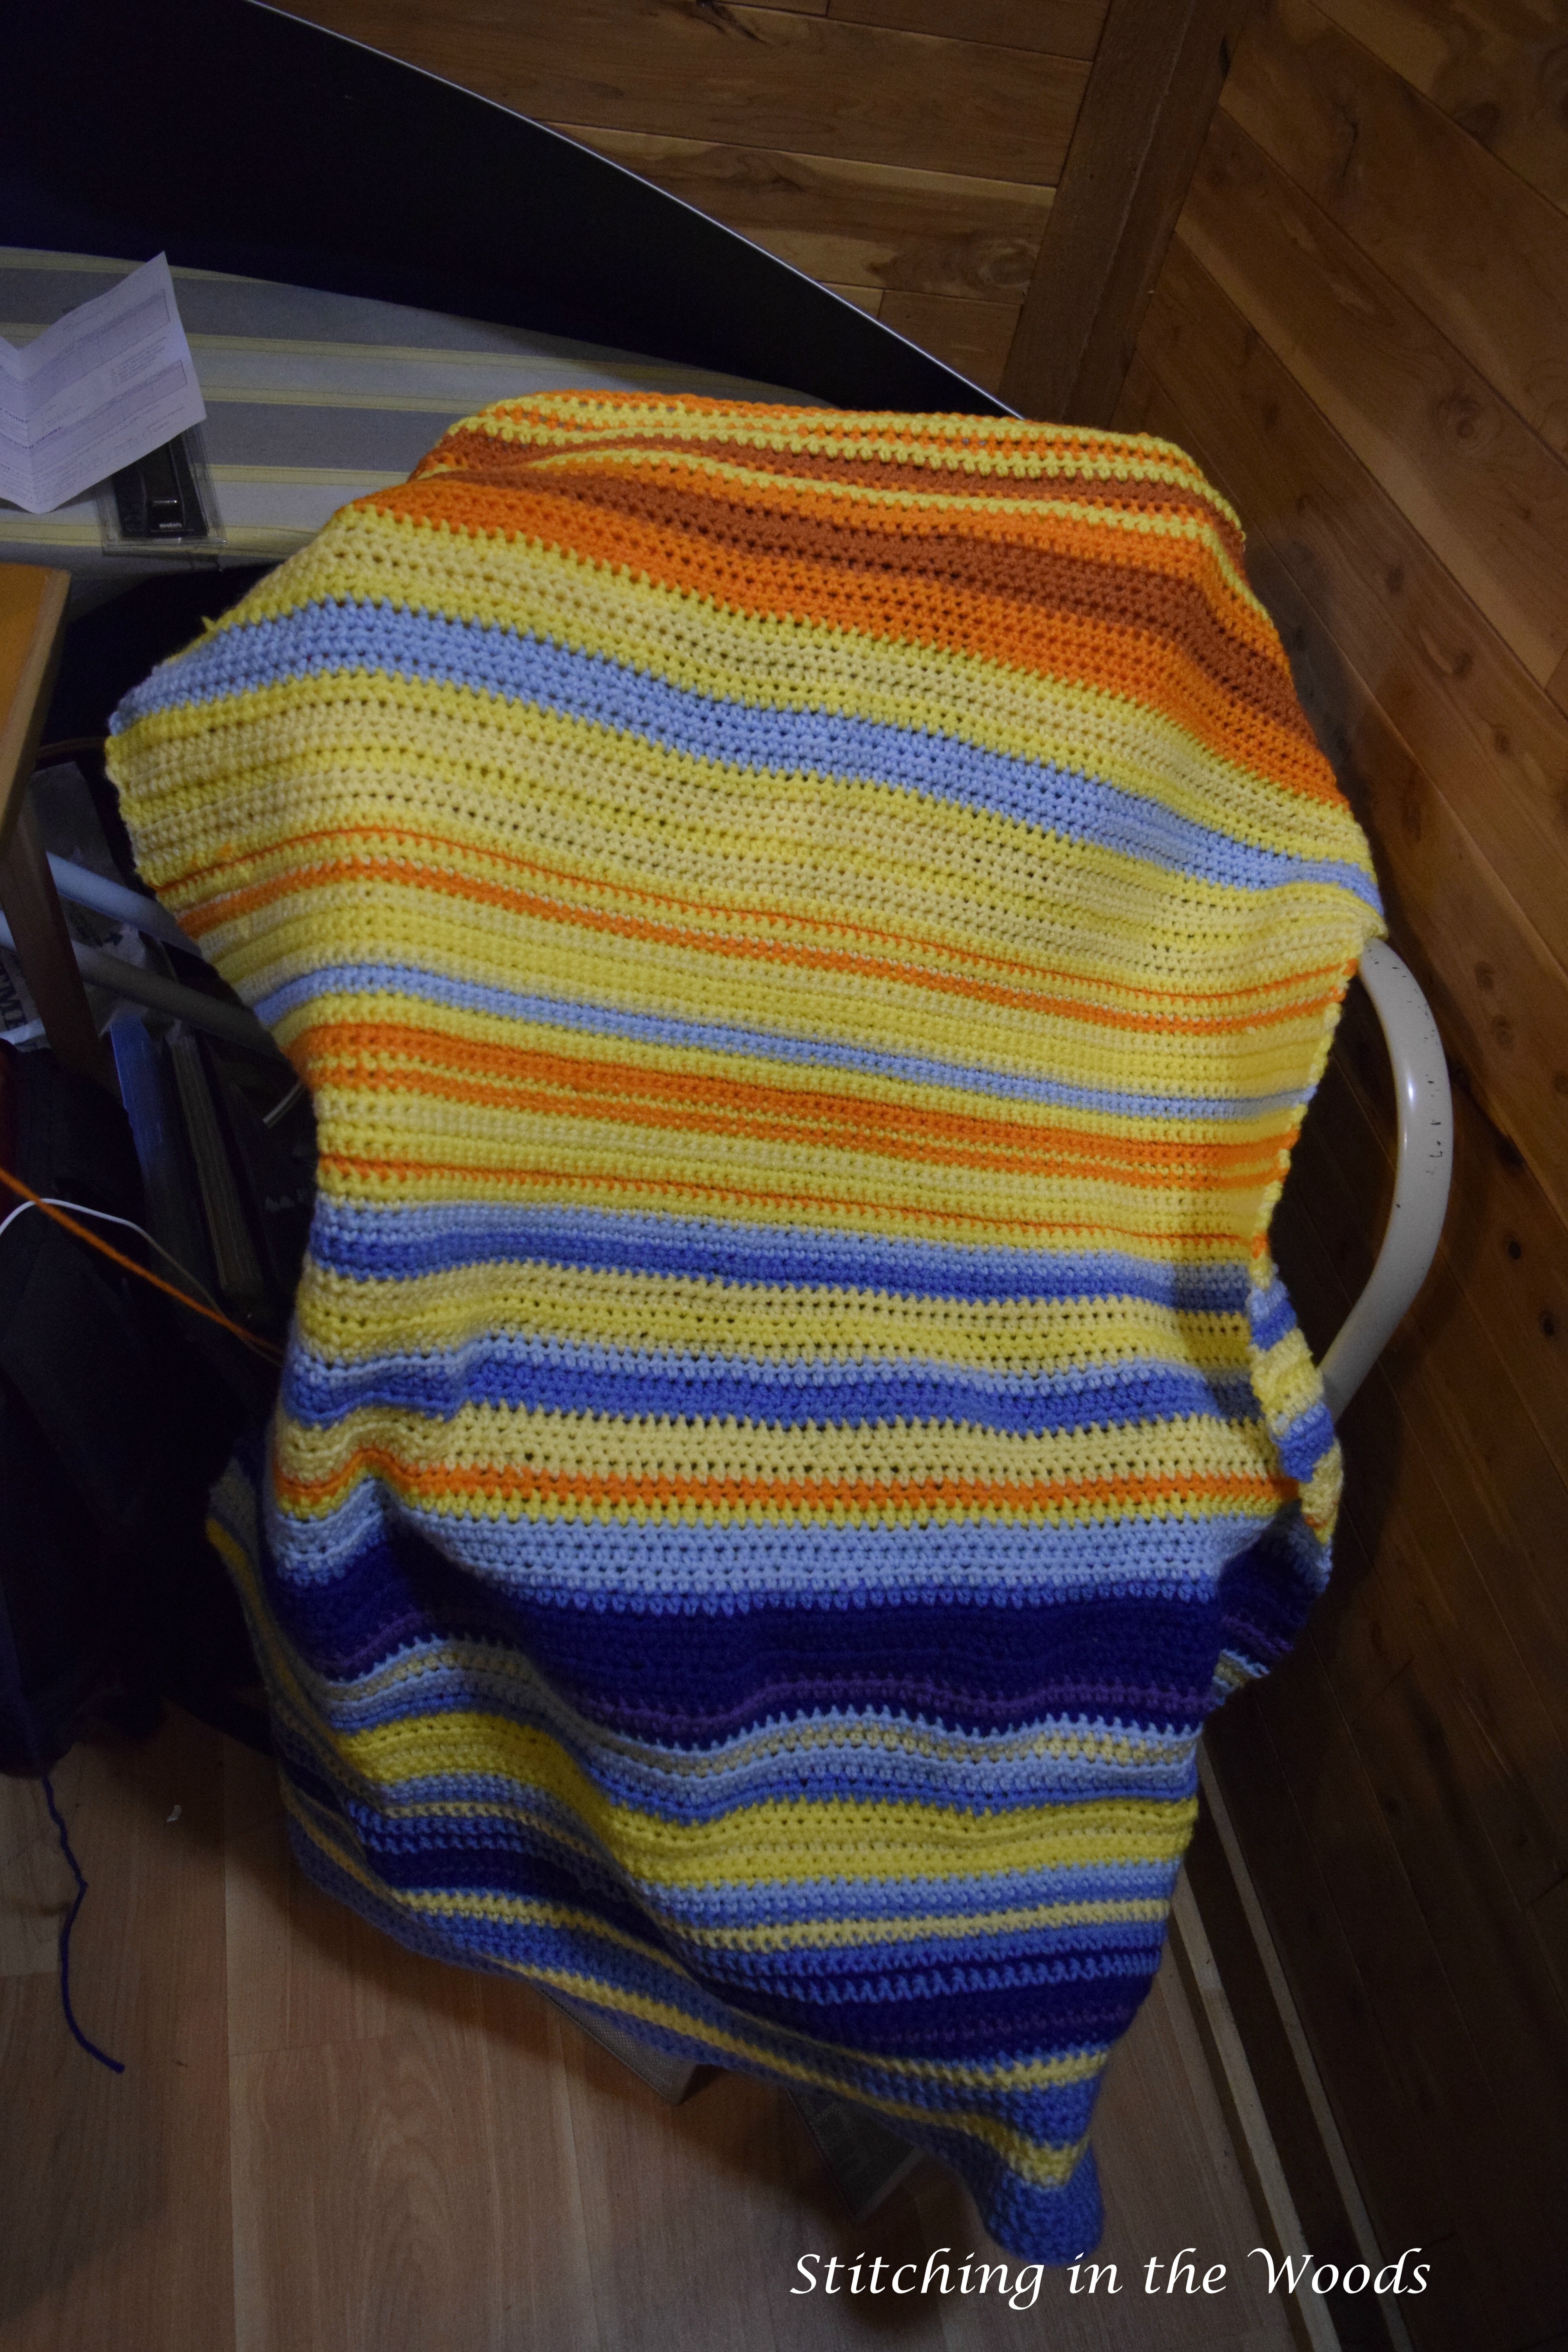
As the project gets bigger it’s getting harder to get a good picture of it.
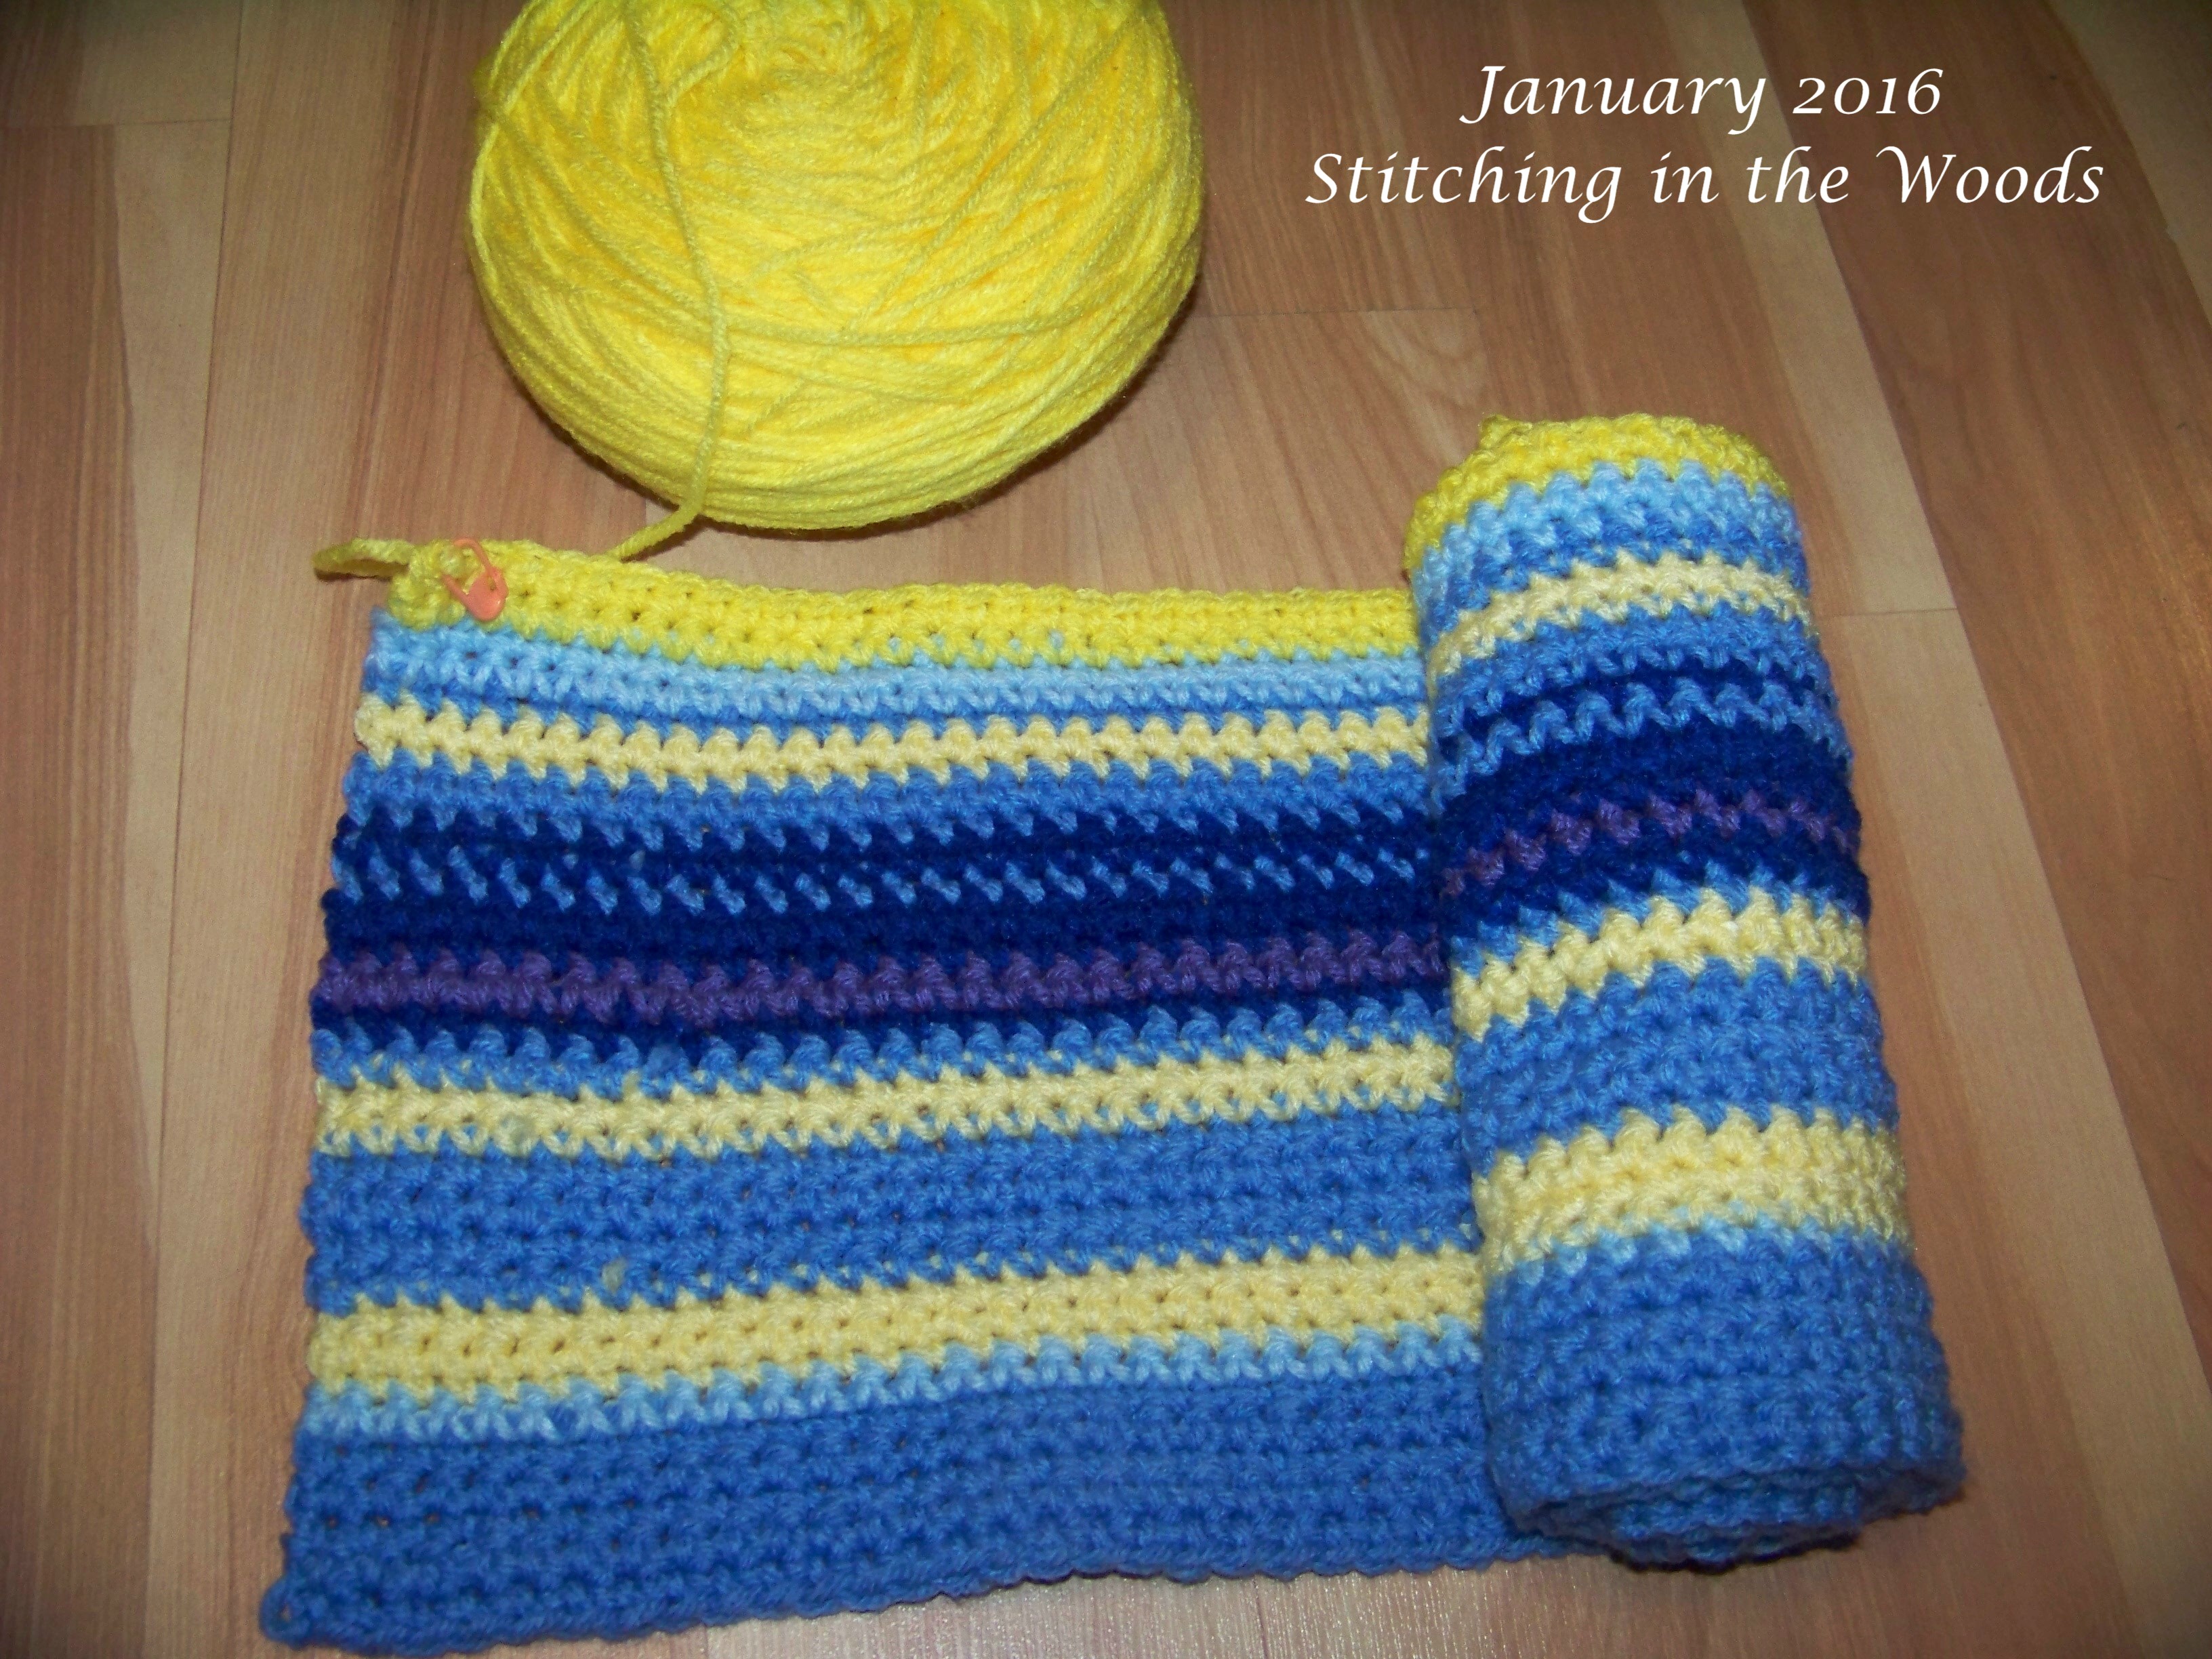
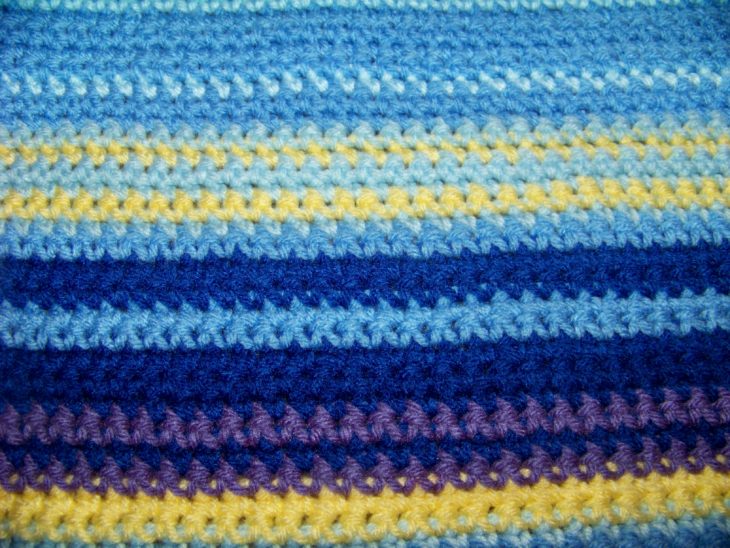
Temperature Blanket
I had been neglecting this project the whole month. I was forced to stop avoiding it, however, when I accidentally knocked my stack of January squares off my craft table. As I was re-assembling my stack of 32 squares I resolved to figure out how I was going to join my squares and get it done.
At first I was flummoxed by the joining. I was about to try to look online to find tips on joining squares when I decided to try on my own first. I wanted the joinery, if I can use that term, to be simple.
What seemed the simplest to me was to single crochet along the edge of two squares being held together. I tried out my theory by holding two squares right sides together and doing my single crochet edge.

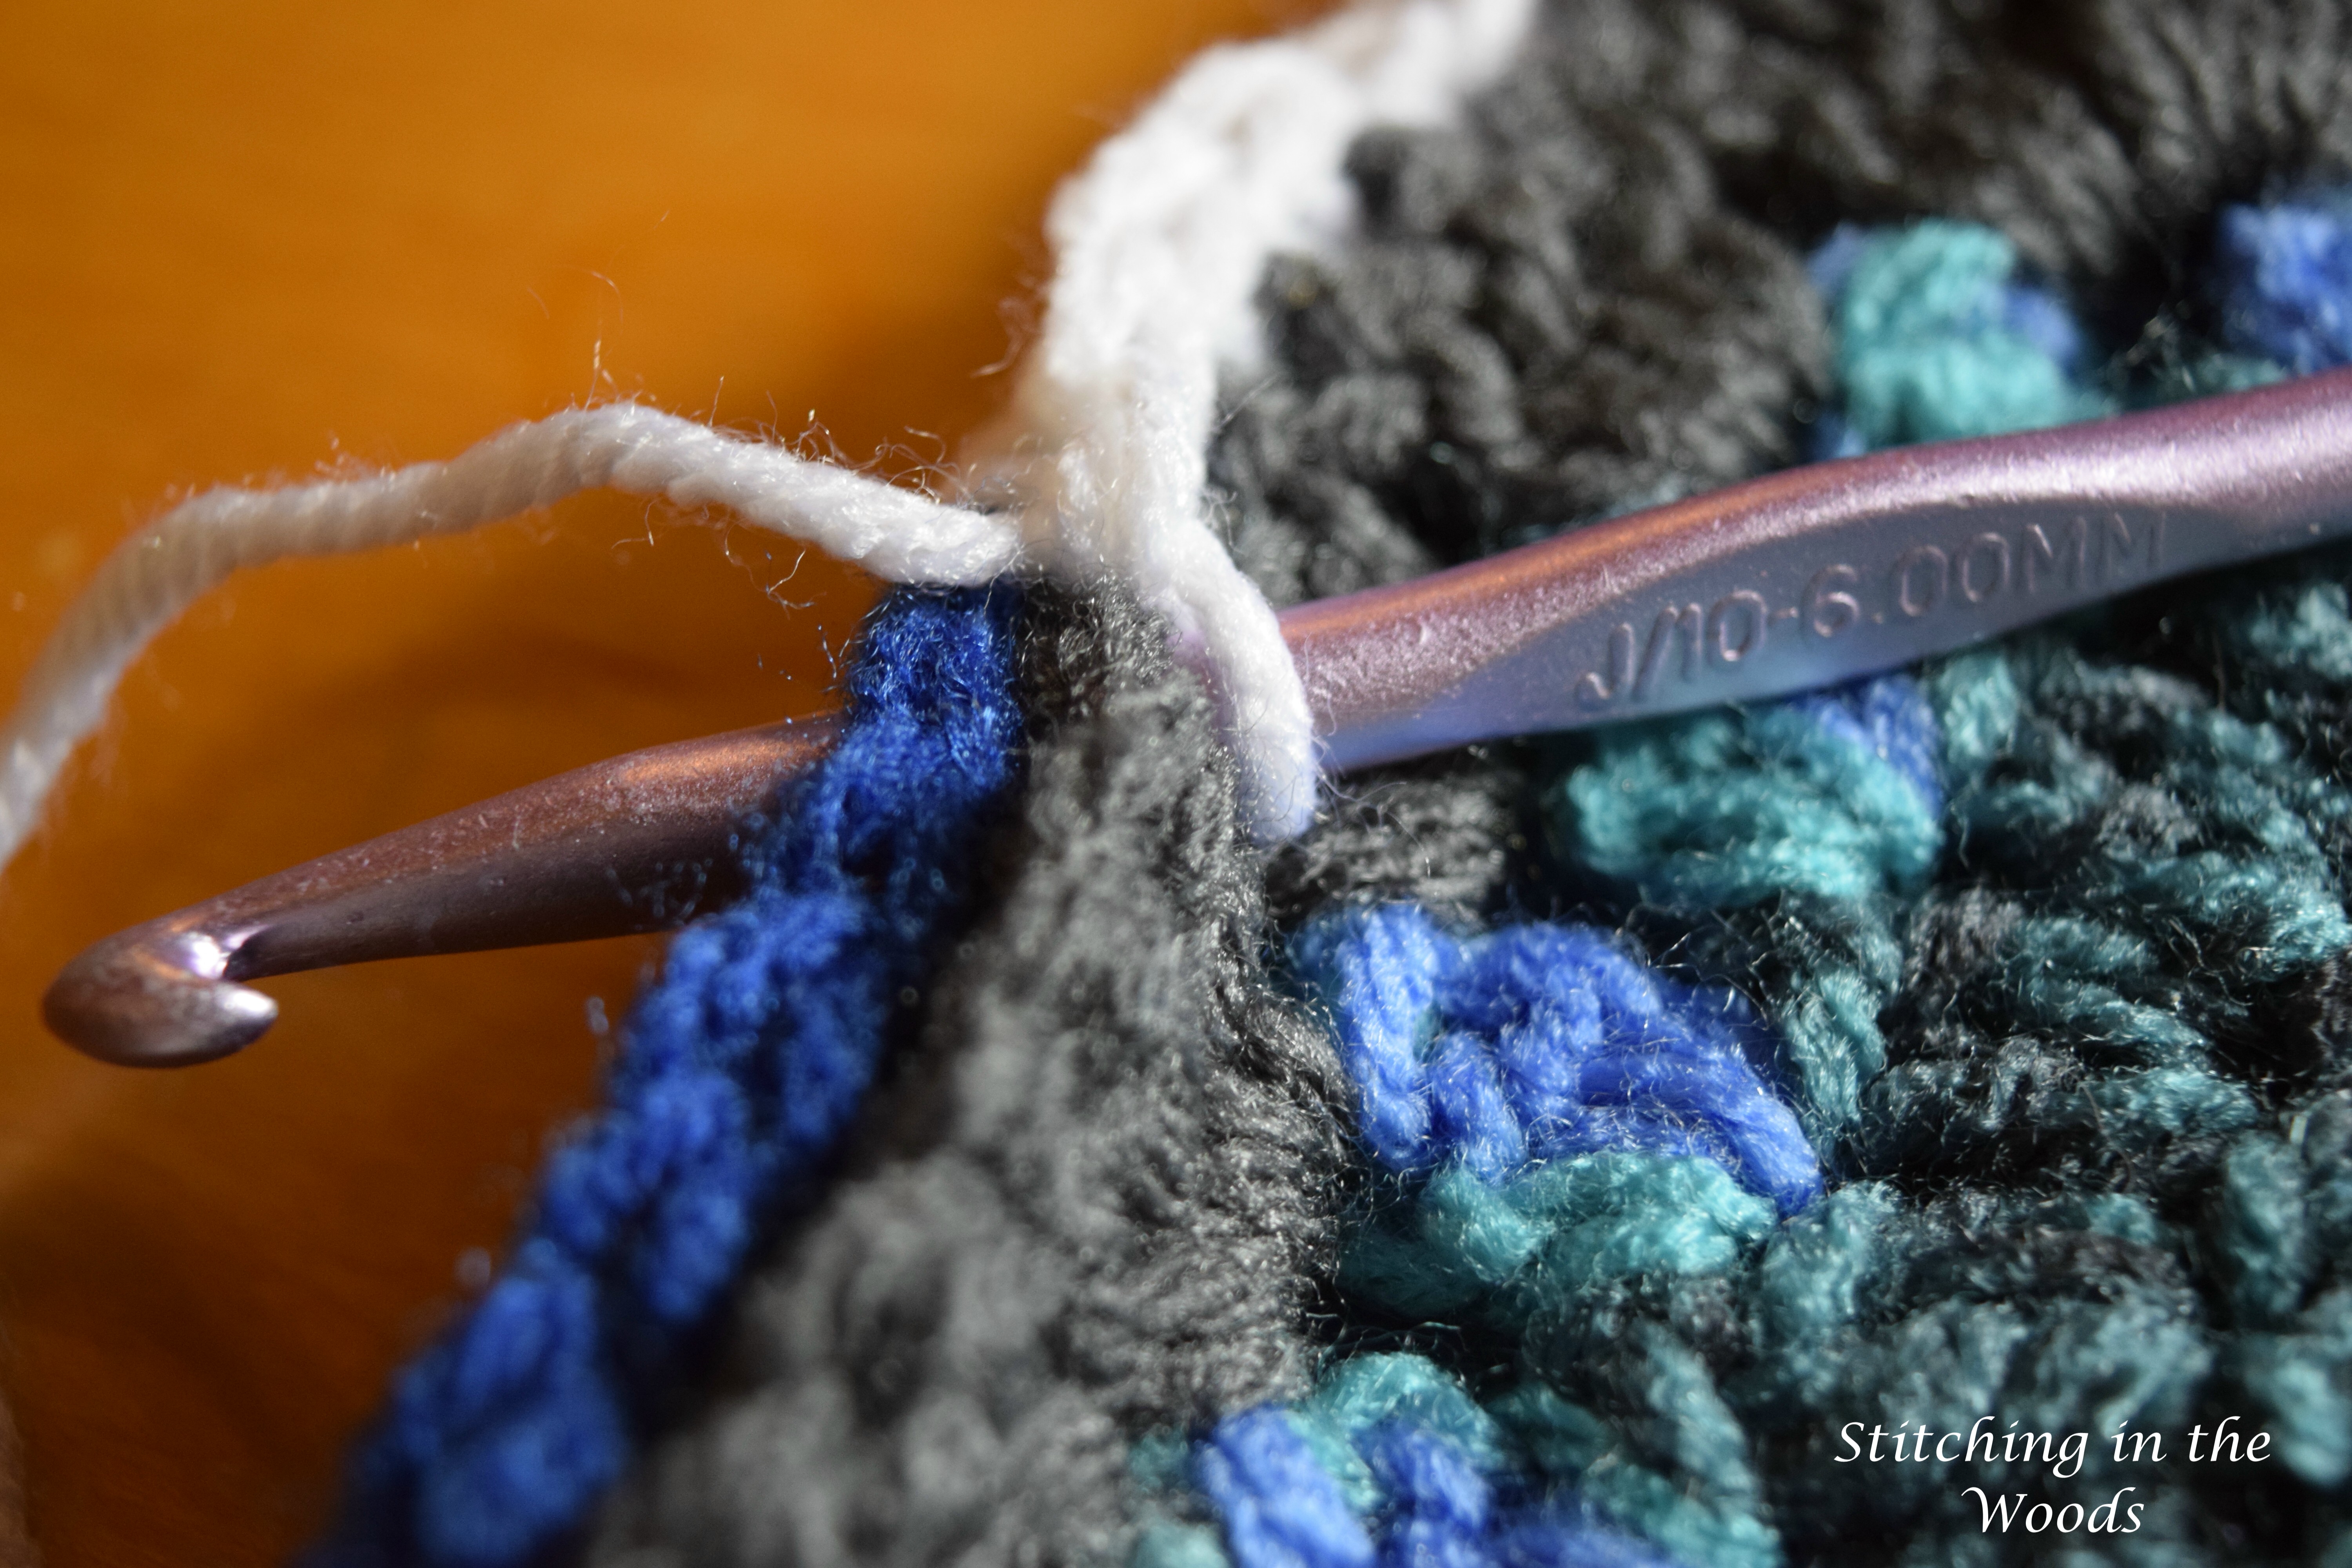
As you can see from my picture below, the front only showed a few bits of white. The back had a rib of single crochet dividing the two squares.
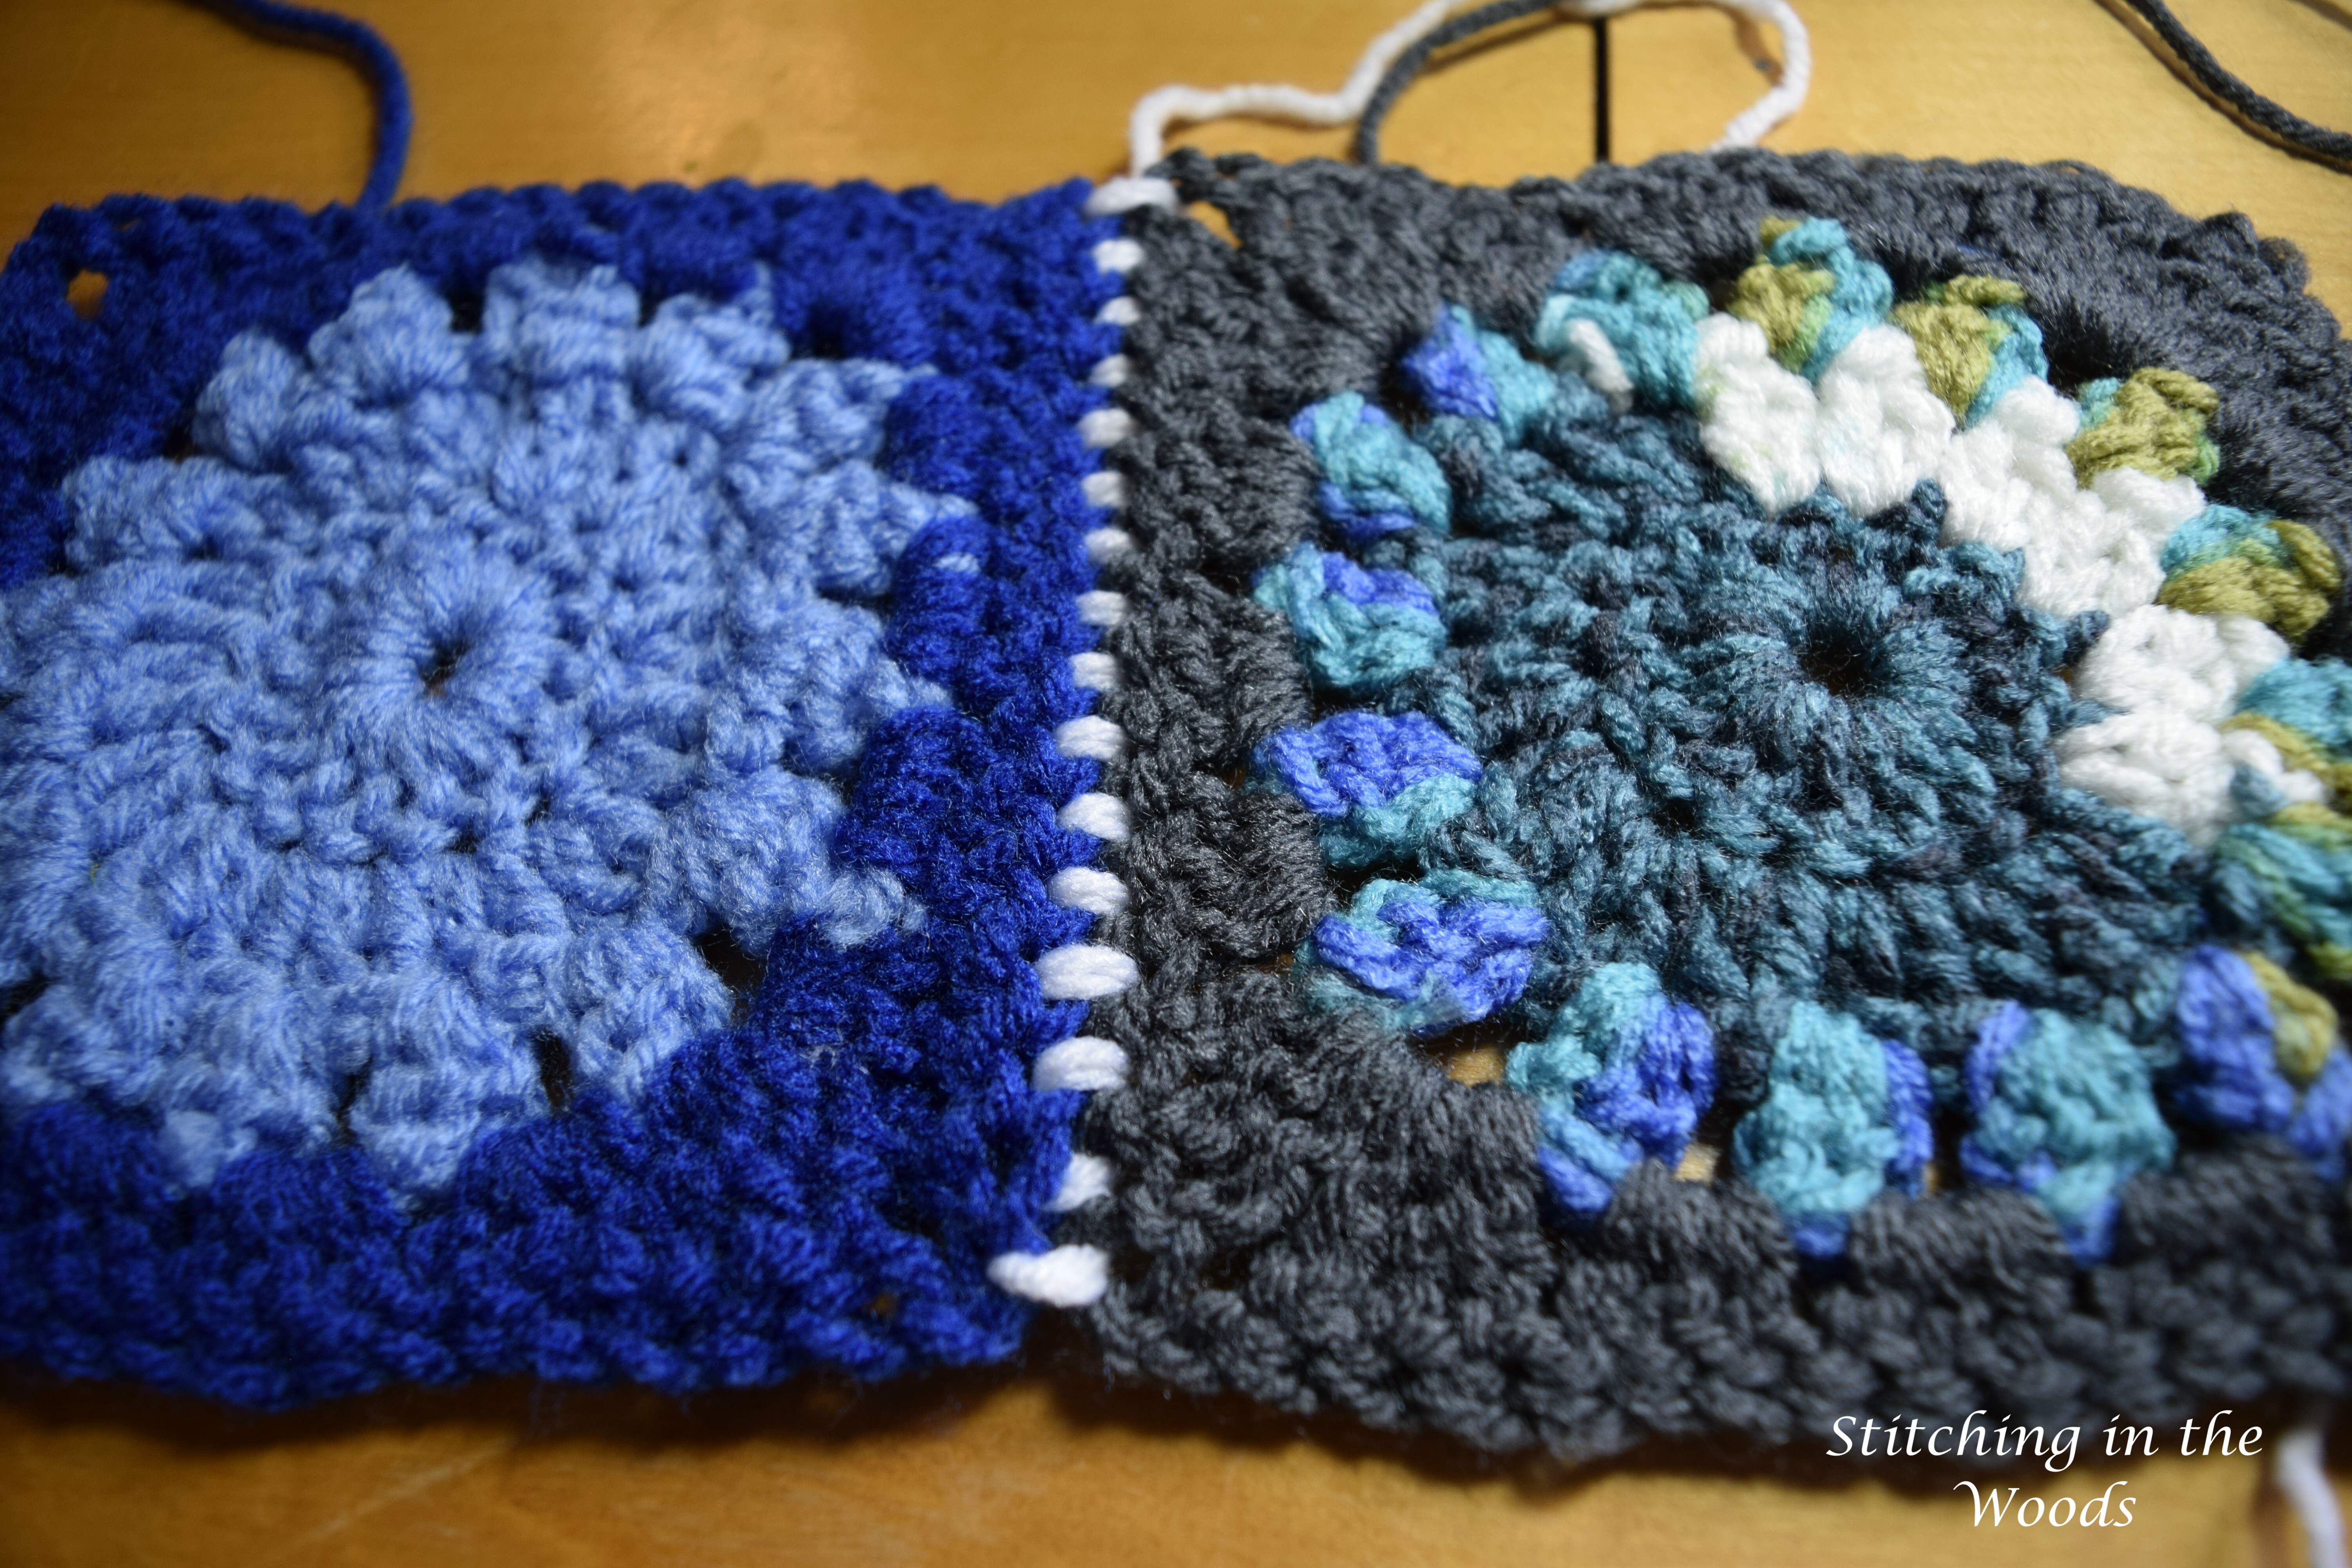
I liked this look better, so I took out my work and re-did the joining with the squares held wrong sides together. This gave me a nice rib which provided the division between squares I wanted.

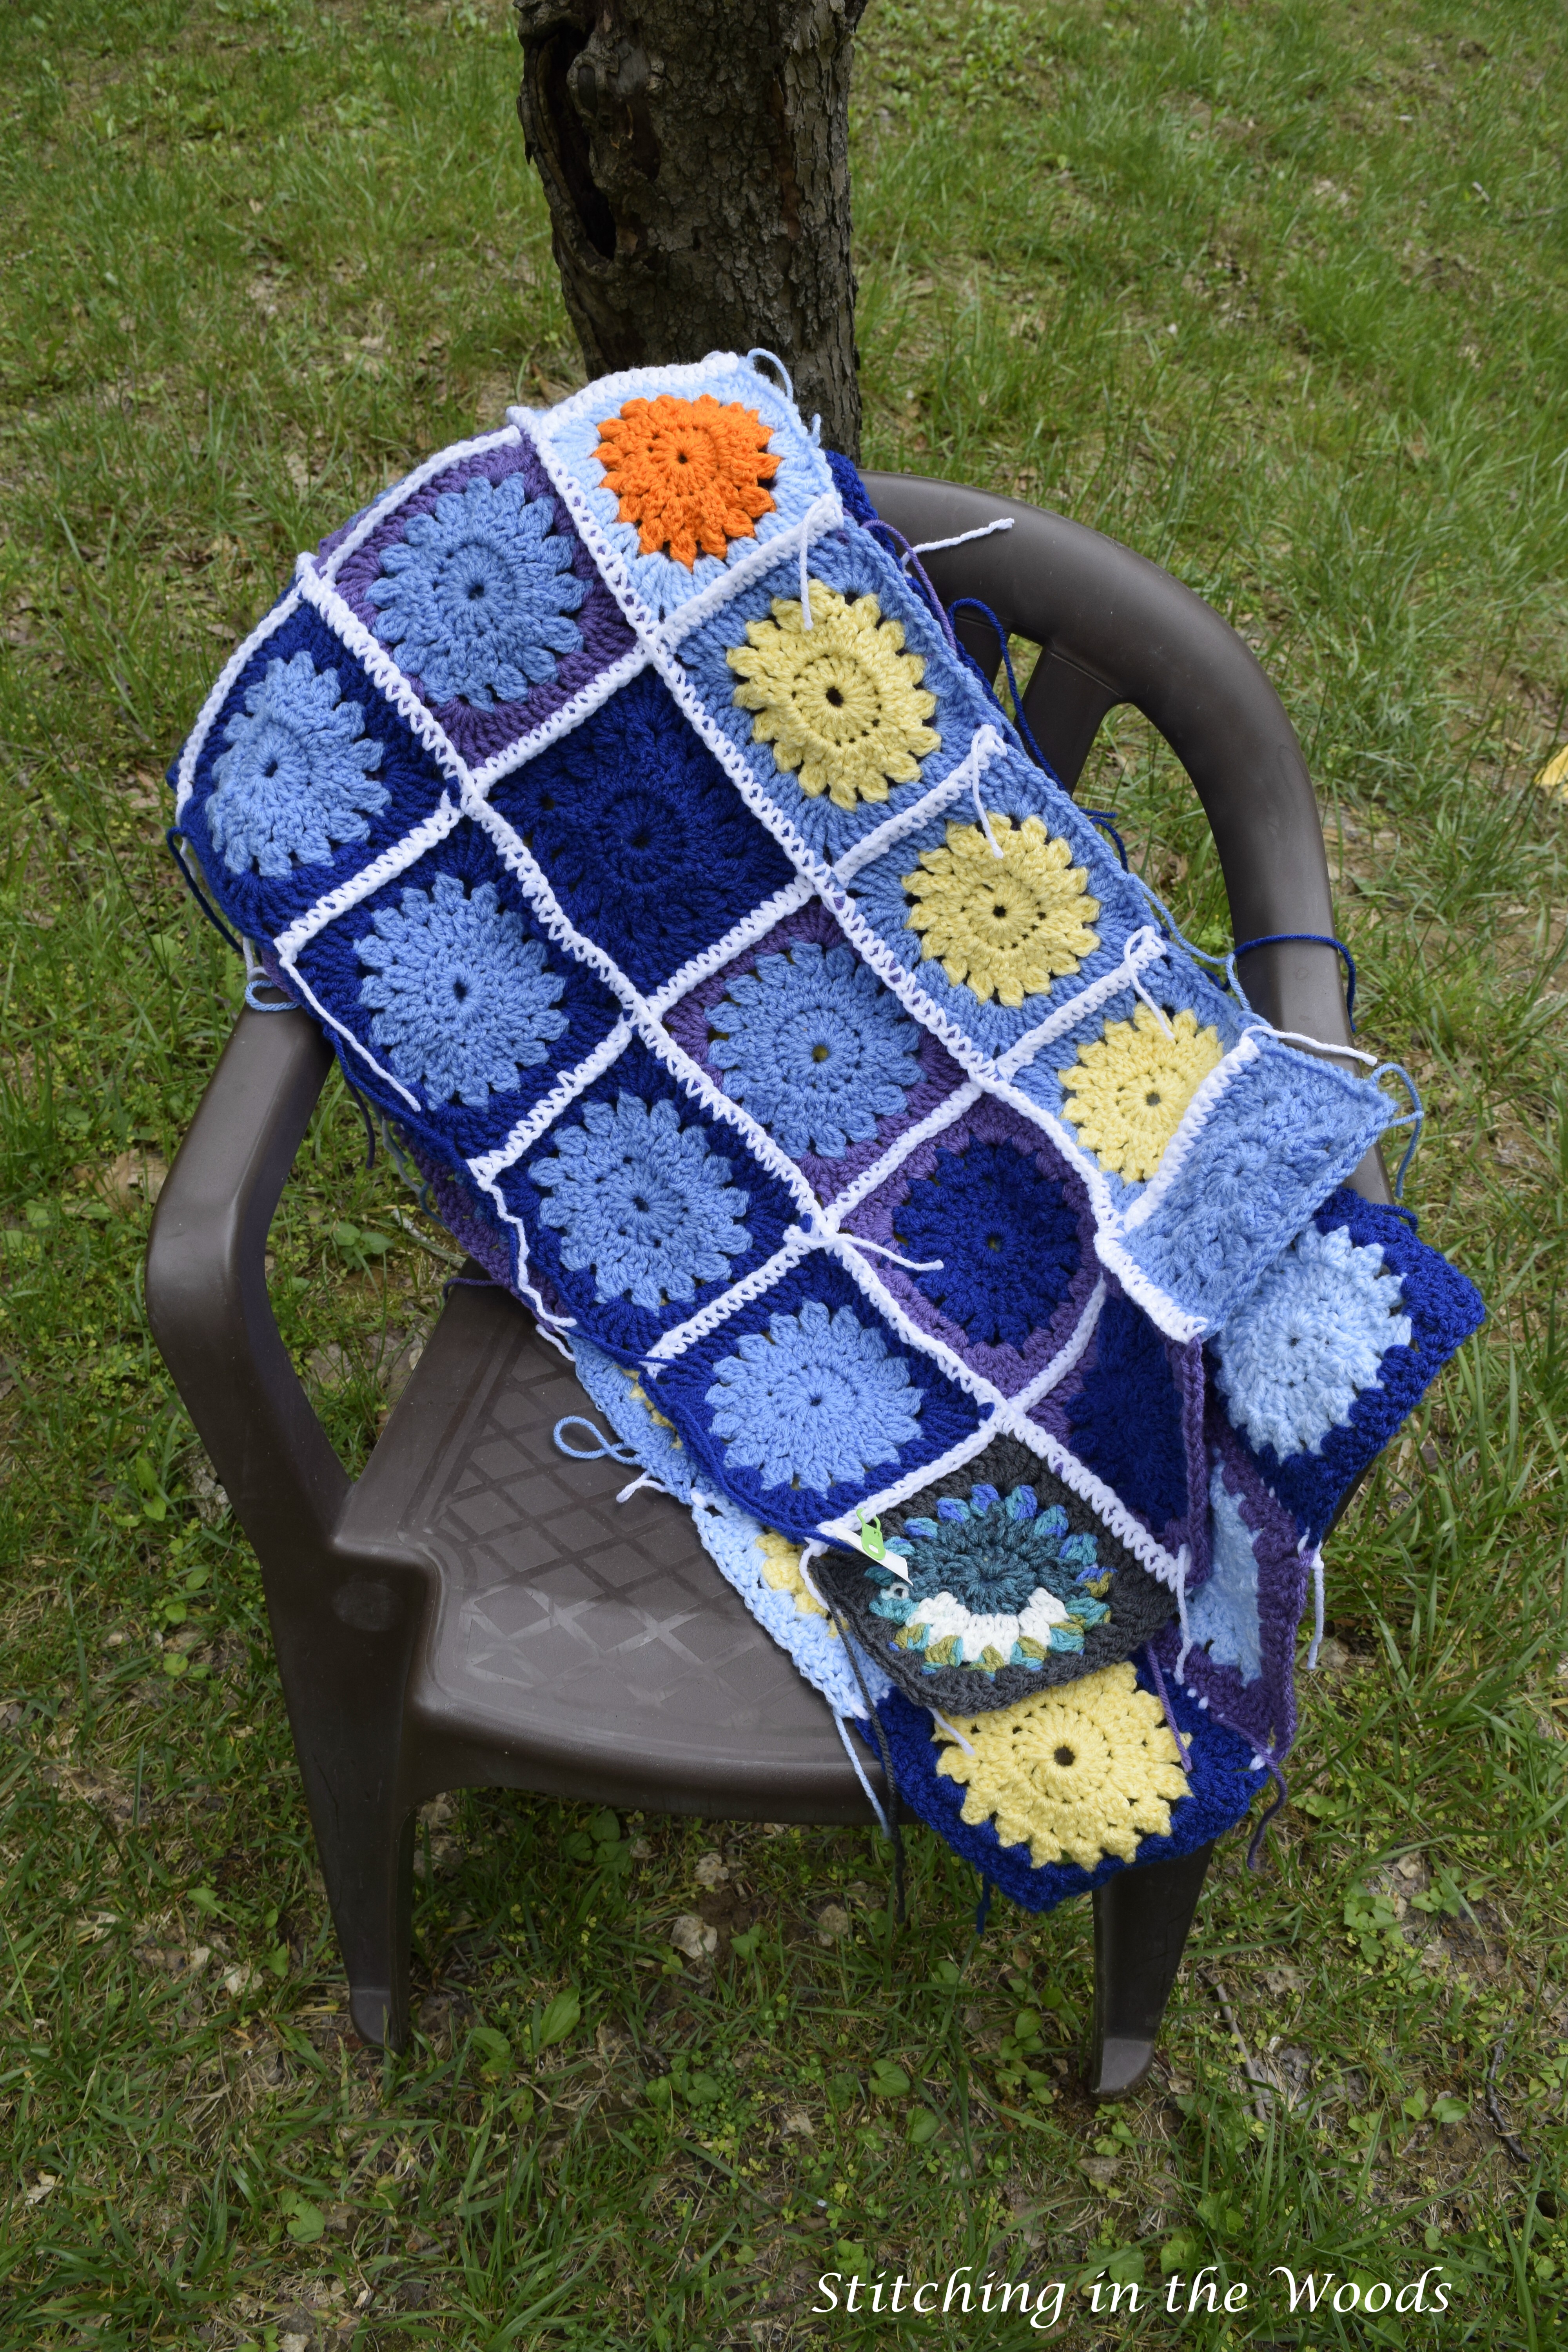
Per my original plan I connected 19 squares together to make a row. I wanted to see how wide it was going to be so I put it on our bed to check. I was disappointed to see that it was far too wide with two whole squares on the floor. I decided to keep going and see how it worked out.
I then connected the next 19 squares together, too. Now the time had come to join the two rows together.
I held the rows wrong side together and worked along the entire top edges of both rows. When I reached a pair of ribs in between each square I tried to pick up loops from the two ribs to bring them together. I finished the row, which was sheer tedium, and was showing it off to Buddy and the kids when I realized I’d made a mistake. I’d wanted to have the squares snake, in order, back and forth across the blanket. I had connected the second row backward. I didn’t want to undo my work (it took FOREVER), so I left it. It wasn’t worth it for me to go back and do over. I was happy to find out that adding the second row had somehow shrank the first row and now the blanket only reached the floor on each side.
I connected the next 19 squares together and then connected that row to the second row, making sure to get them in the right order this time.
Now that I’ve established my joining method I plan on connecting the squares as I make them and connecting each completed row to the main blanket as I go.
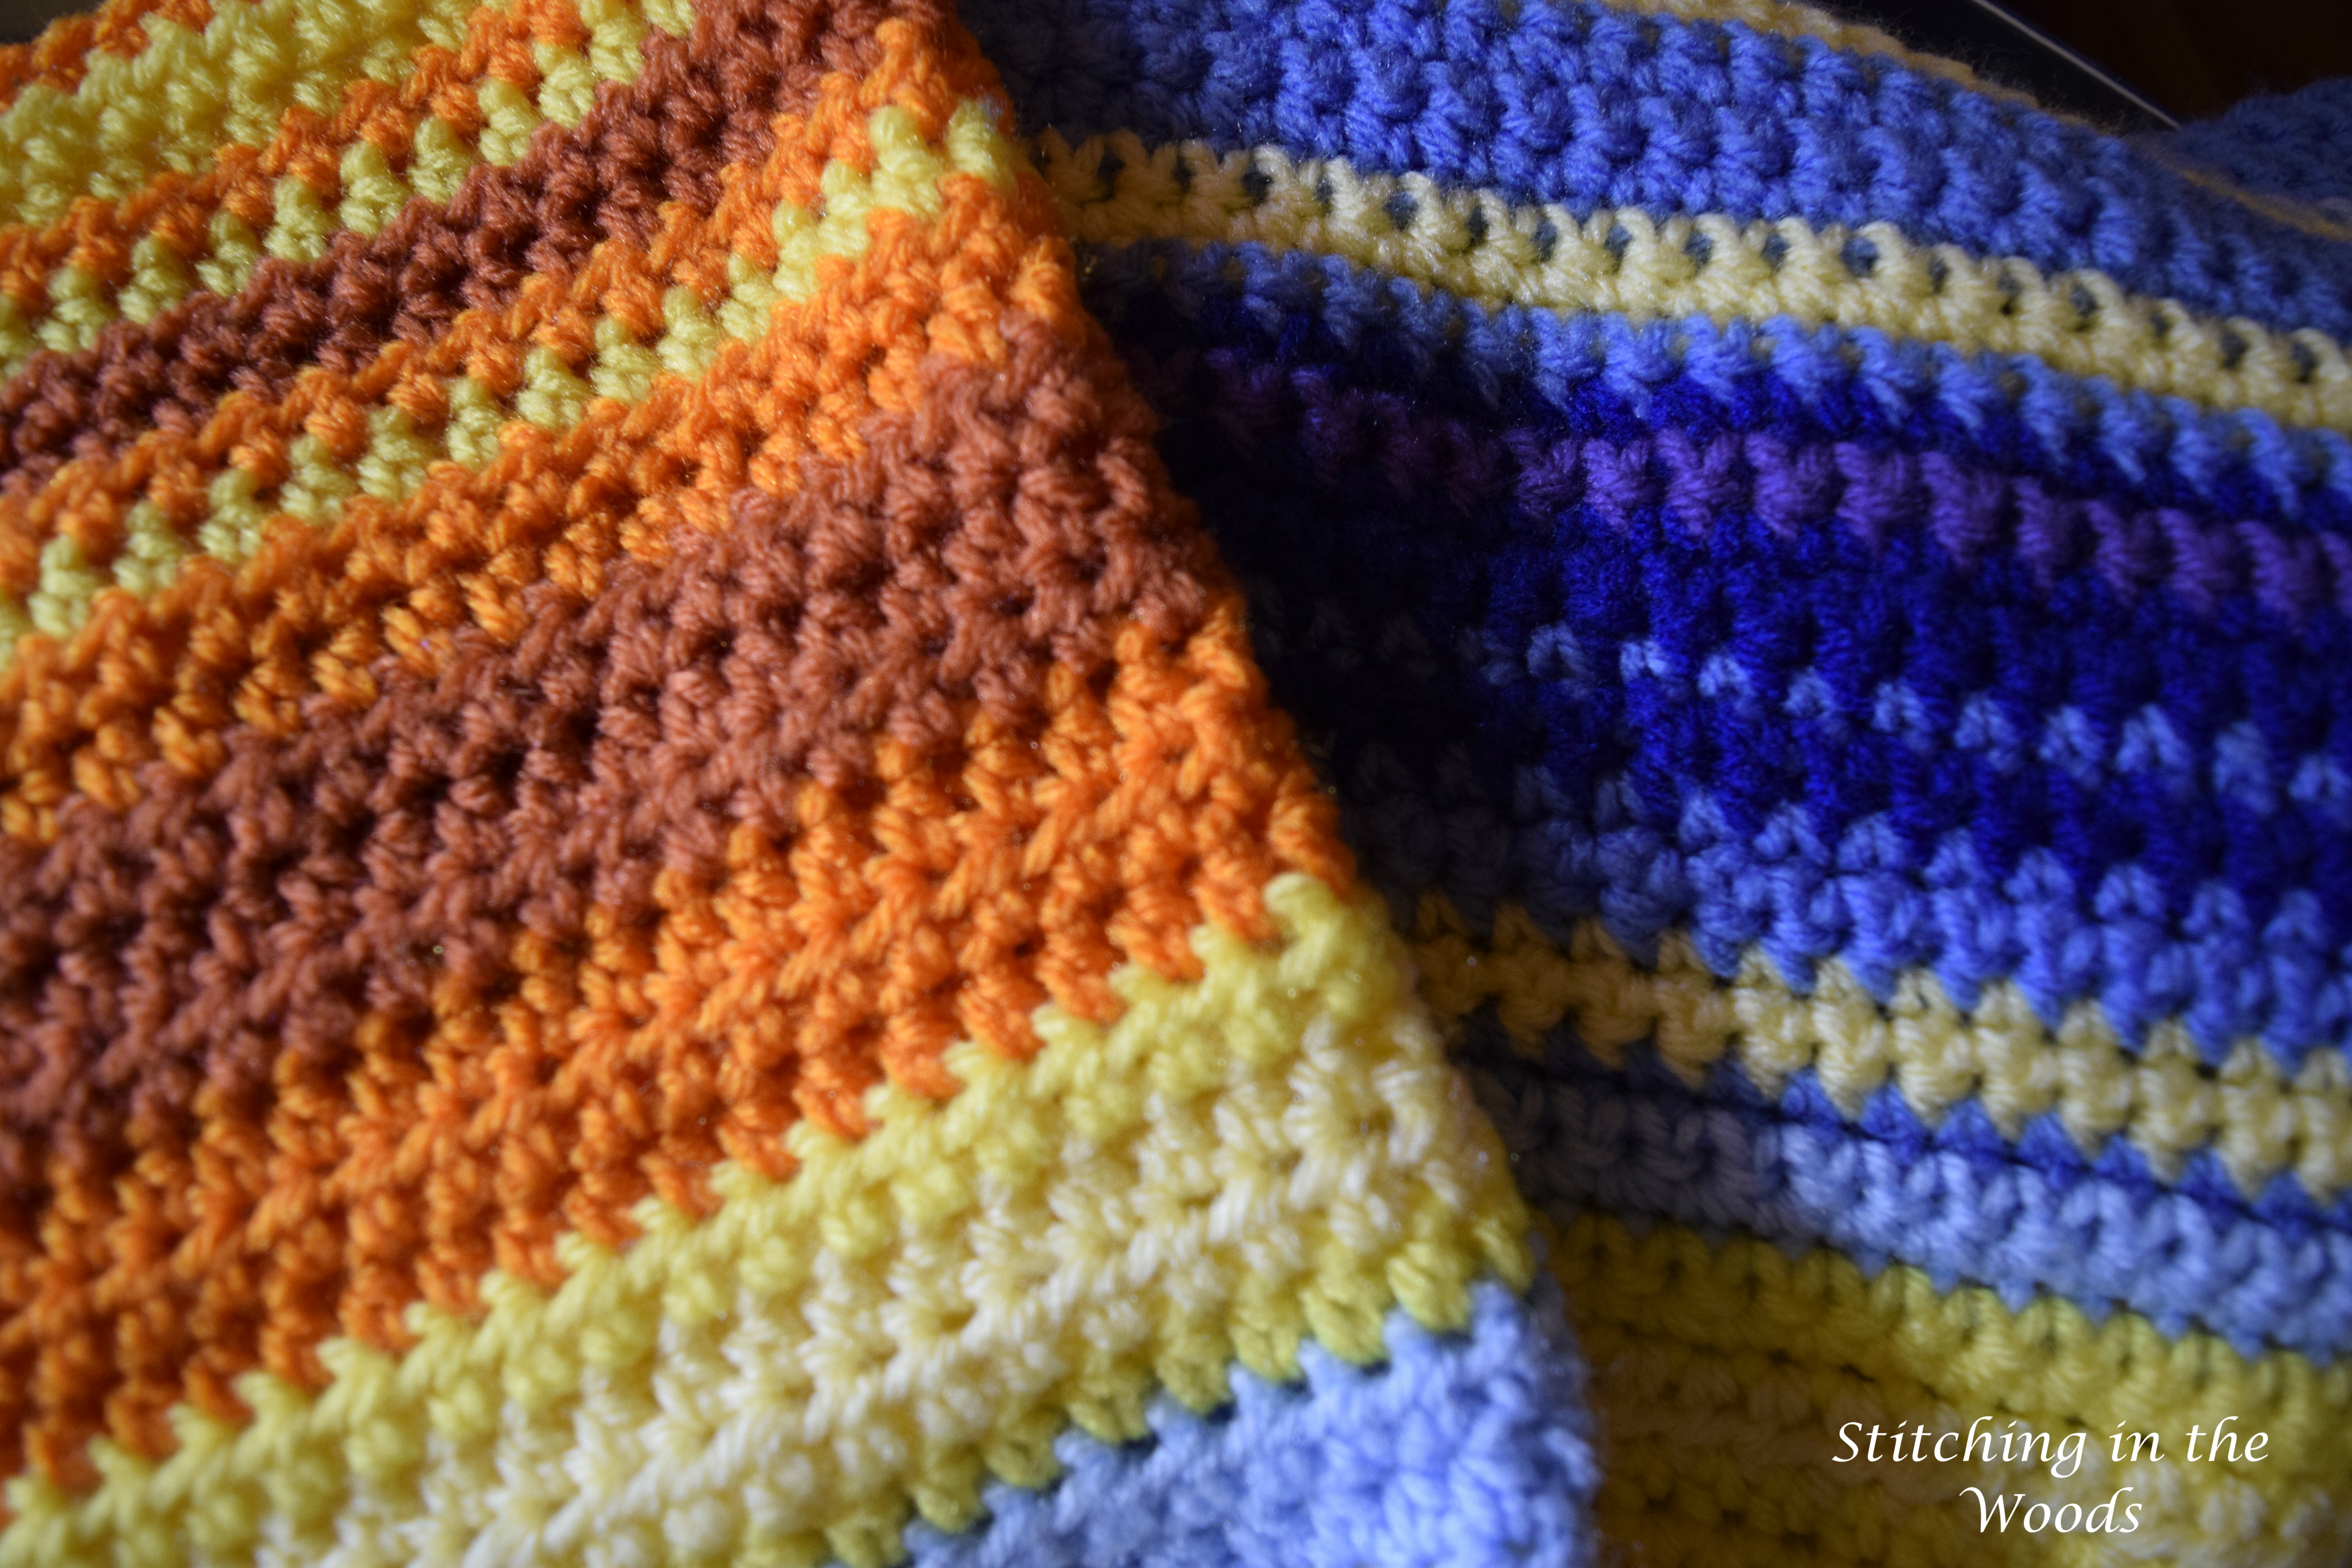
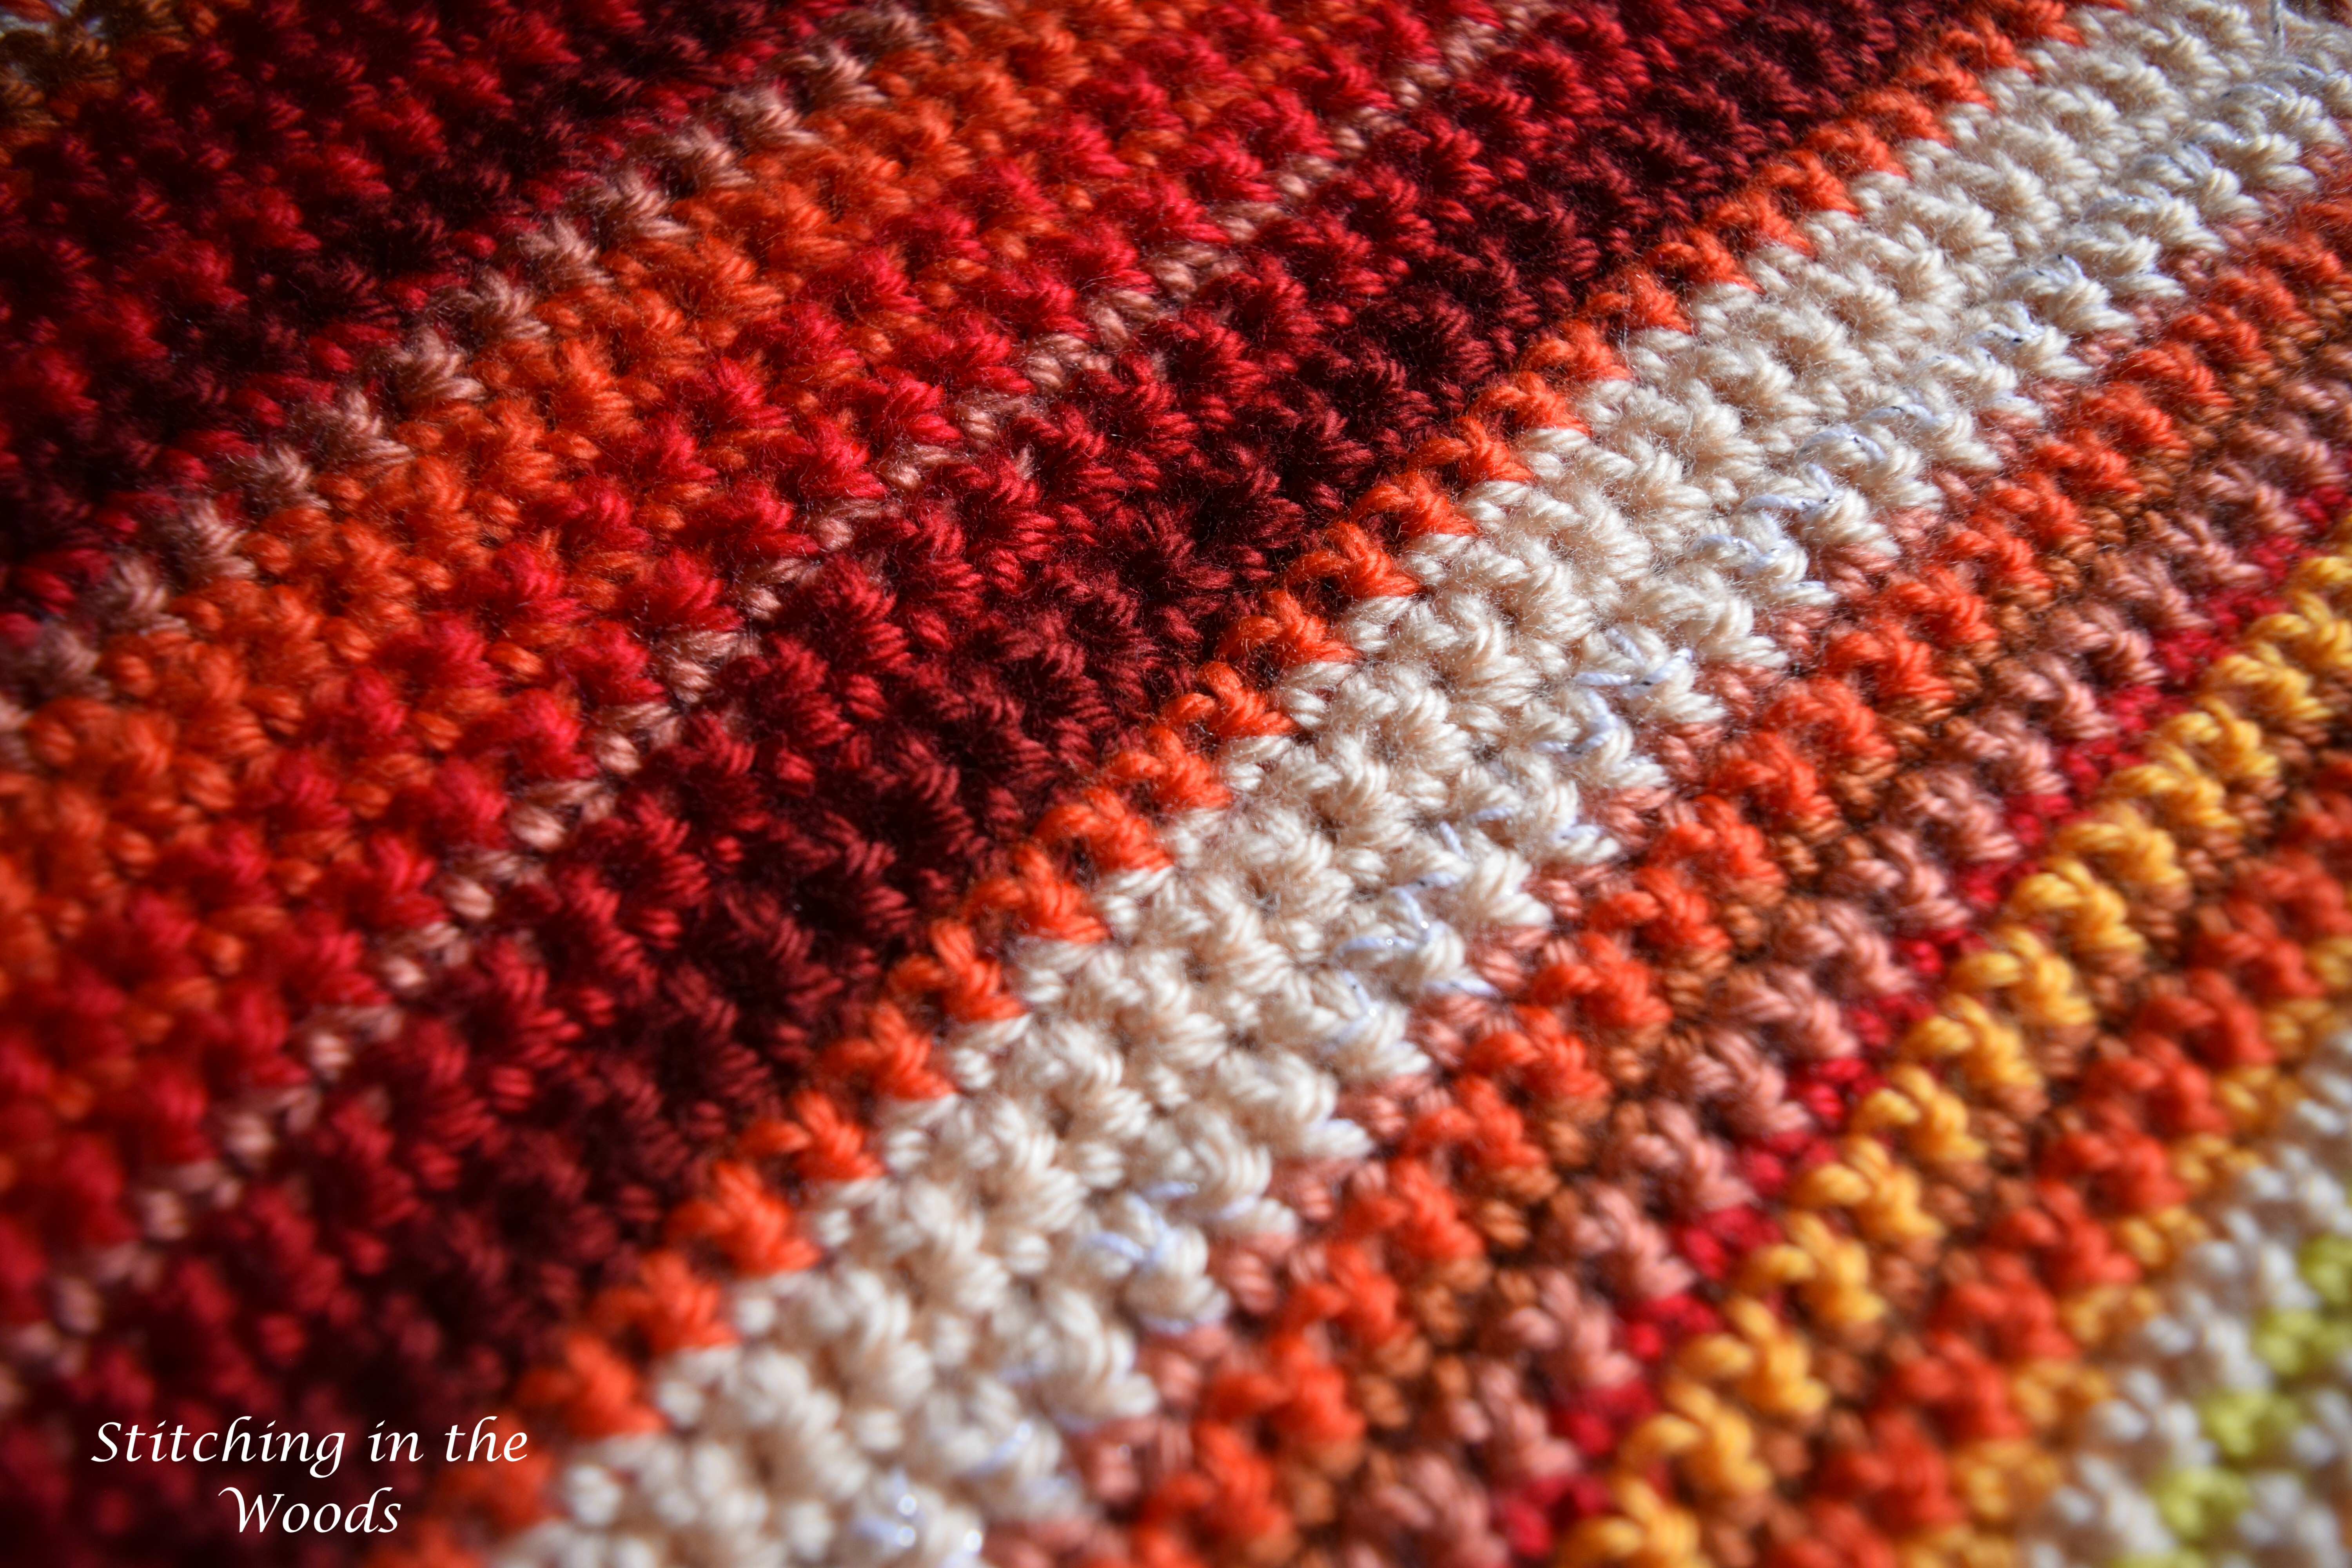
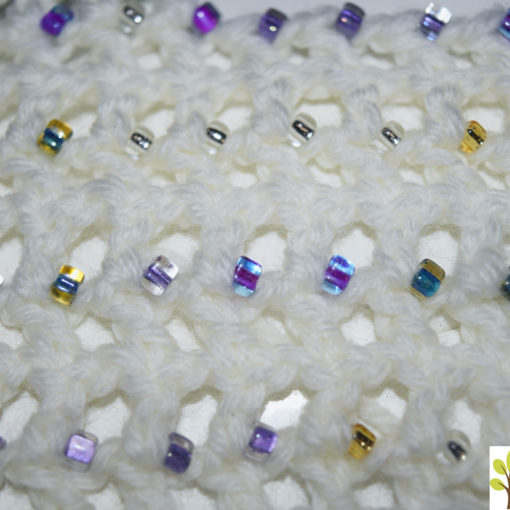
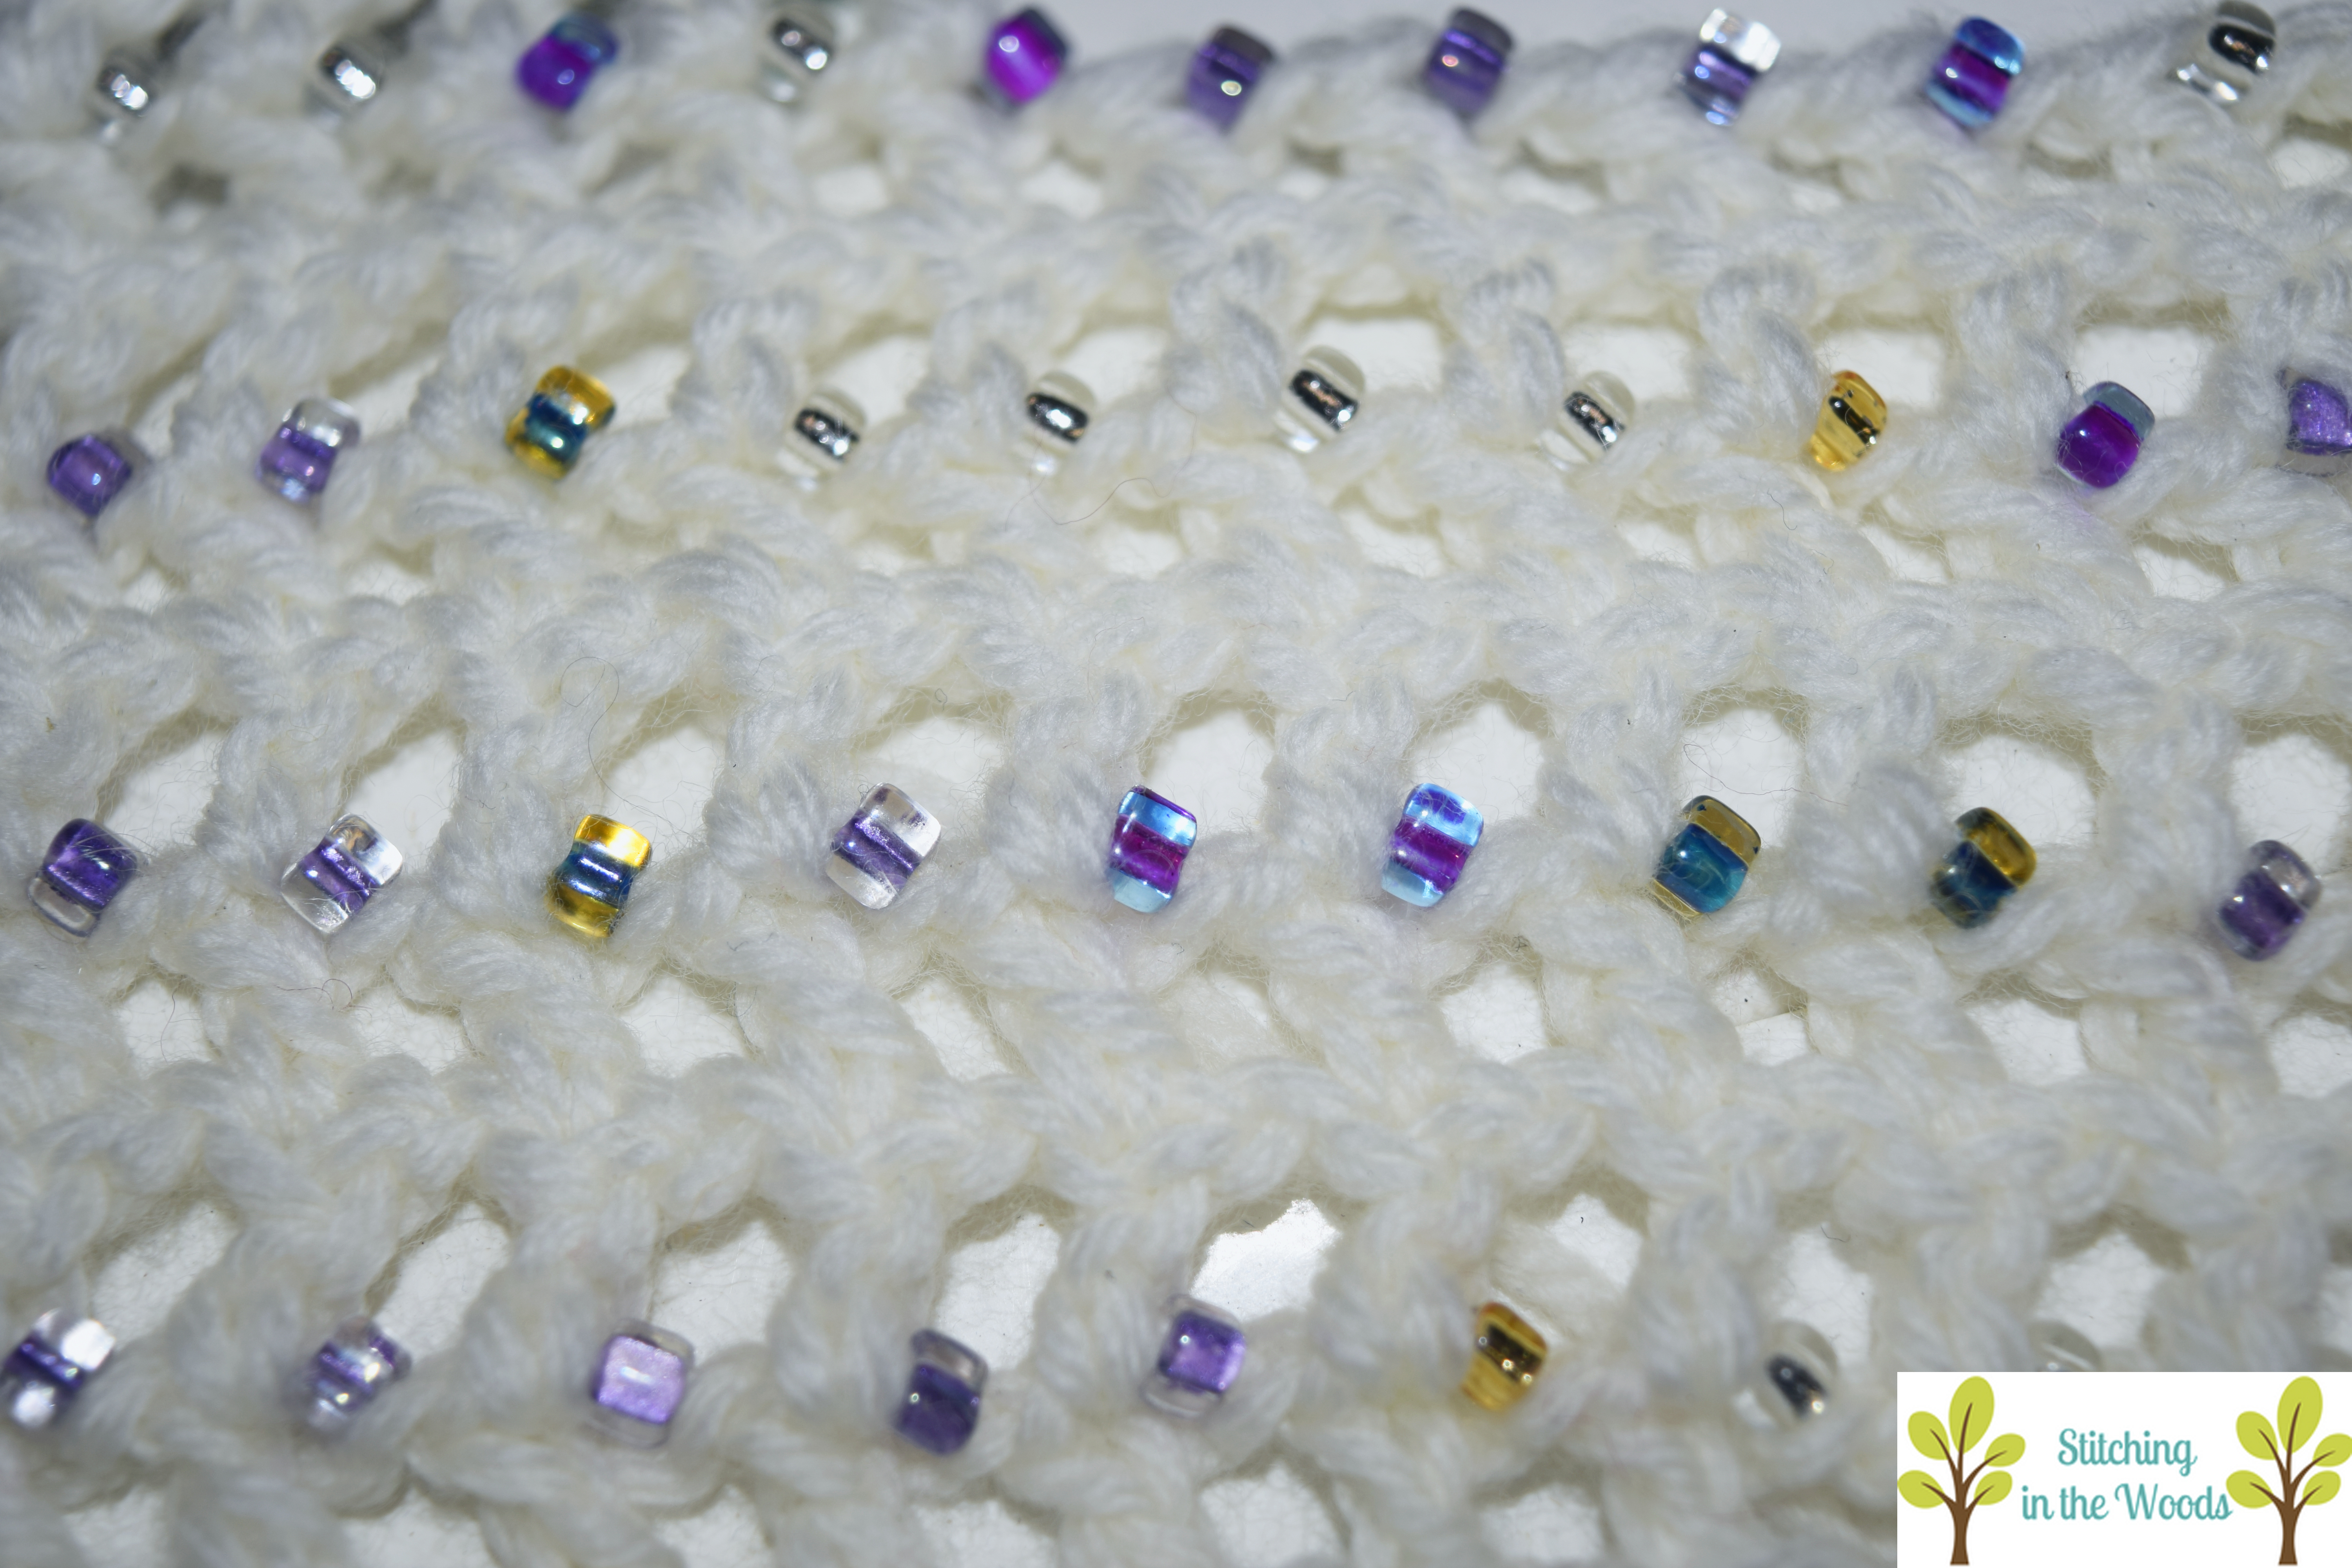
Anniversary Blanket
This project was also rather uneventful this month. I just passed our first Christmas. It’s hard to think about each day since it happened so long ago.
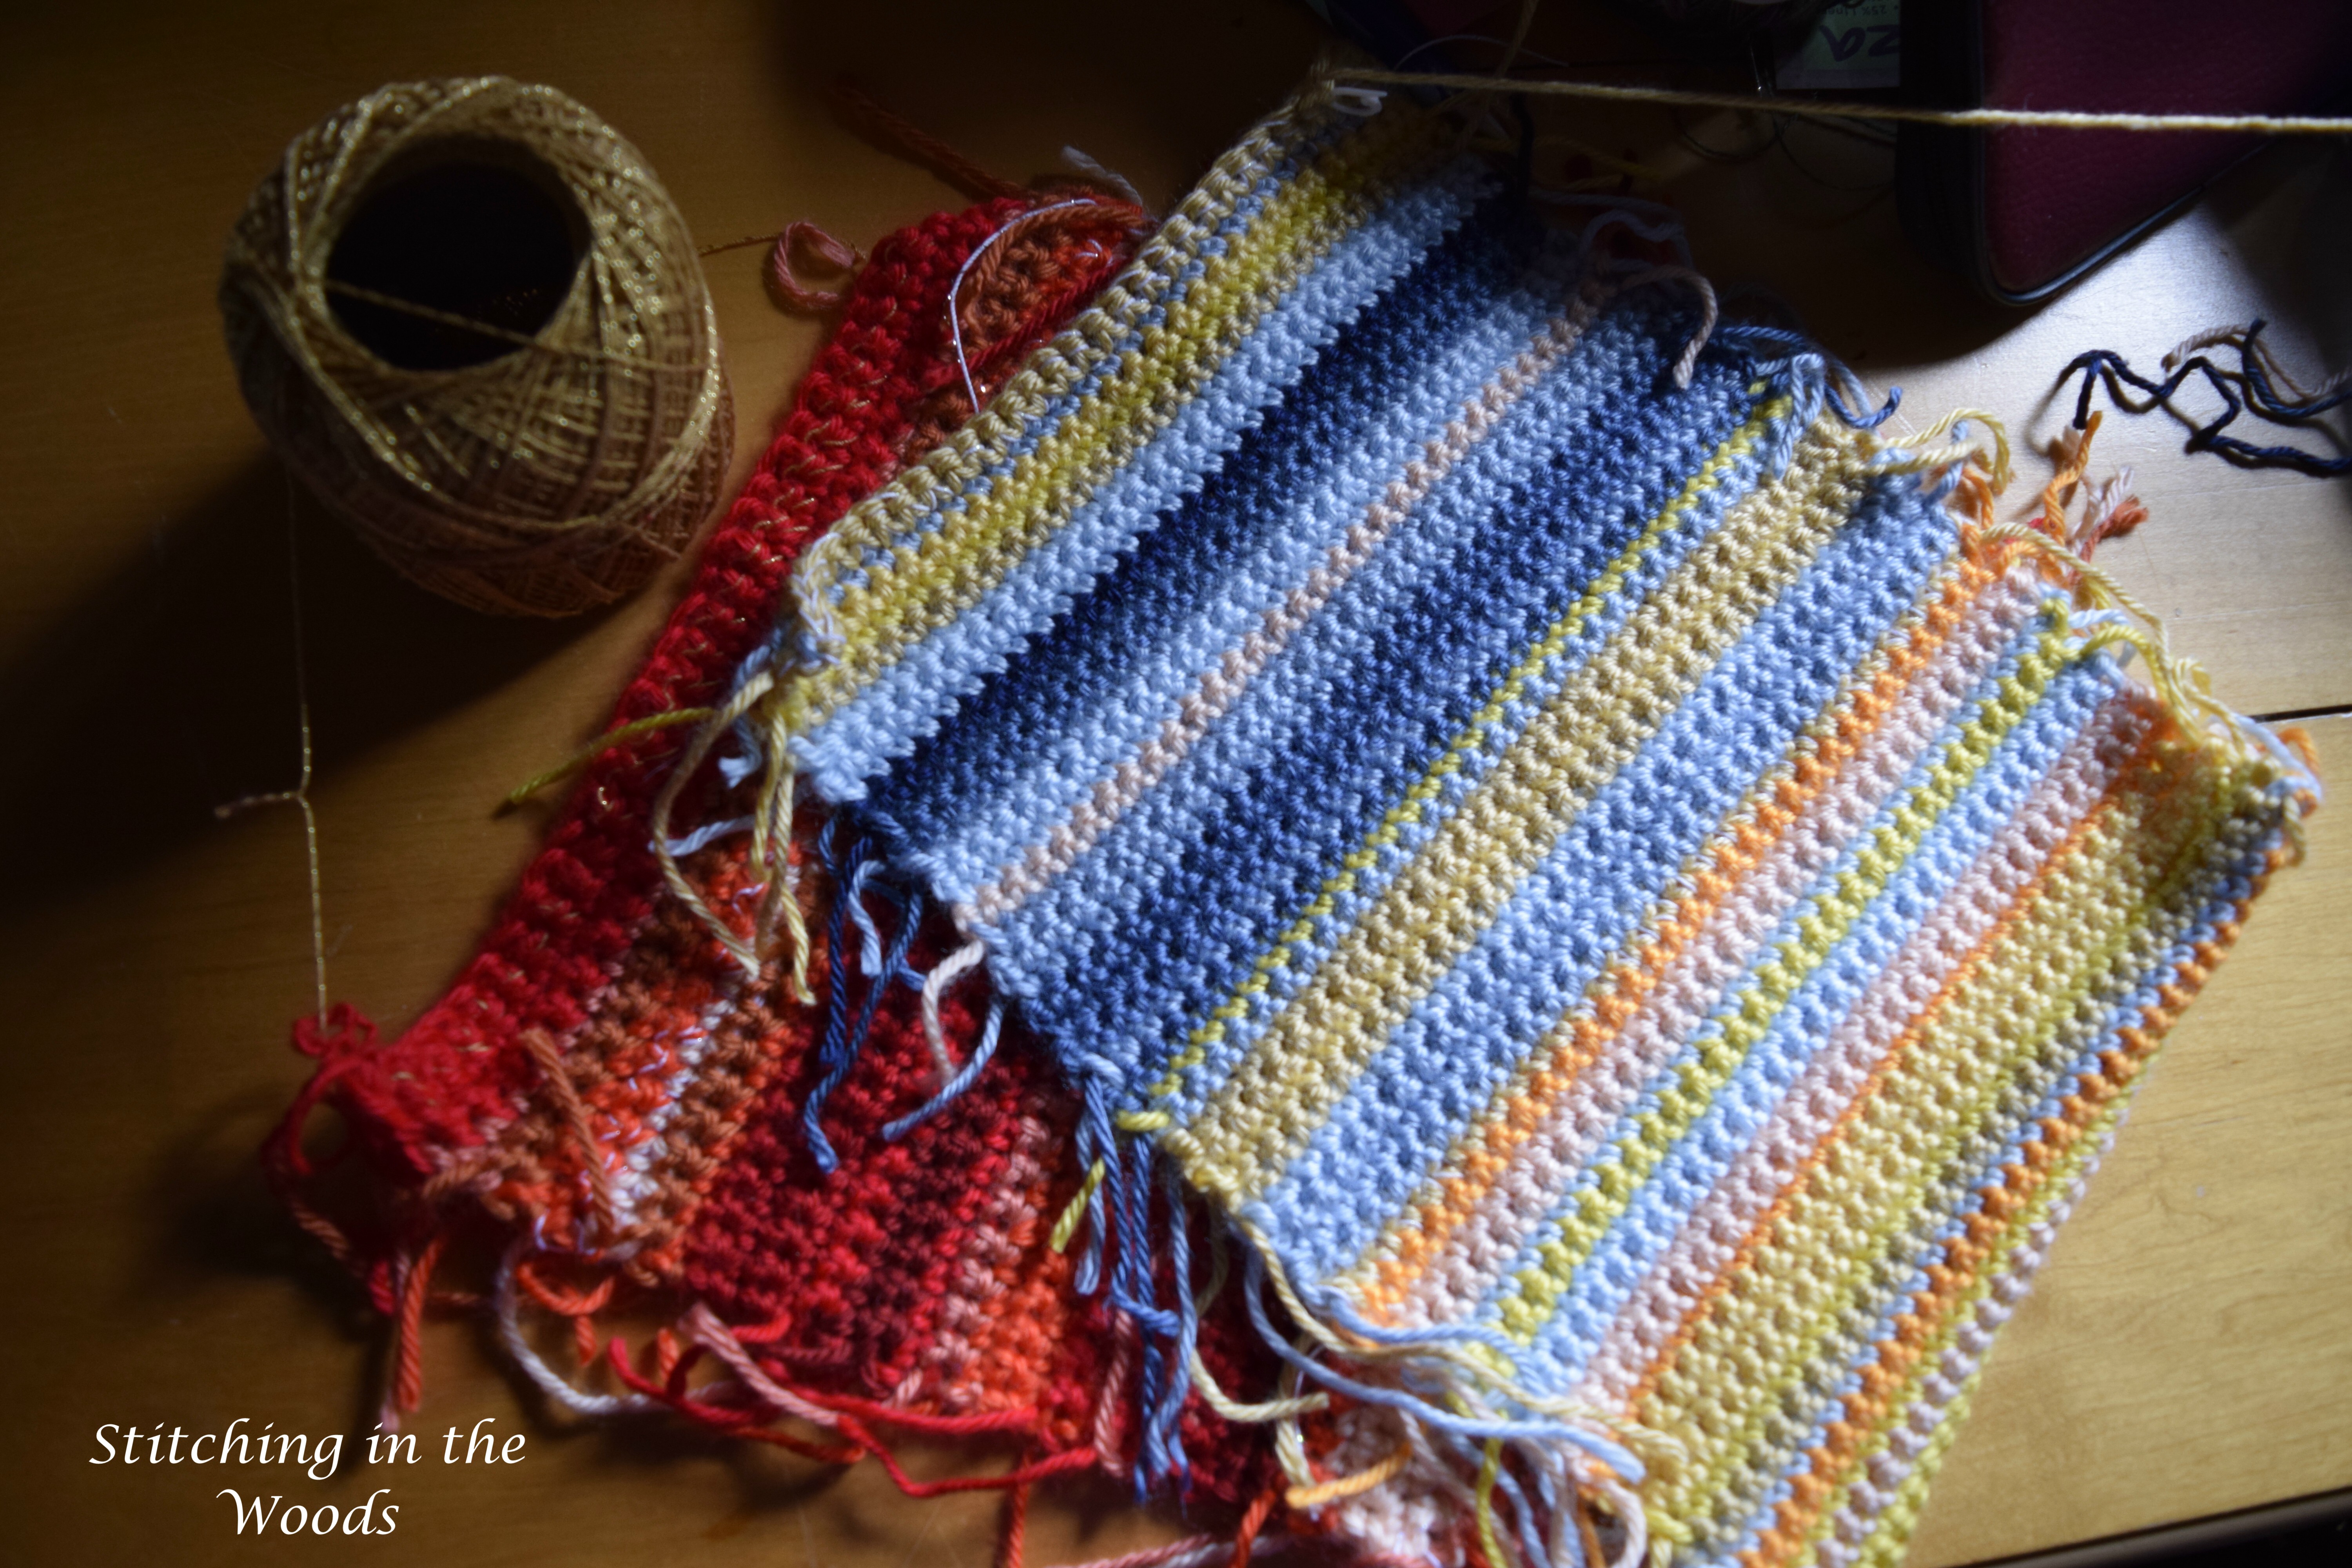
I really like how the thread makes the yarn sparkle. I’m looking forward to how the end product will look.
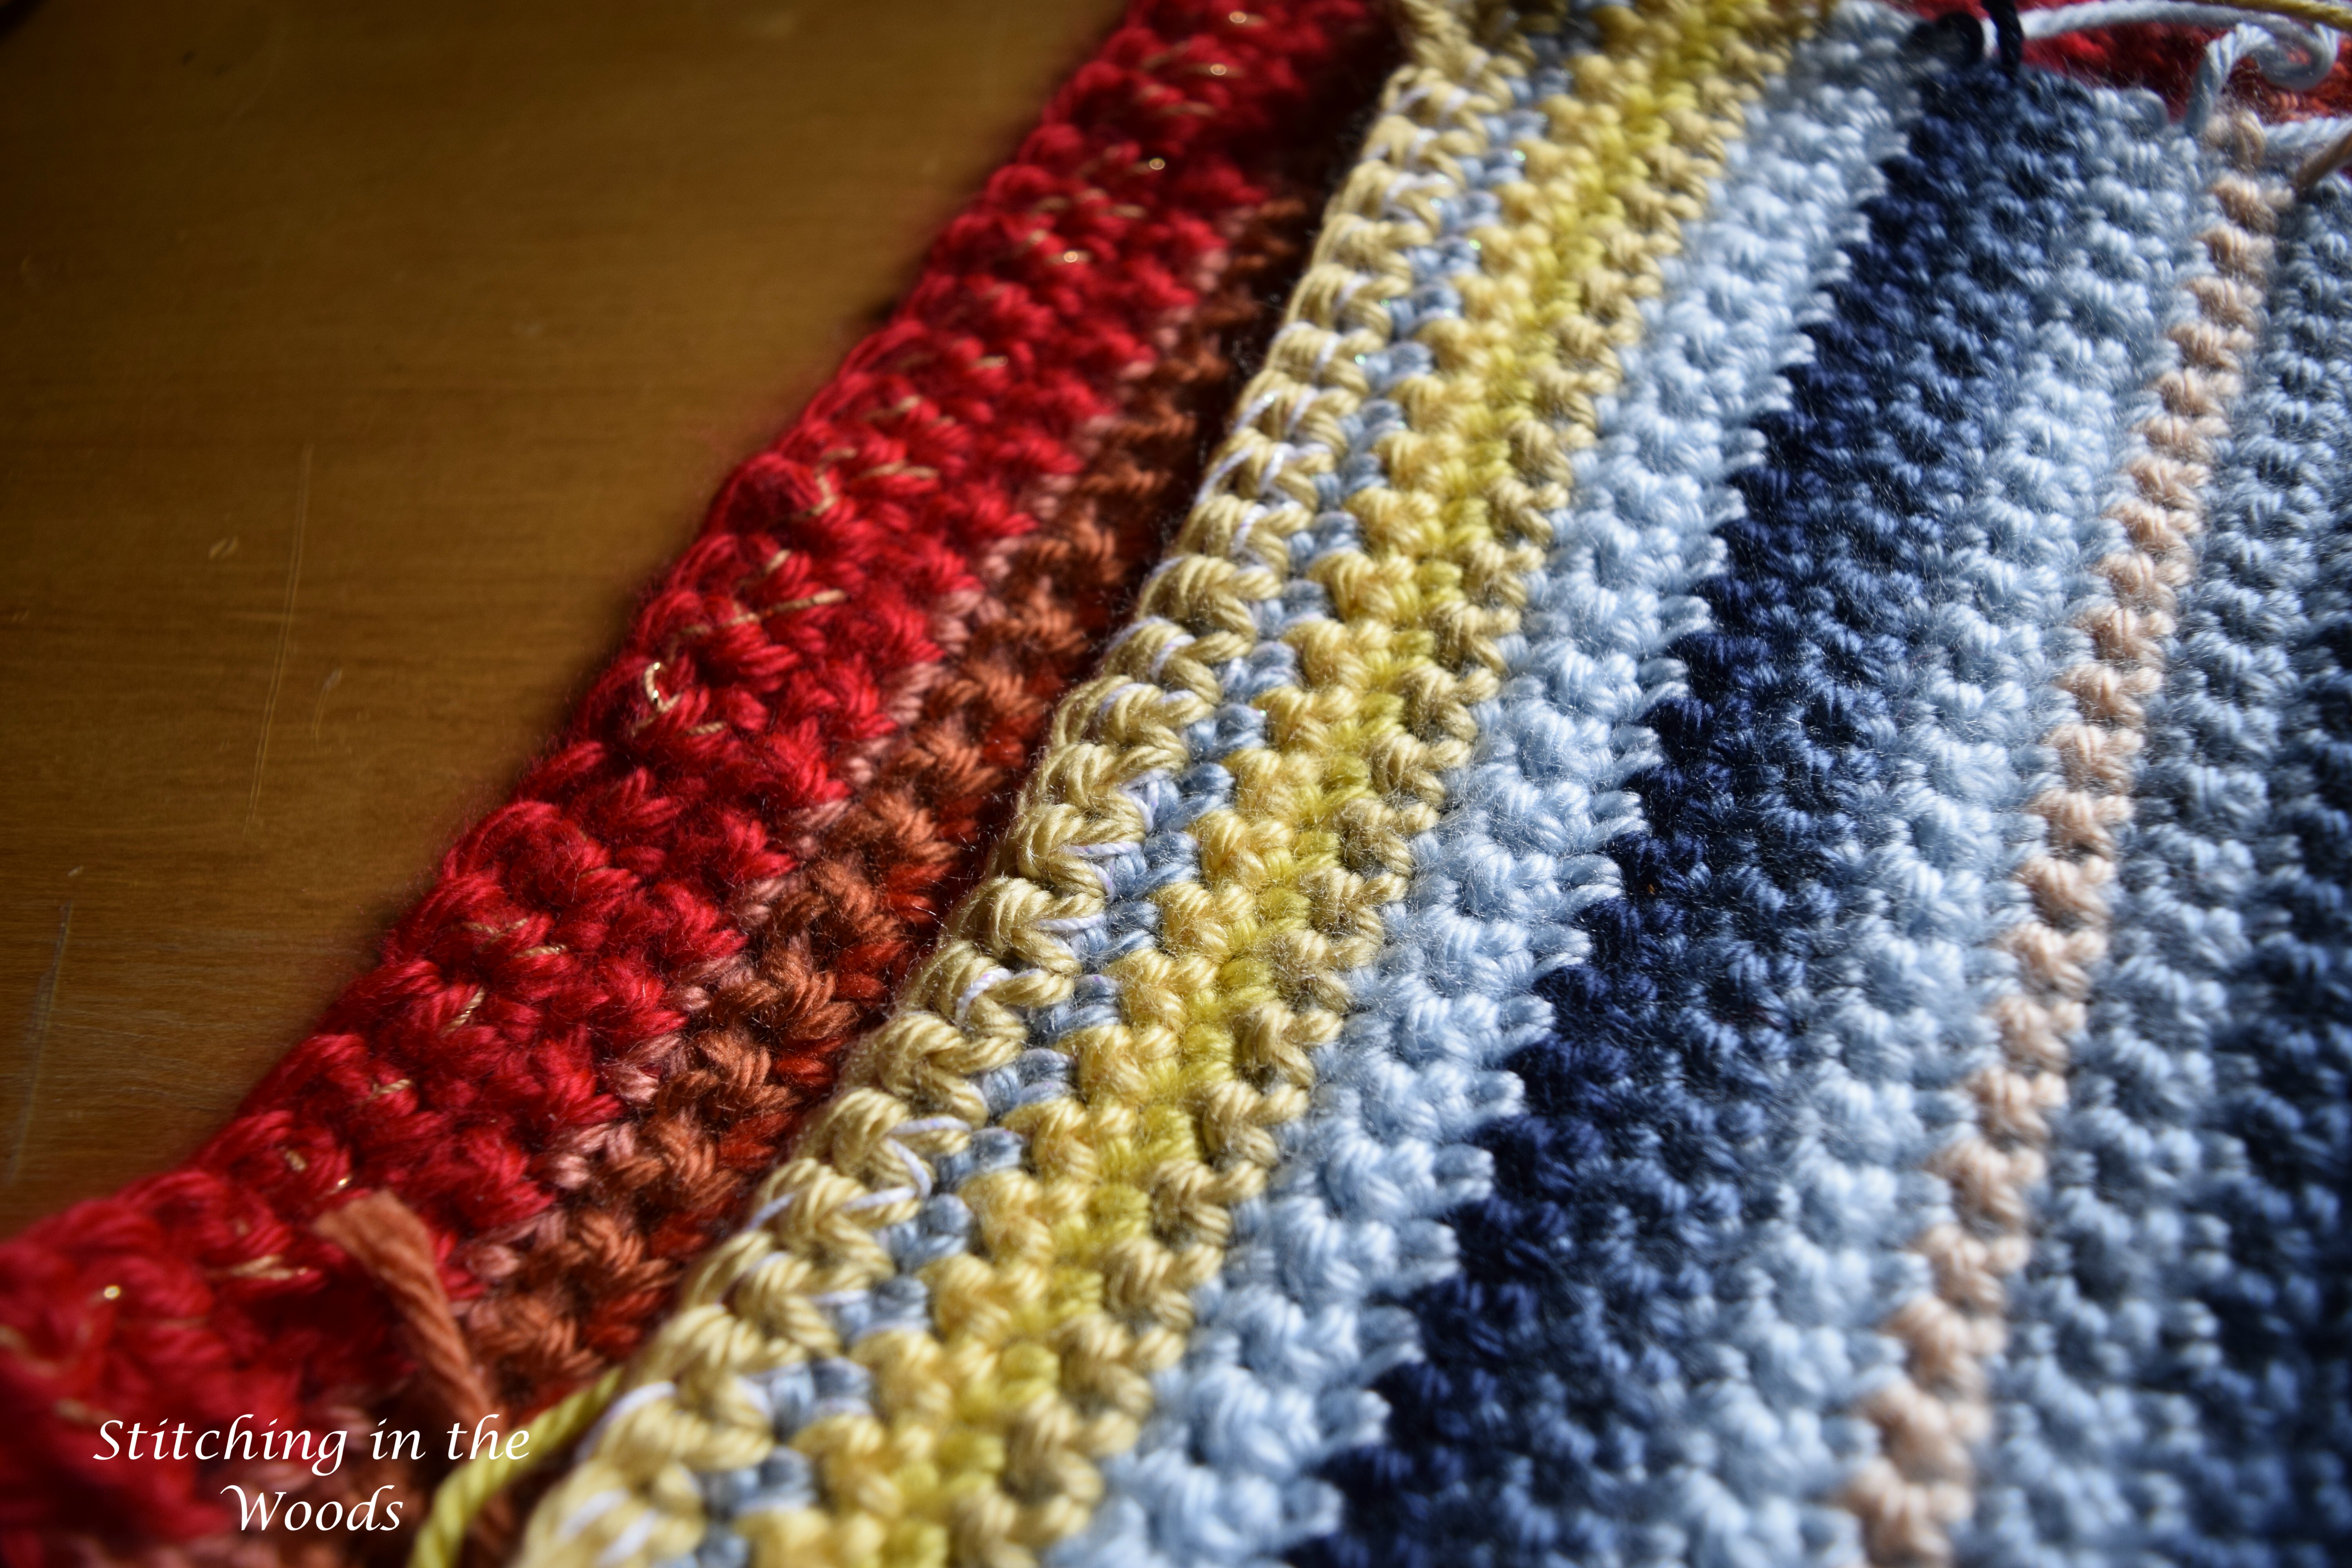
Here are a couple more pictures of the project just because.

That’s it for this month’s update. I’ll let you know how I’m doing on them all next month! Are you keeping up with your projects?
FREE Temperature Tracker!!!!
Enter your email address and you'll get a completely free, ready to print temperature tracker to use for your project.