
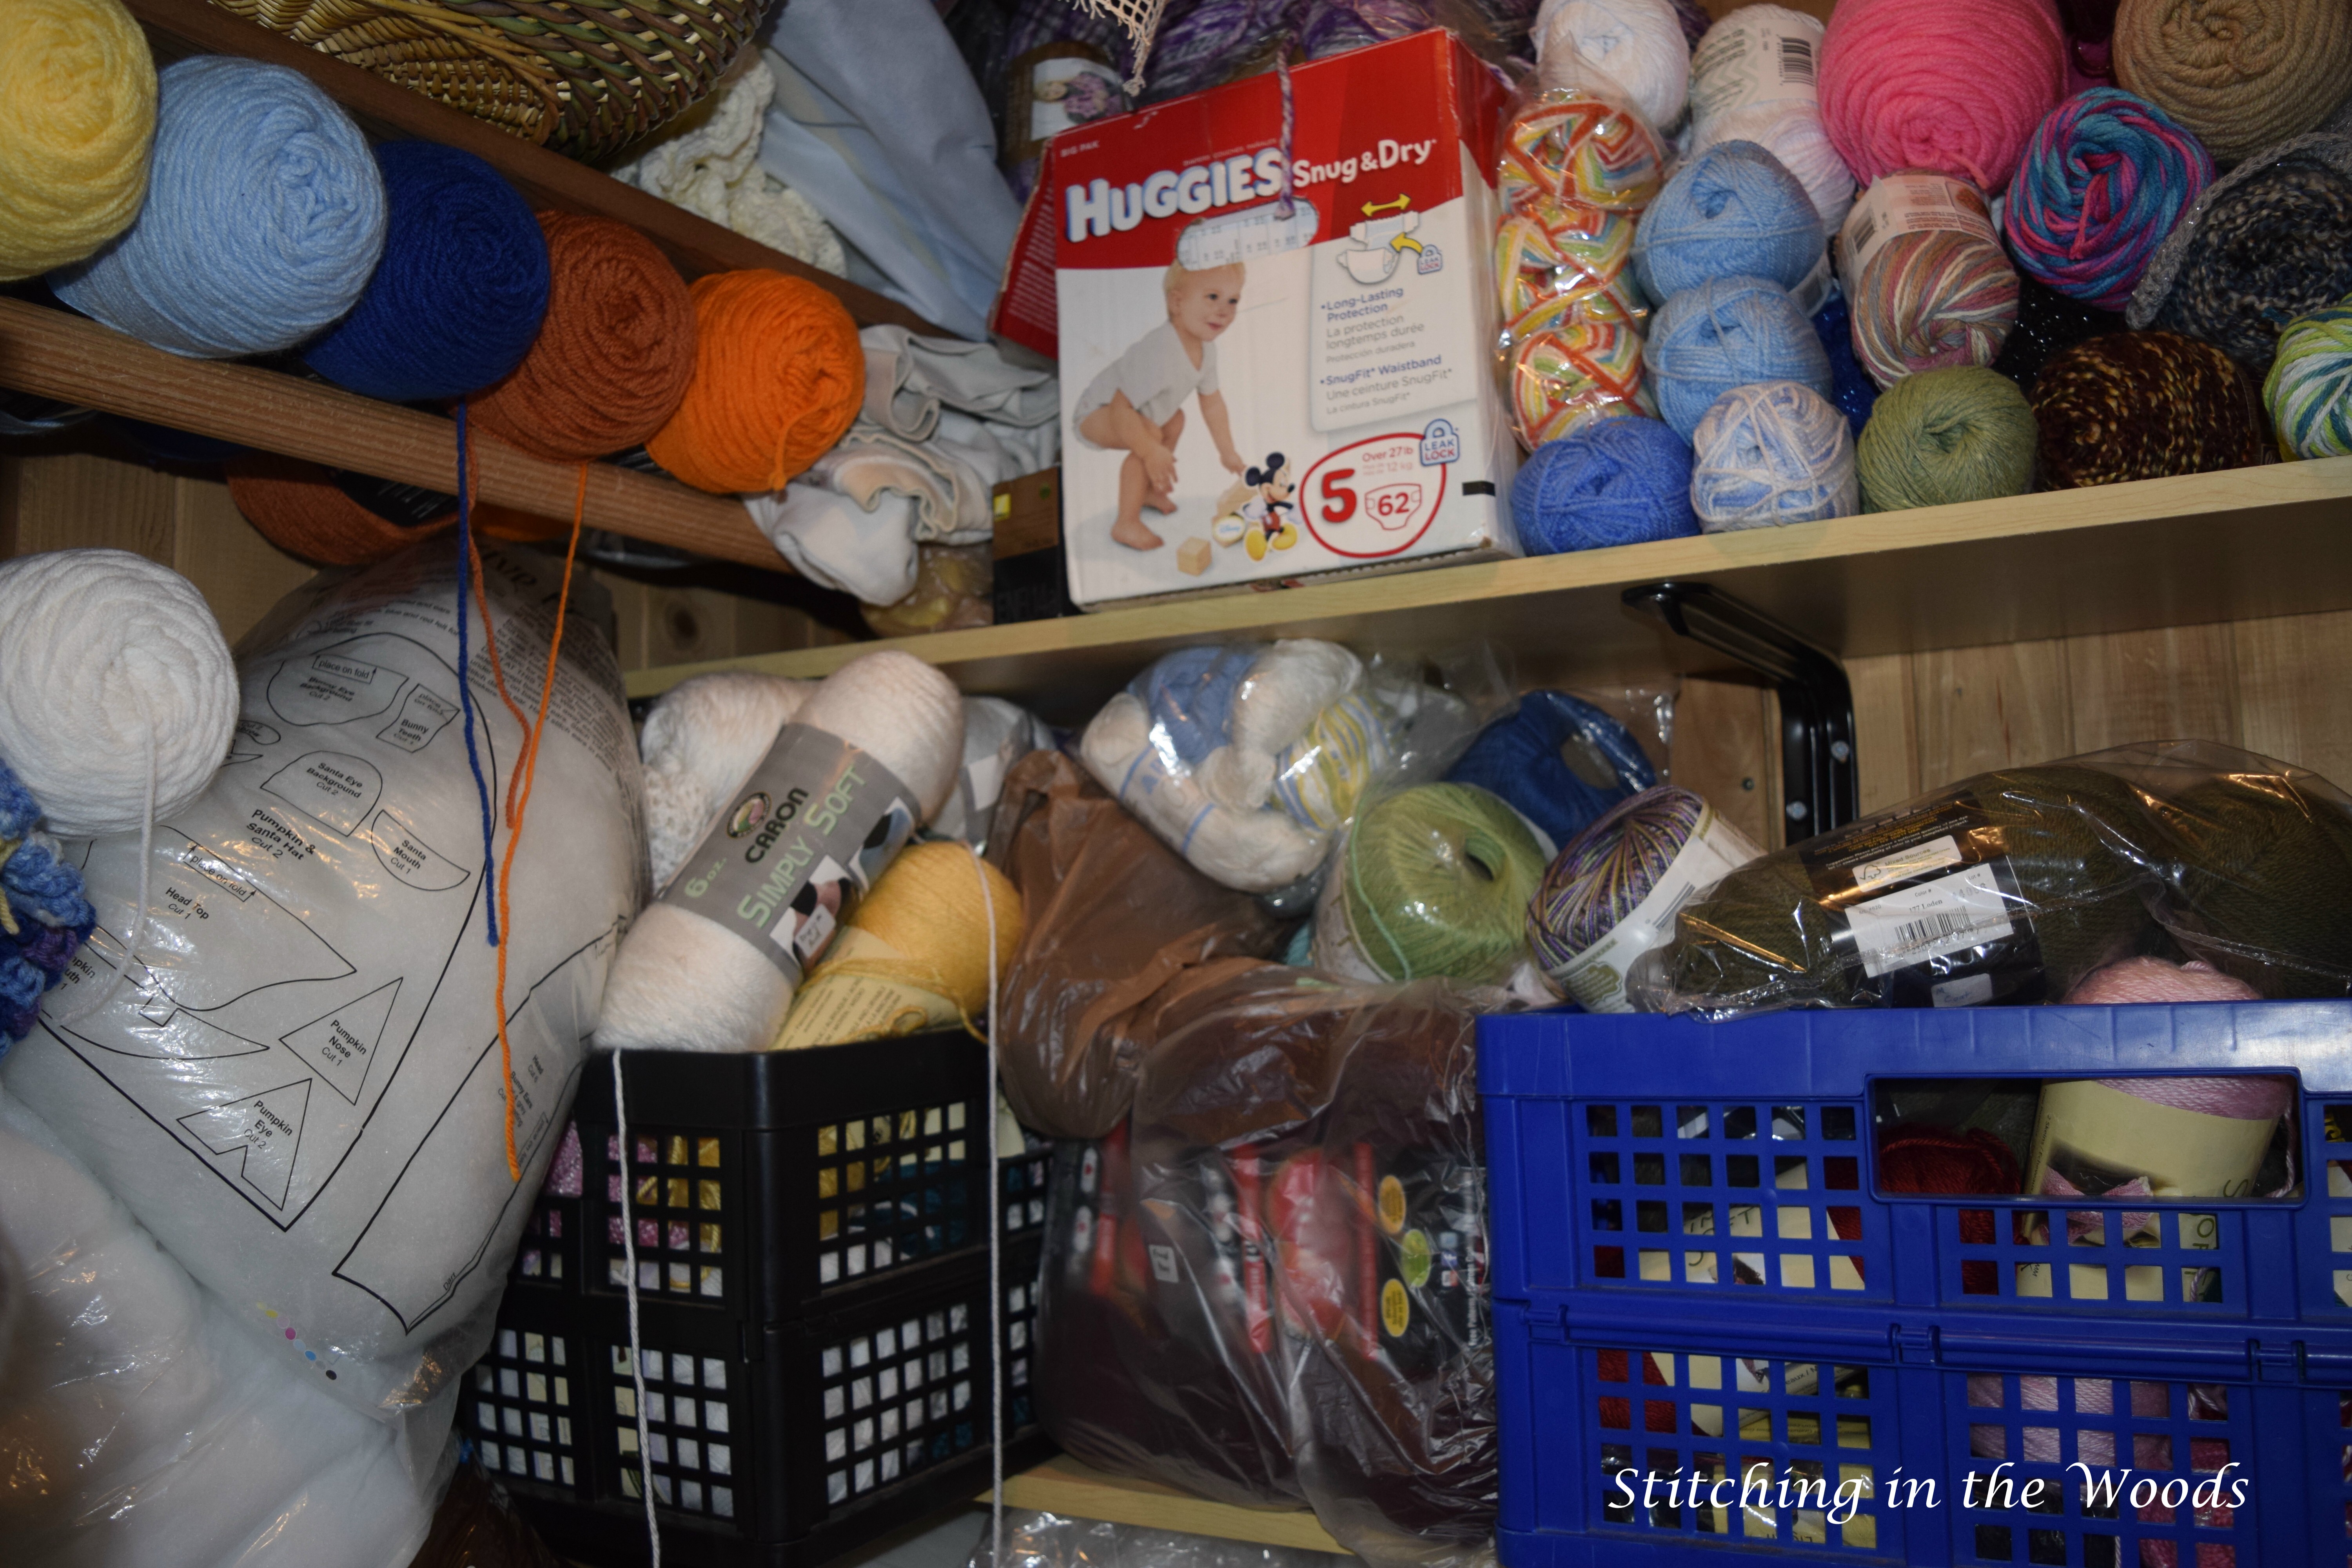
I saw the Apache Tears stitch and it was love at first sight. I really like the geometric patterns it creates. I read a tutorial at Sarah London’s blog (check it out for more variations on the stitch) and started in on planning my project. I wanted my version to be thinner and shorter than the tutorial’s samples. Since I’d noticed the other day that my drinking glass was starting to sweat onto the table, I decided to make a set of coasters. I’d already made some simple circle ones a few years back, but they’ve gotten lost since then. This seemed like an ideal opportunity to expand my crochet repertoire since lately I’ve been sticking to safe (read: simple or boring) stitches and projects. I bought my yarns (see below for specifics), printed off the pattern, and got started.
At first everything was fine, until I noticed that my stitches didn’t seem quite as tight as the ones in the tutorial pictures. I looked closer at the picture and decided those HAD to be single crochet stitches I was looking at. I double-checked the pattern and I hadn’t read it wrong. This is when I began to have a sneaking suspicion that the pattern was written in UK crochet terms. I skimmed the whole pattern looking for the word “color”. Upon finding the word “colour” I realized that I, in my American egotism, had assumed it was written in US terms. Glad I knew where I went wrong, I set to the task of writing all the terms in US so I wouldn’t forget.
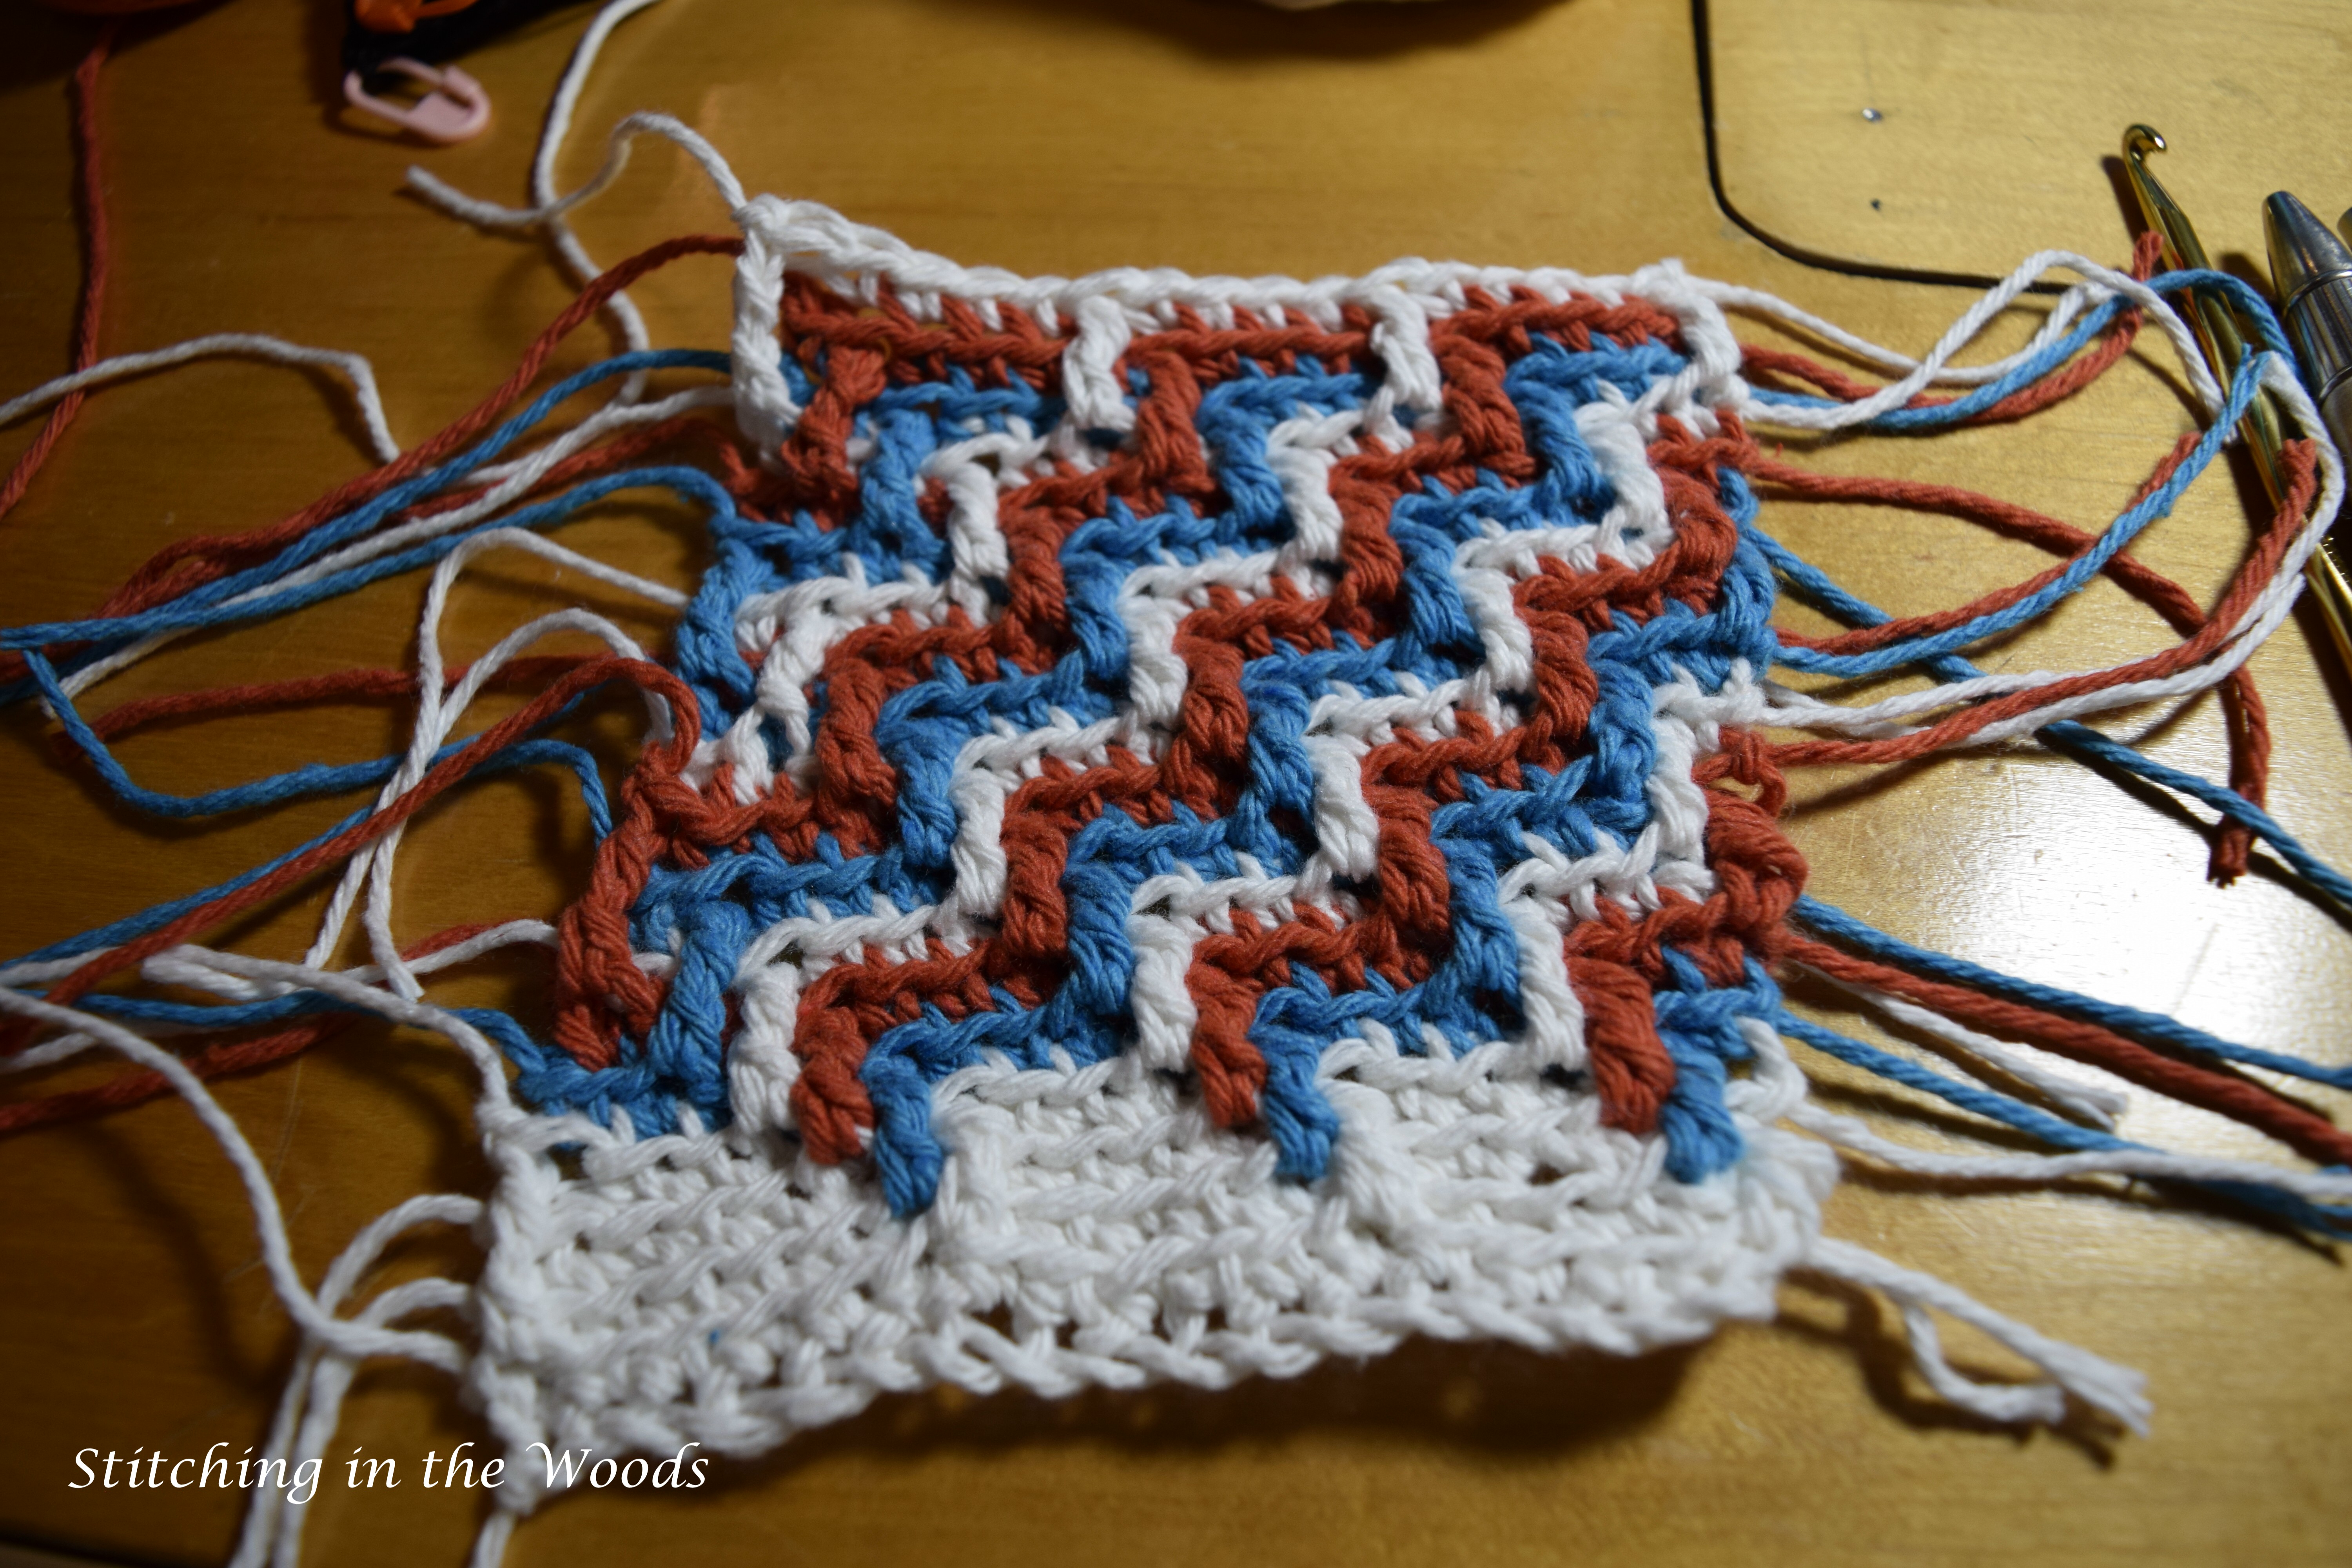
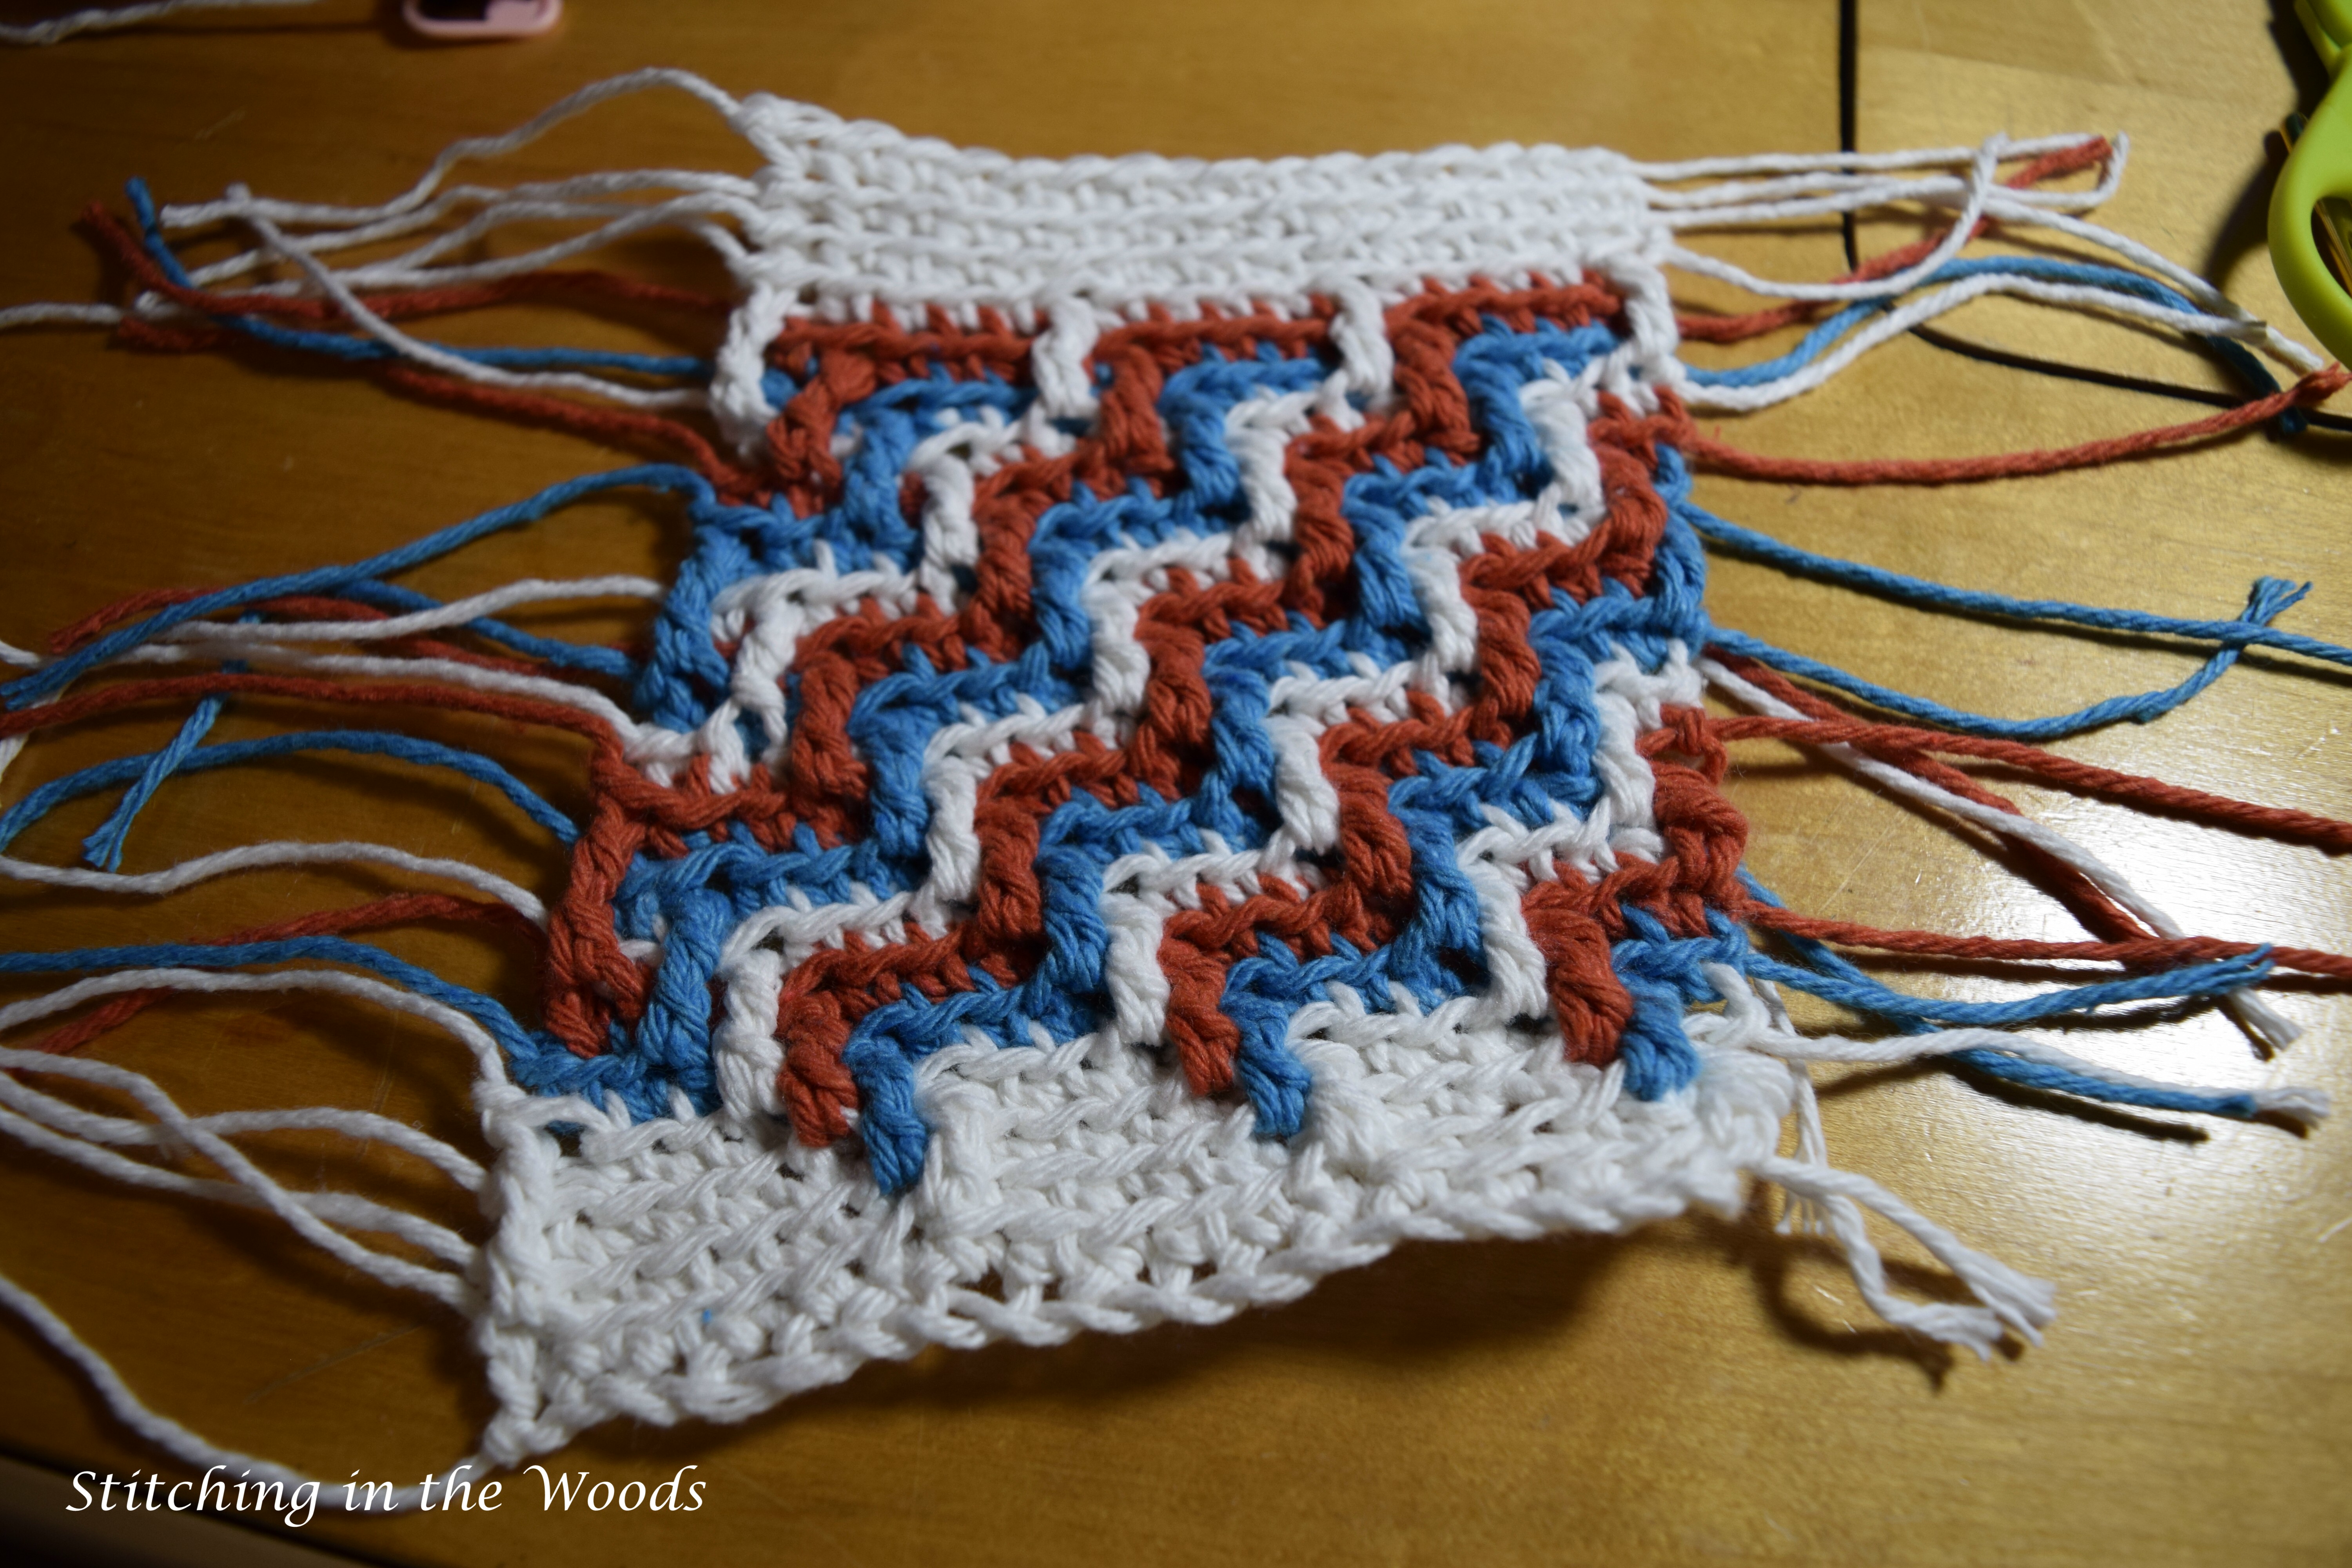
Now that I knew which terms were which, I frogged what I had done (which luckily wasn’t much) and started over. This time things ran smoothly and, thanks to the tutorial’s help, ended up with a pretty nice looking coaster. I was worried at first that the stitches would make my drink unsteady, but they’ve flattened with use.
Free Apache Tears Coasters Pattern
Materials
Yarn: Premier Home Cotton (2.8 oz/80 g; 140 yd/128 m) in Turquoise, Orange, and Cream
Hook: H hook
Notes
-Pattern is worked on the right side without turning
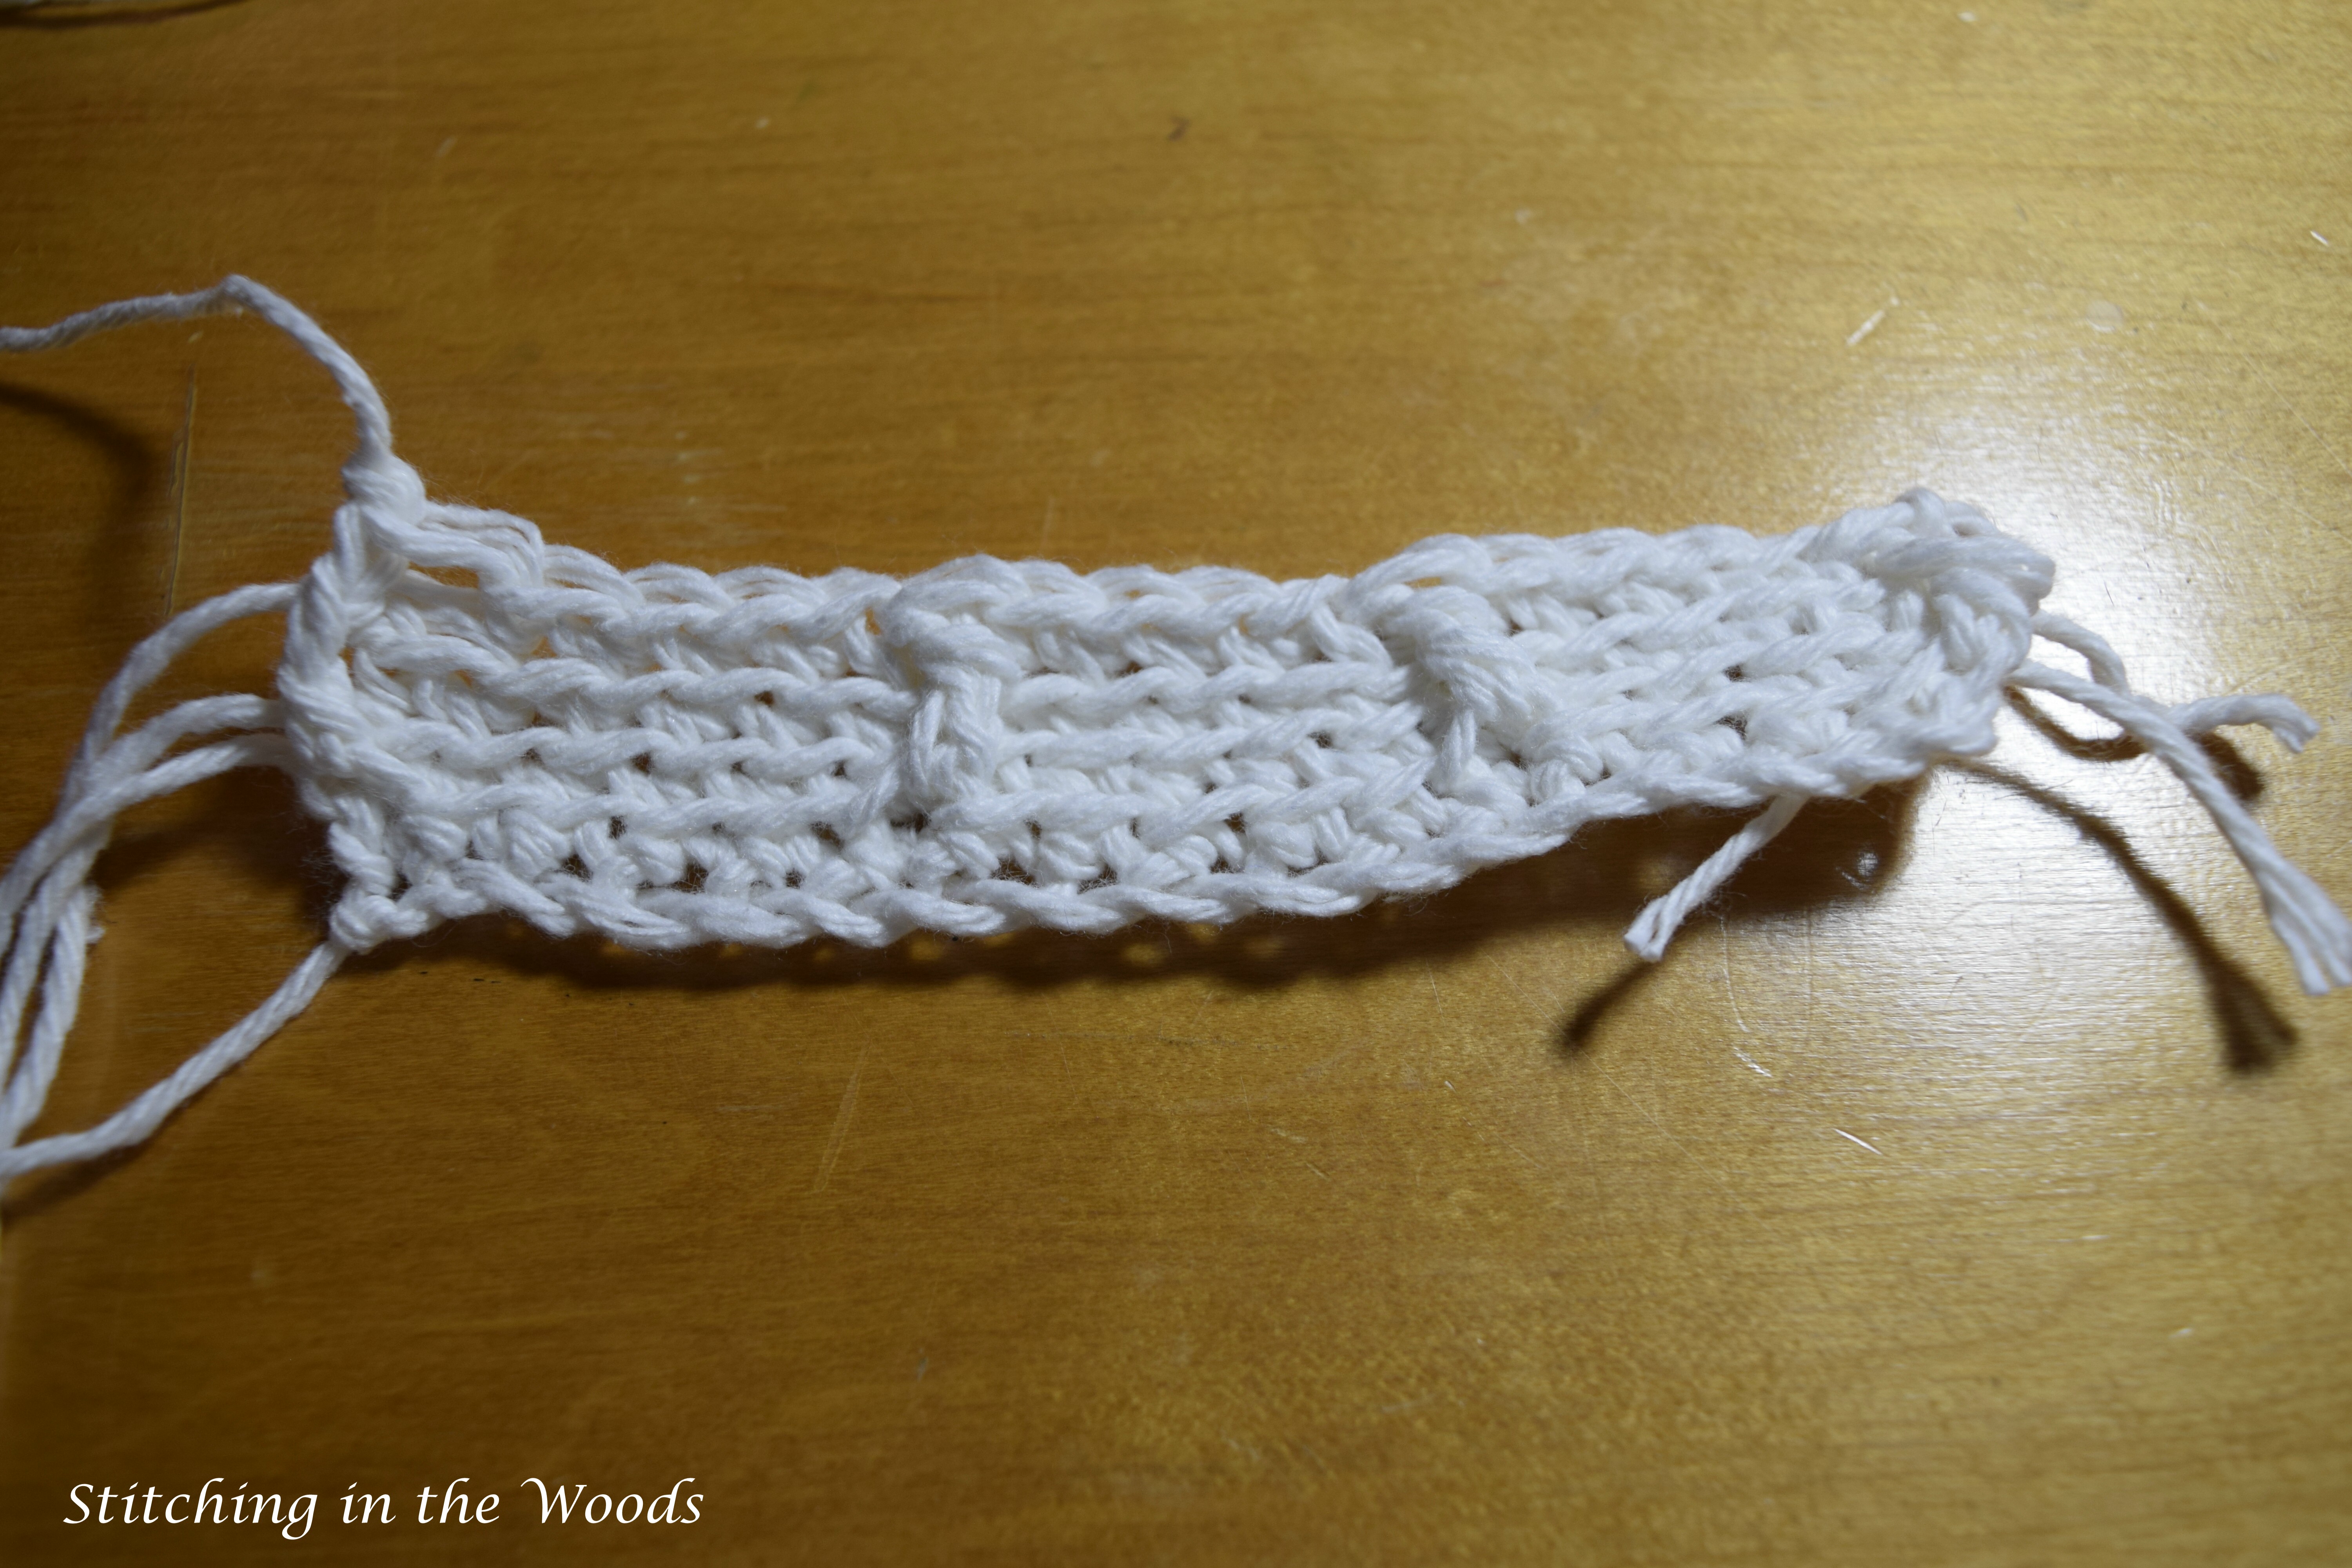
-Start each row with a slip knot, making sure to leave 2″ before the slip knot to be the tassel on the right side of the project and leave a 2″ tail when you fasten off
-Keep your tension loose/not really tight
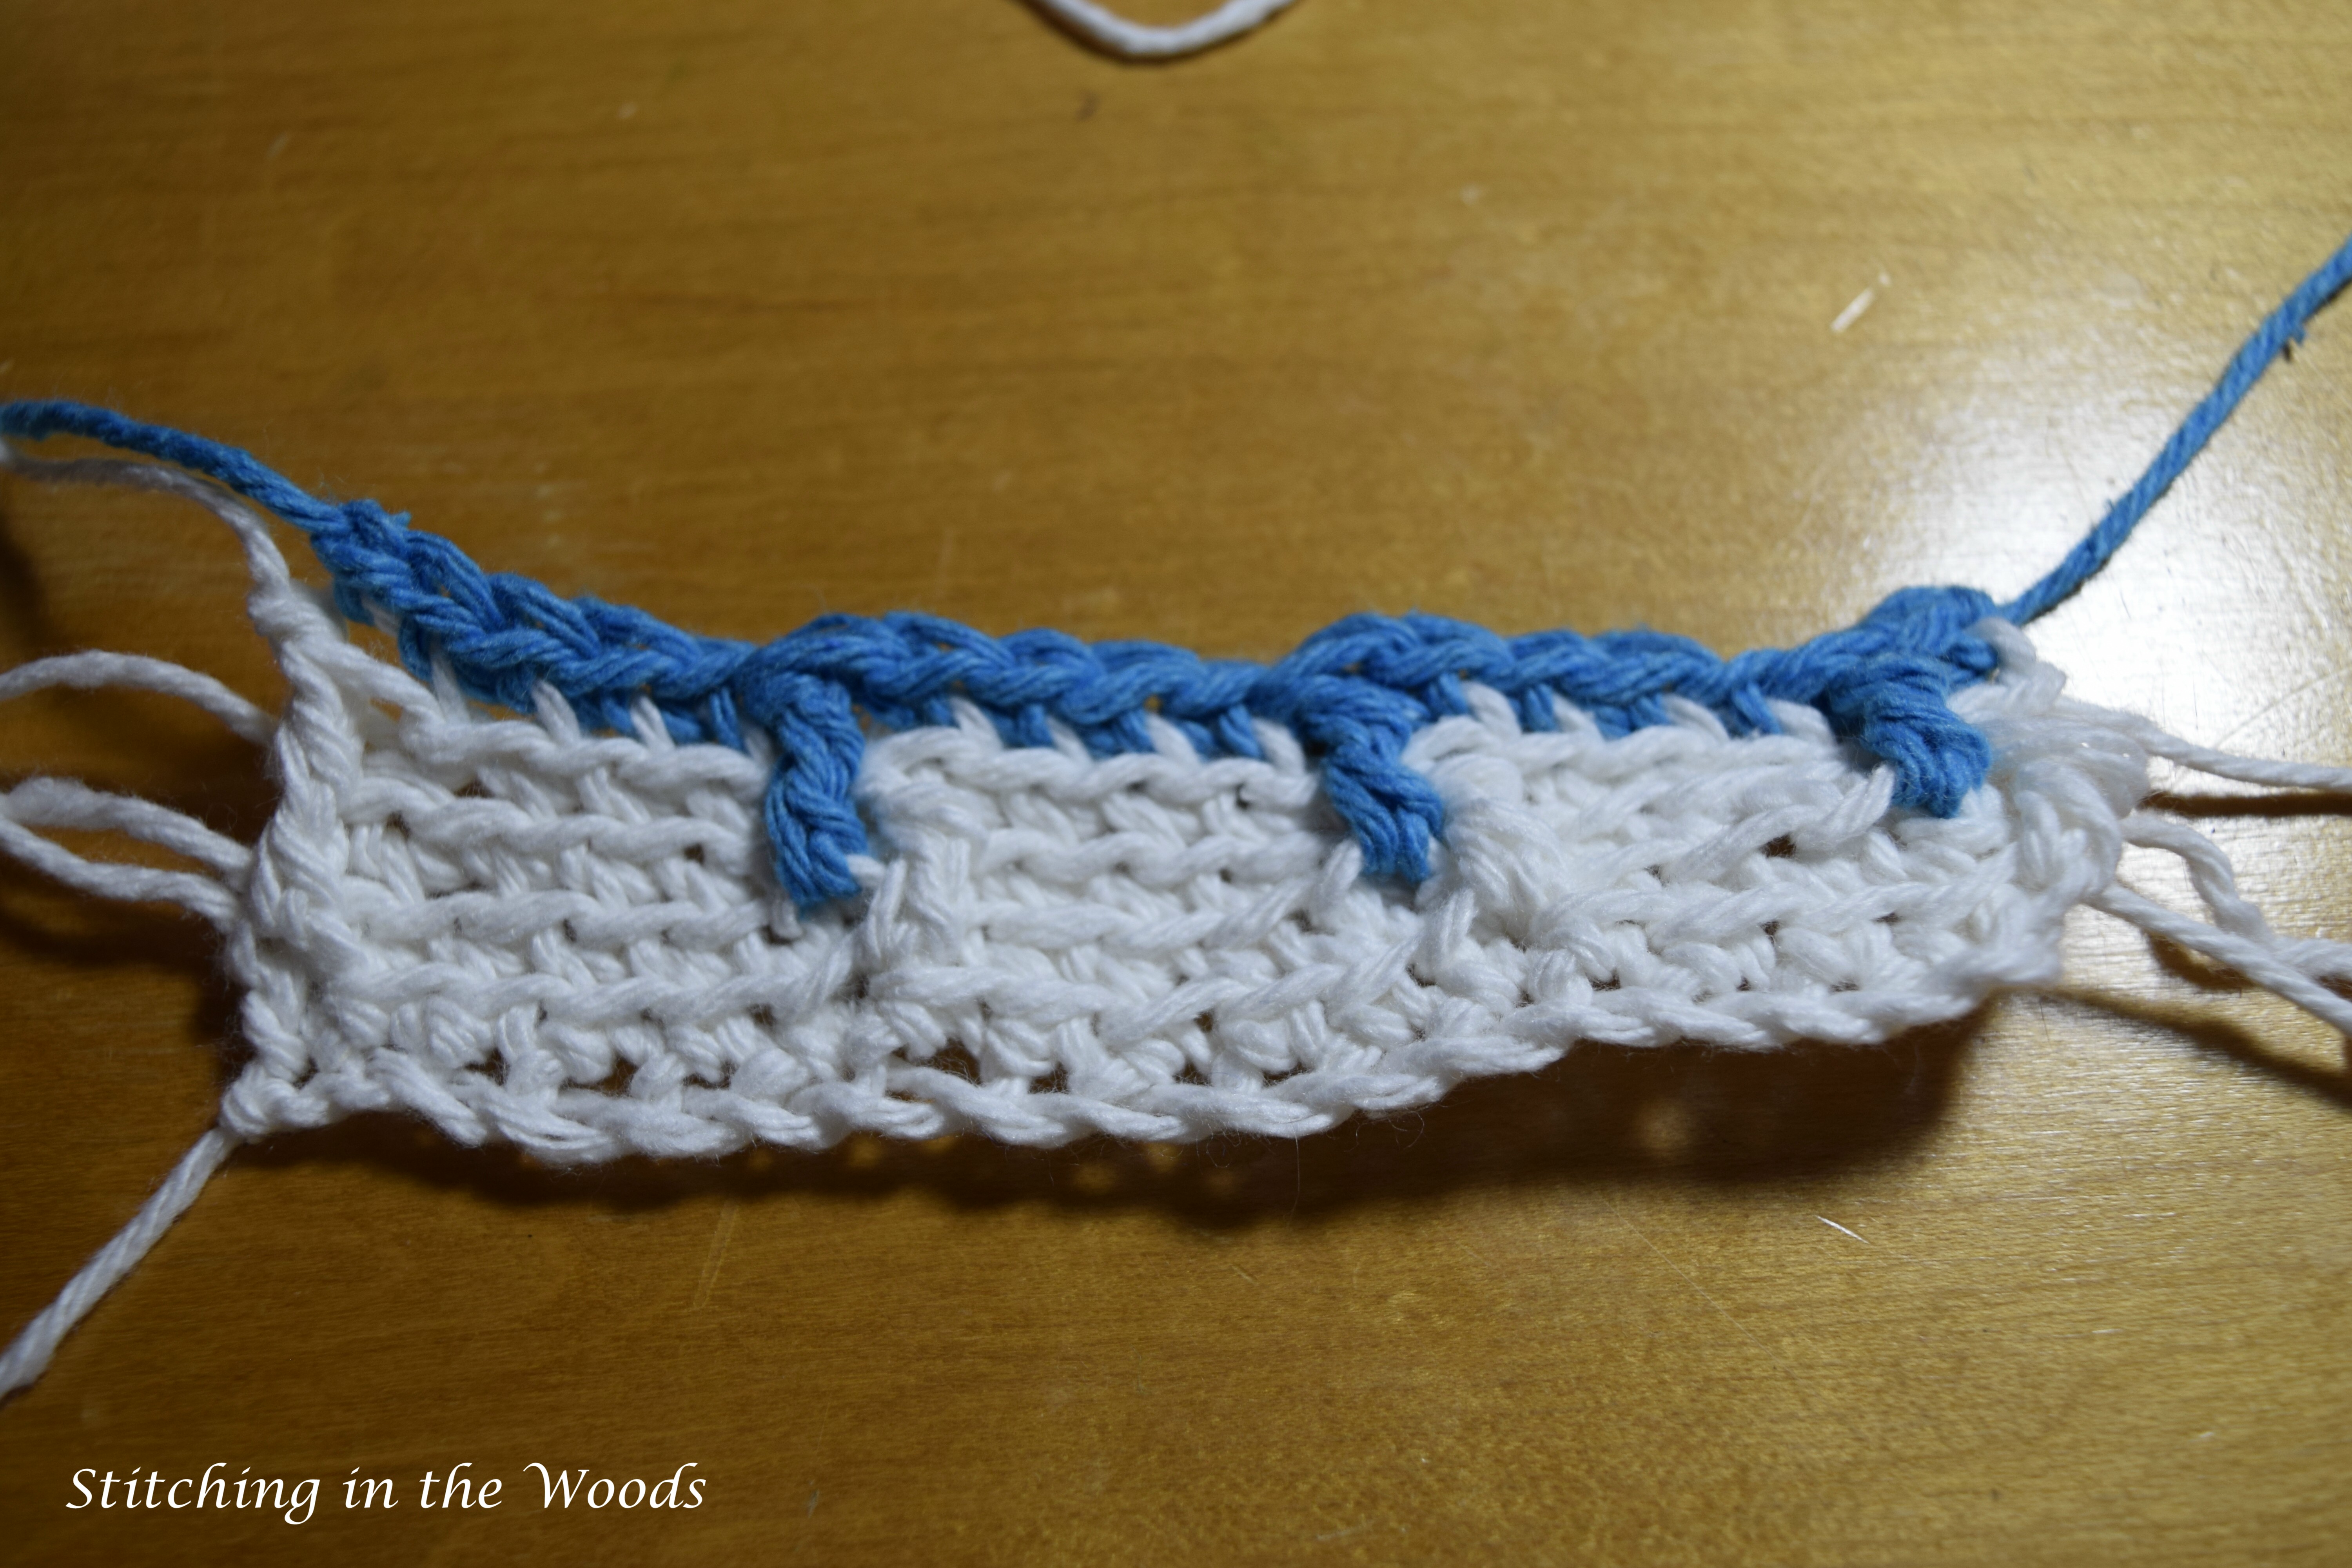
-If you use 3 colors like me you’ll always be treble downing in the same color you’re using (starting in row 8)
-“Treble down” means to put a treble crochet in the front loop of the stitch 3 rows below the next space
Pattern
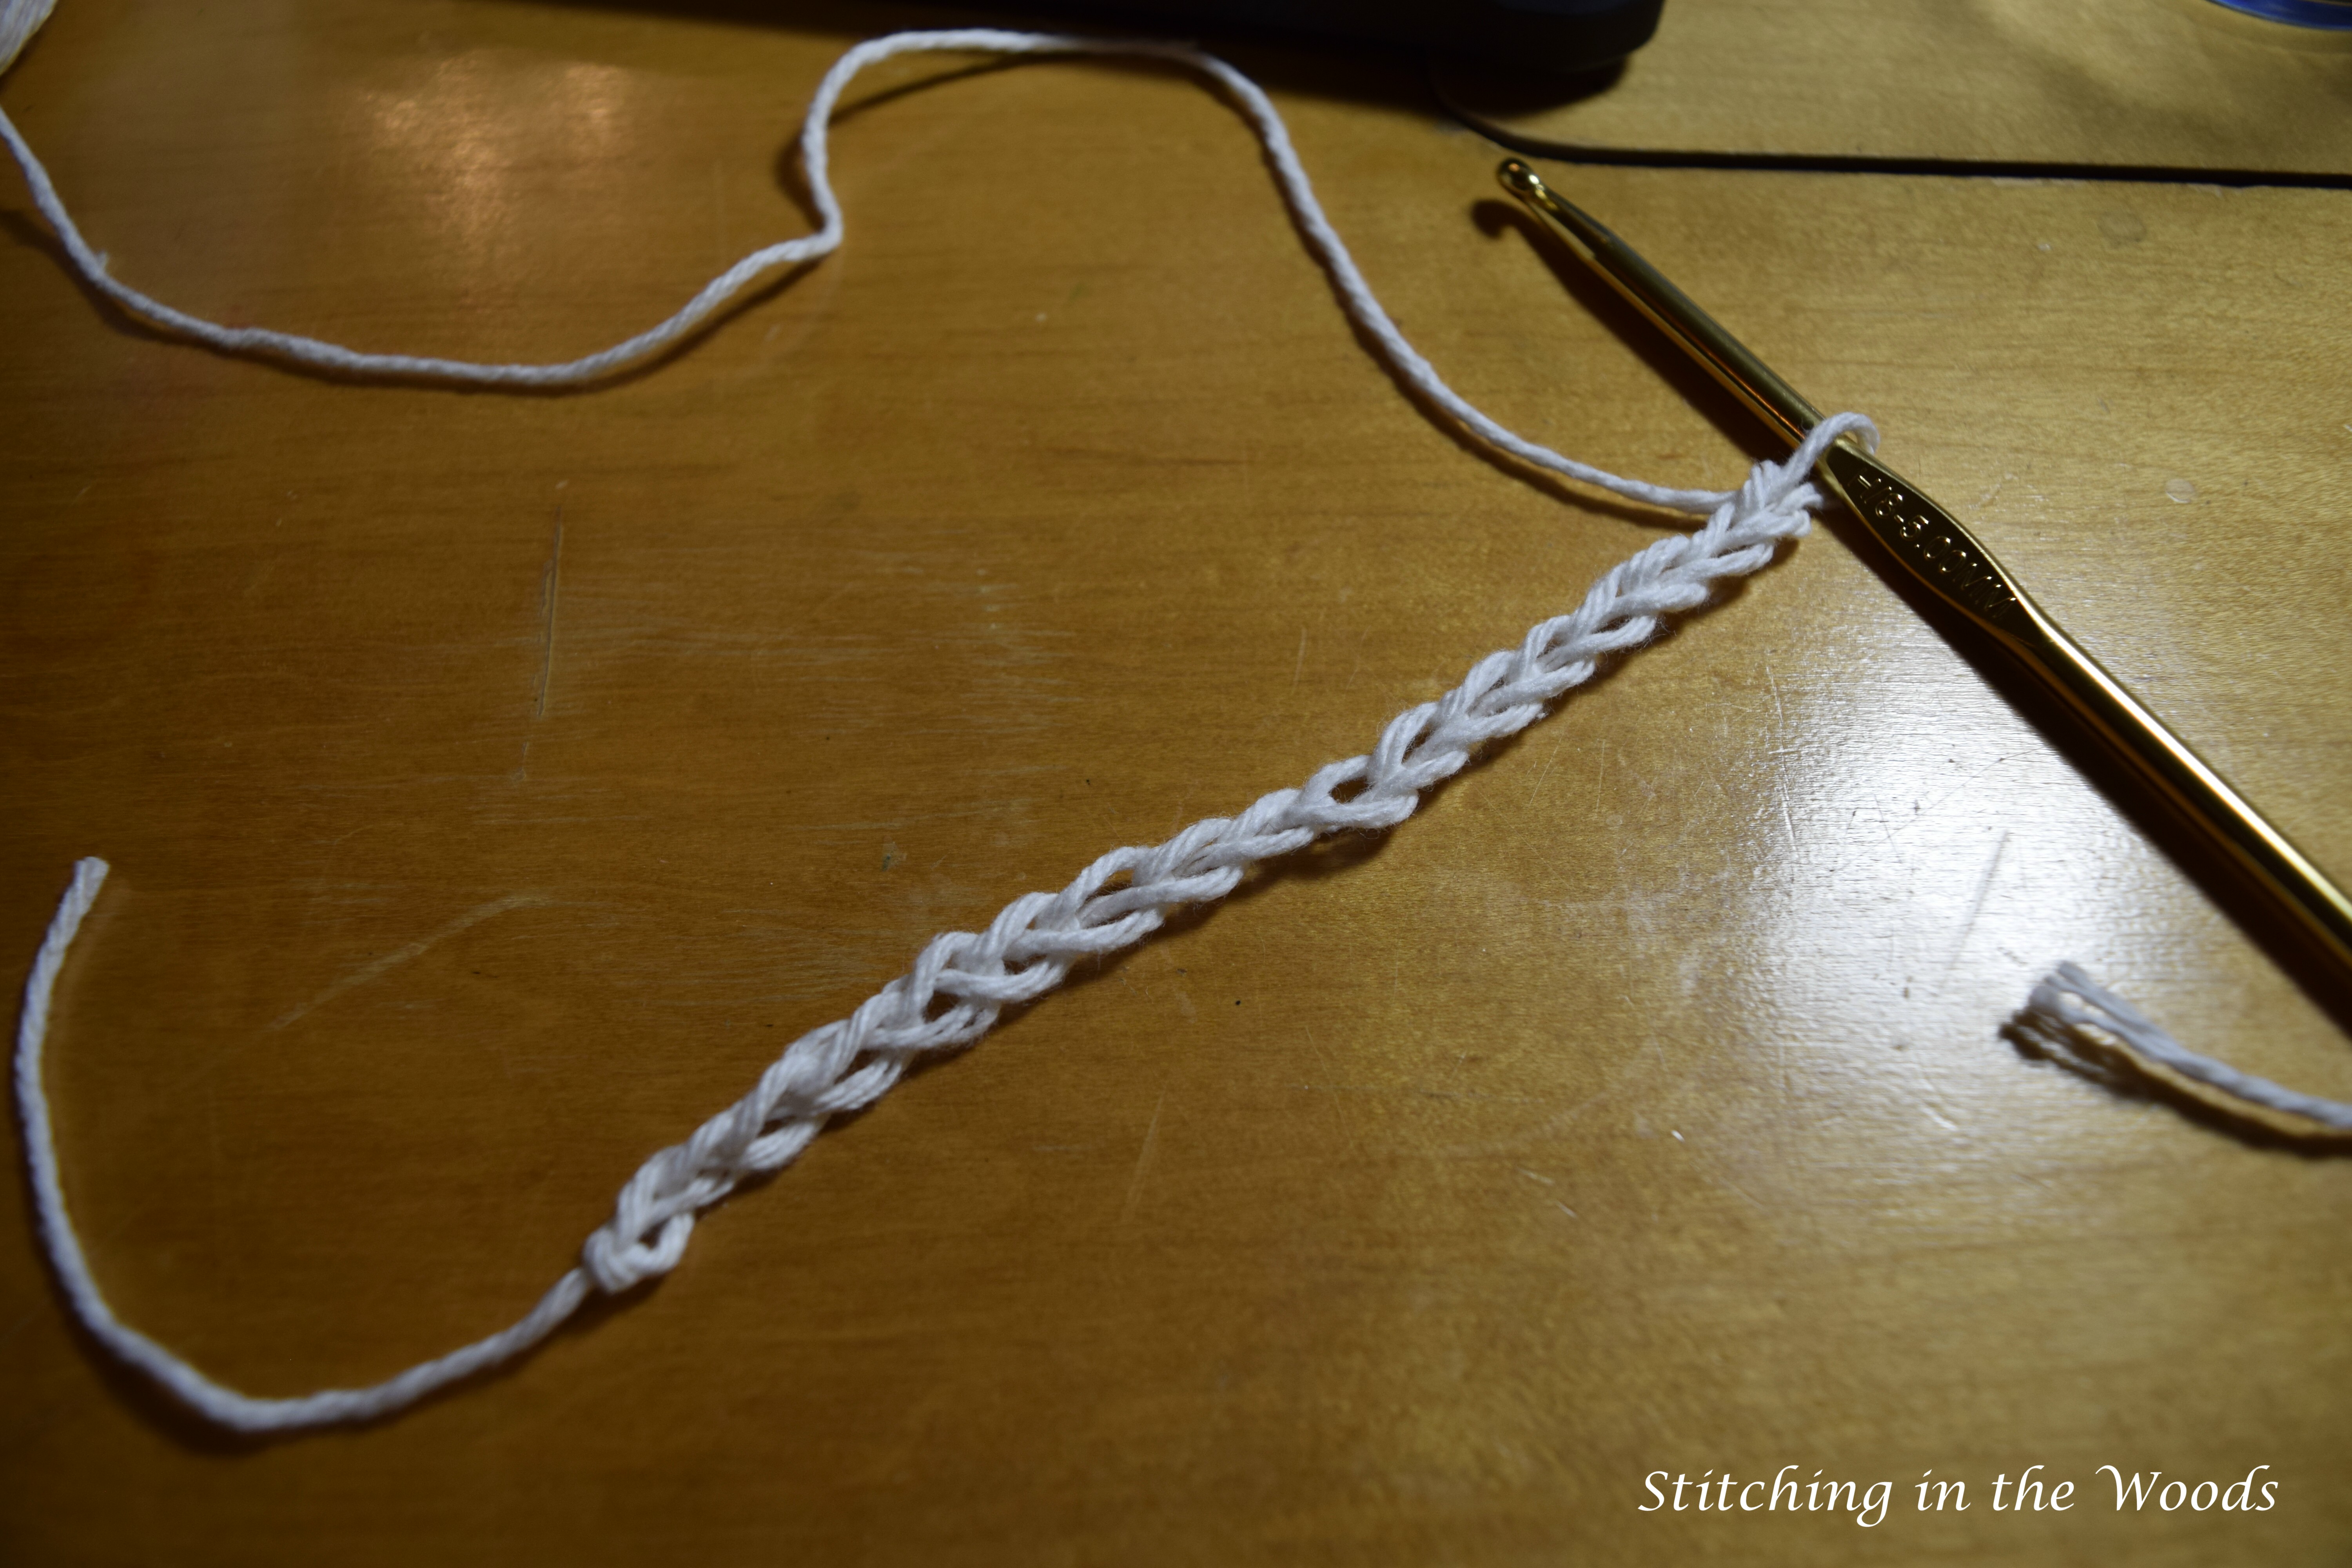
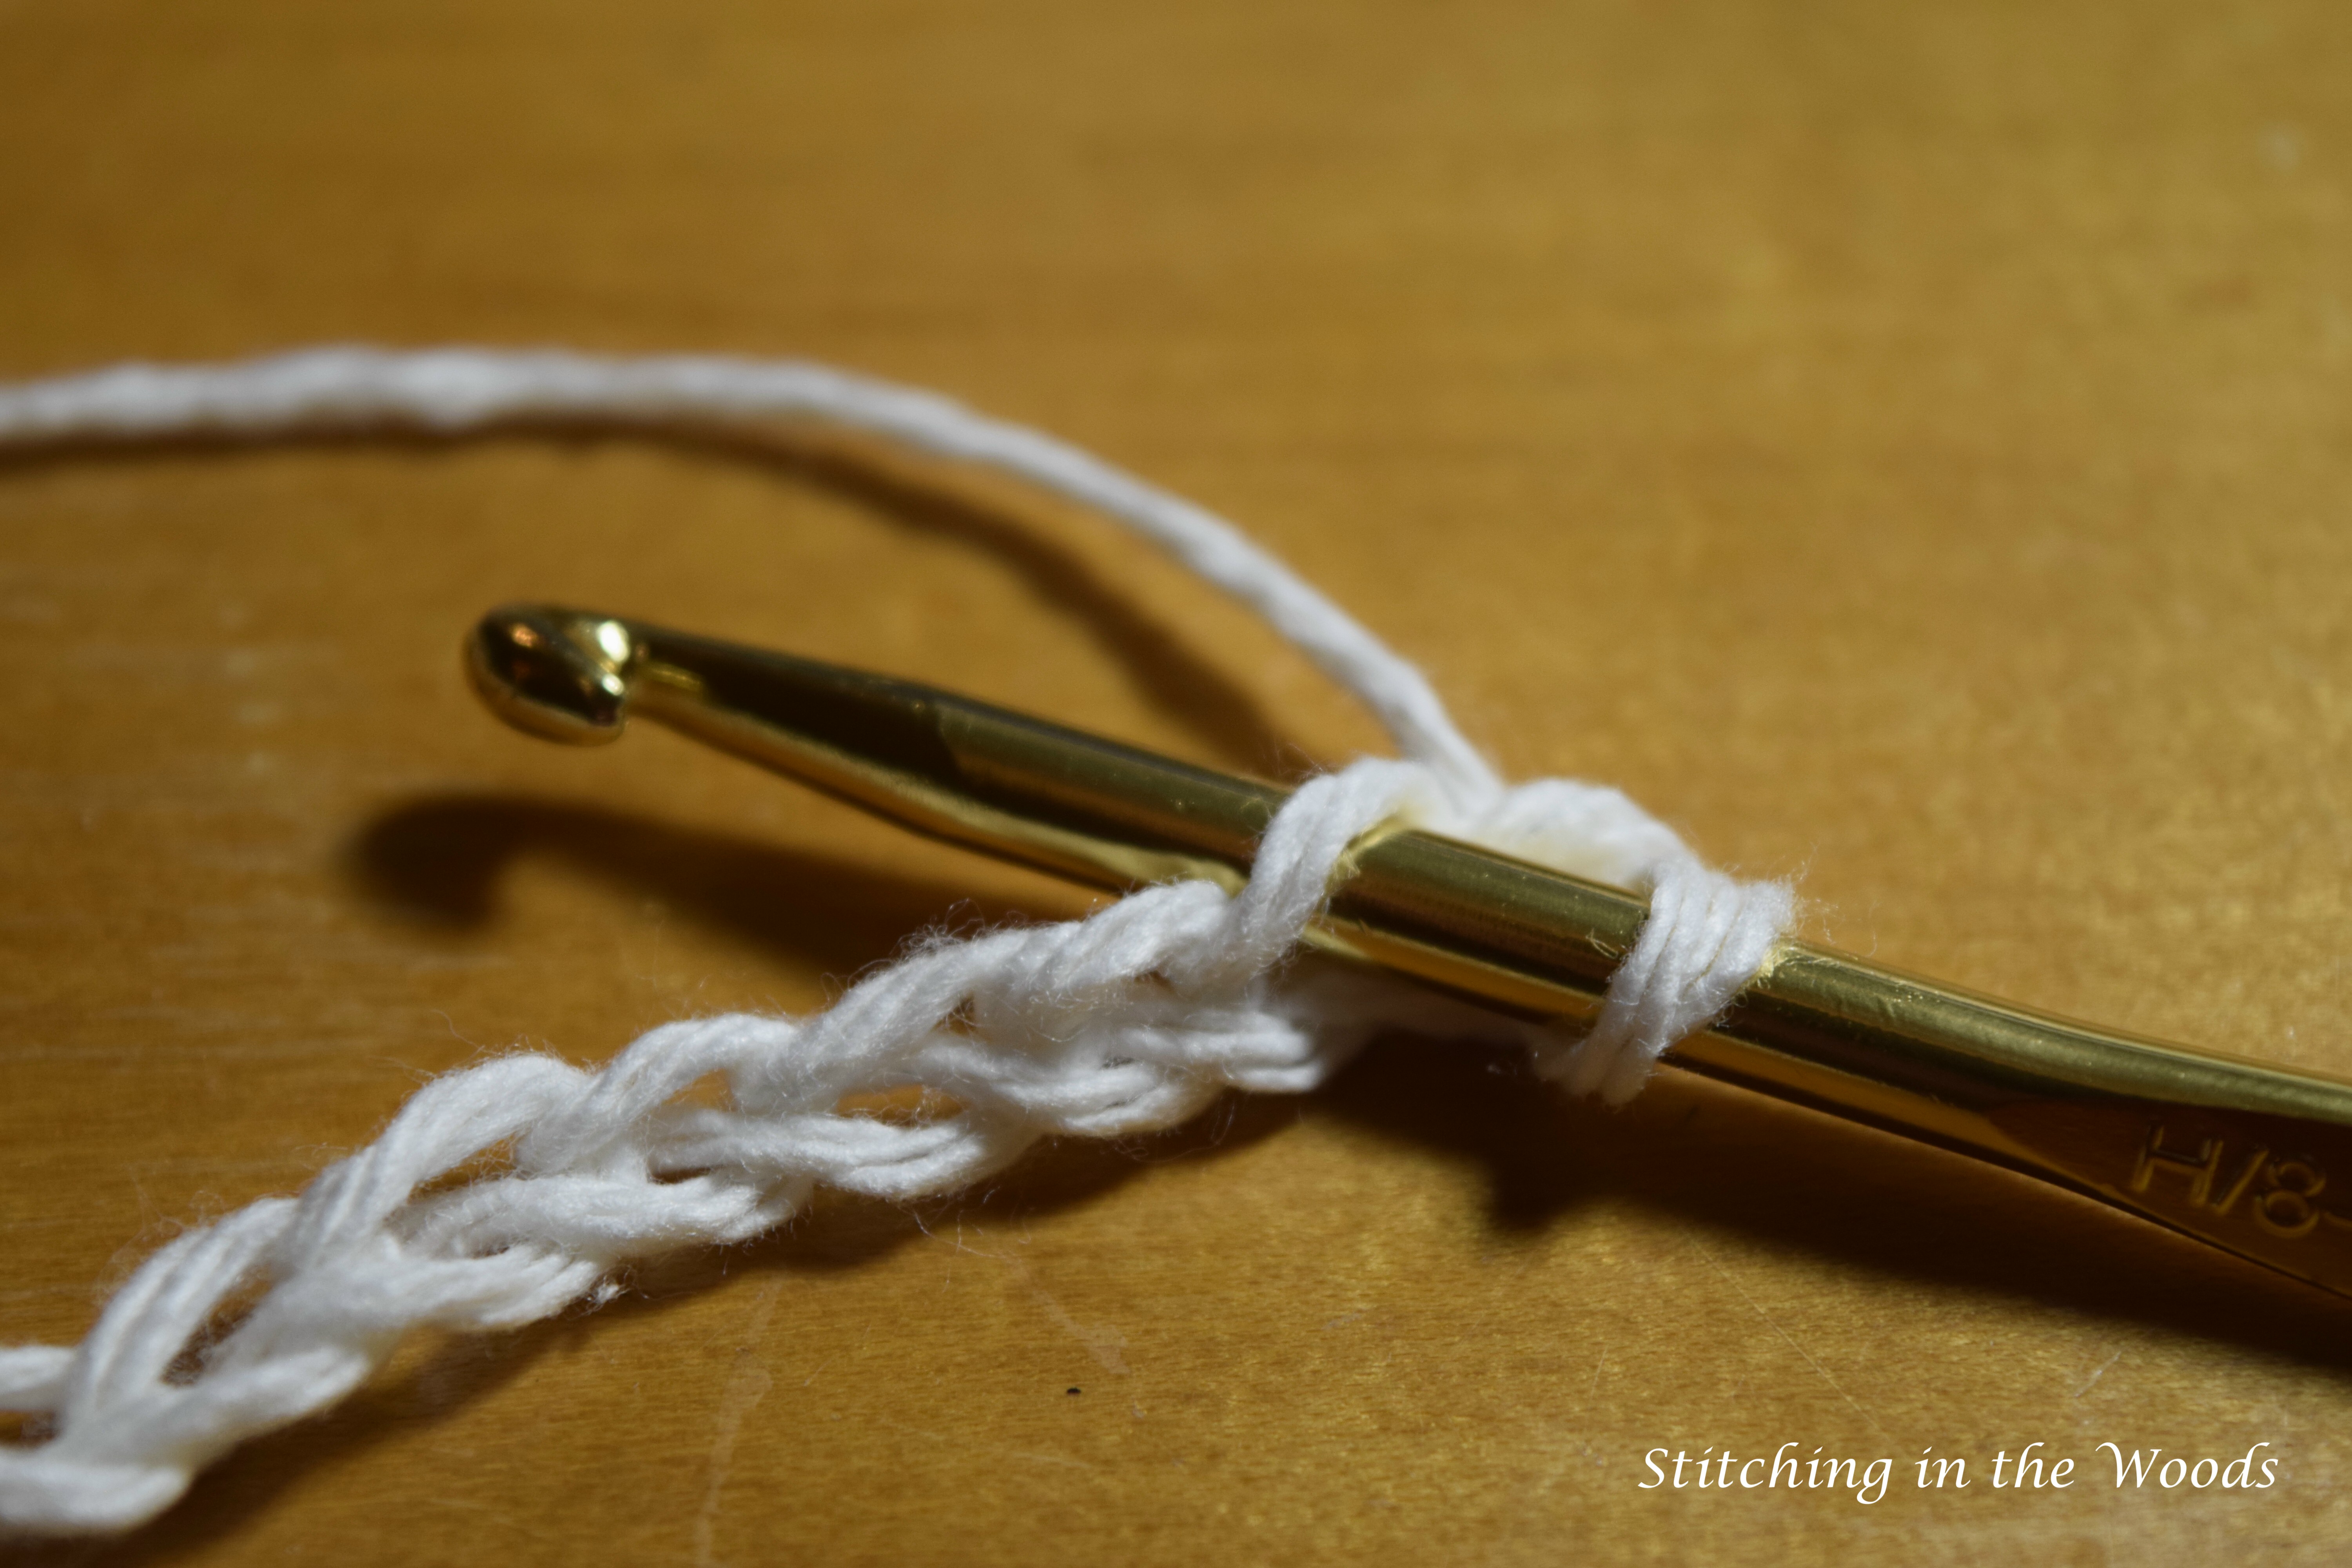
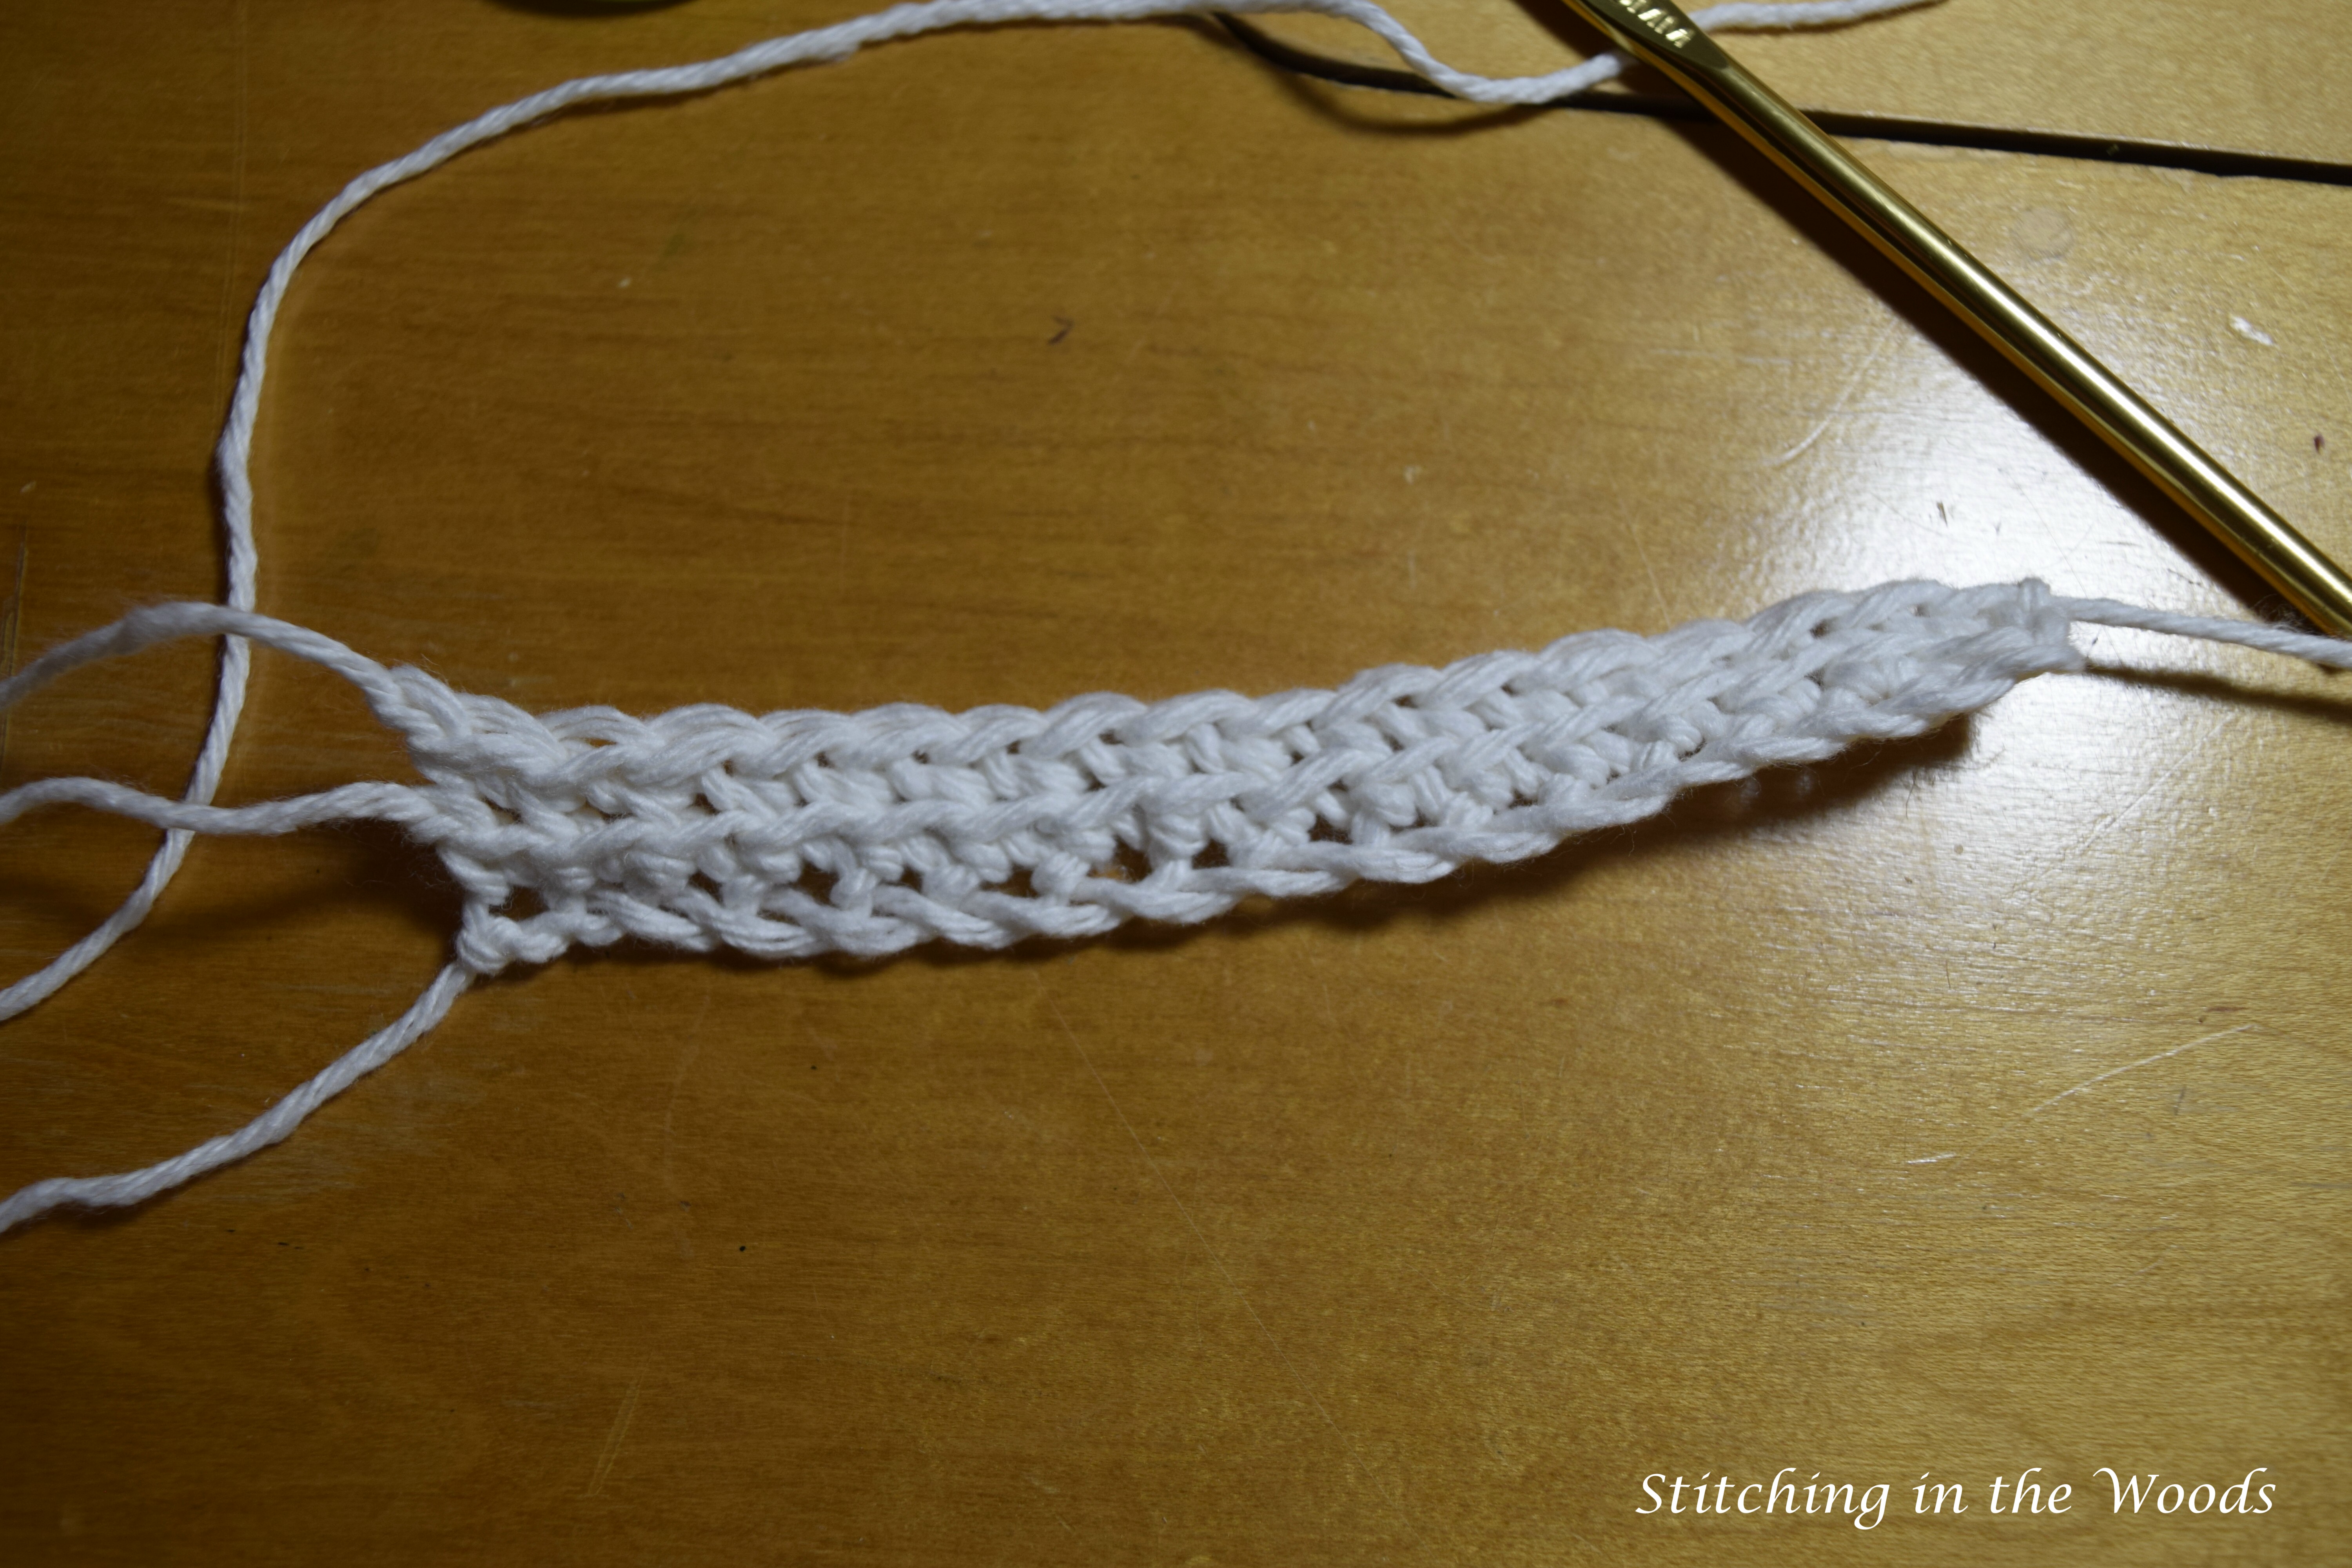
Ch 17 in cream
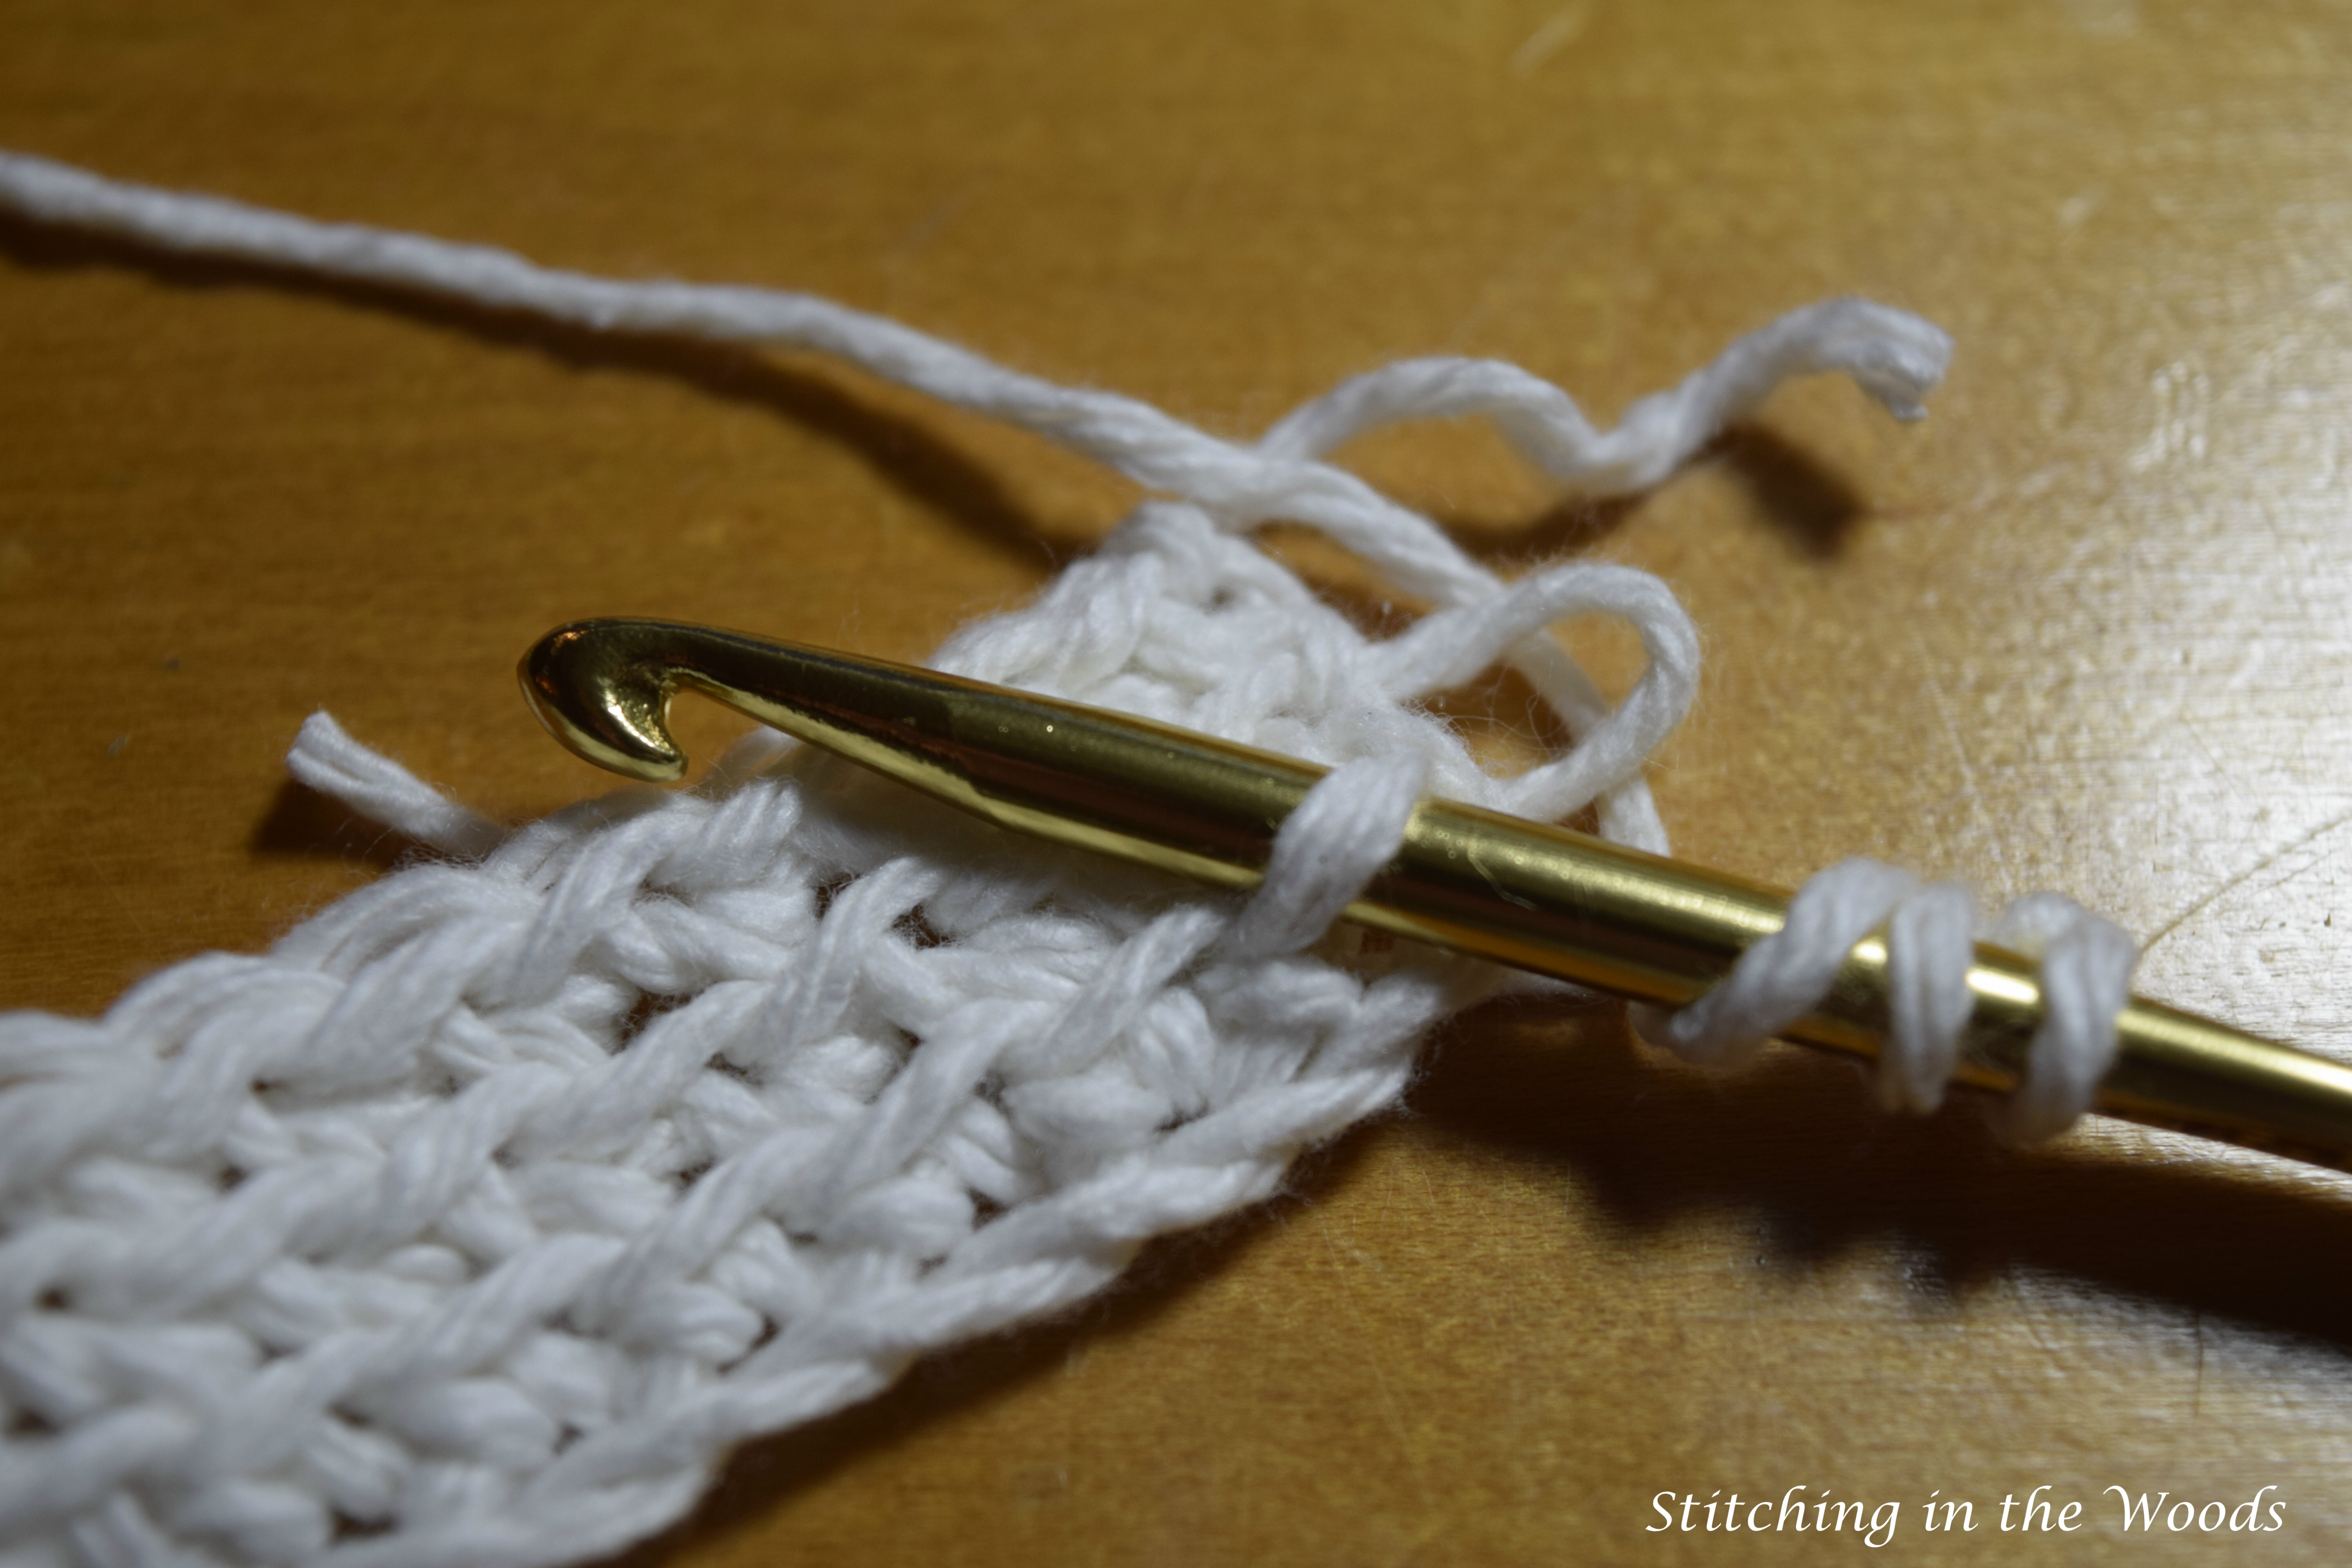
Row 1: In cream, sc in back loop of 2nd ch from hook (see picture below), sc in back loop of each ch across. Fasten off leaving 2″ tail. (16 sc)

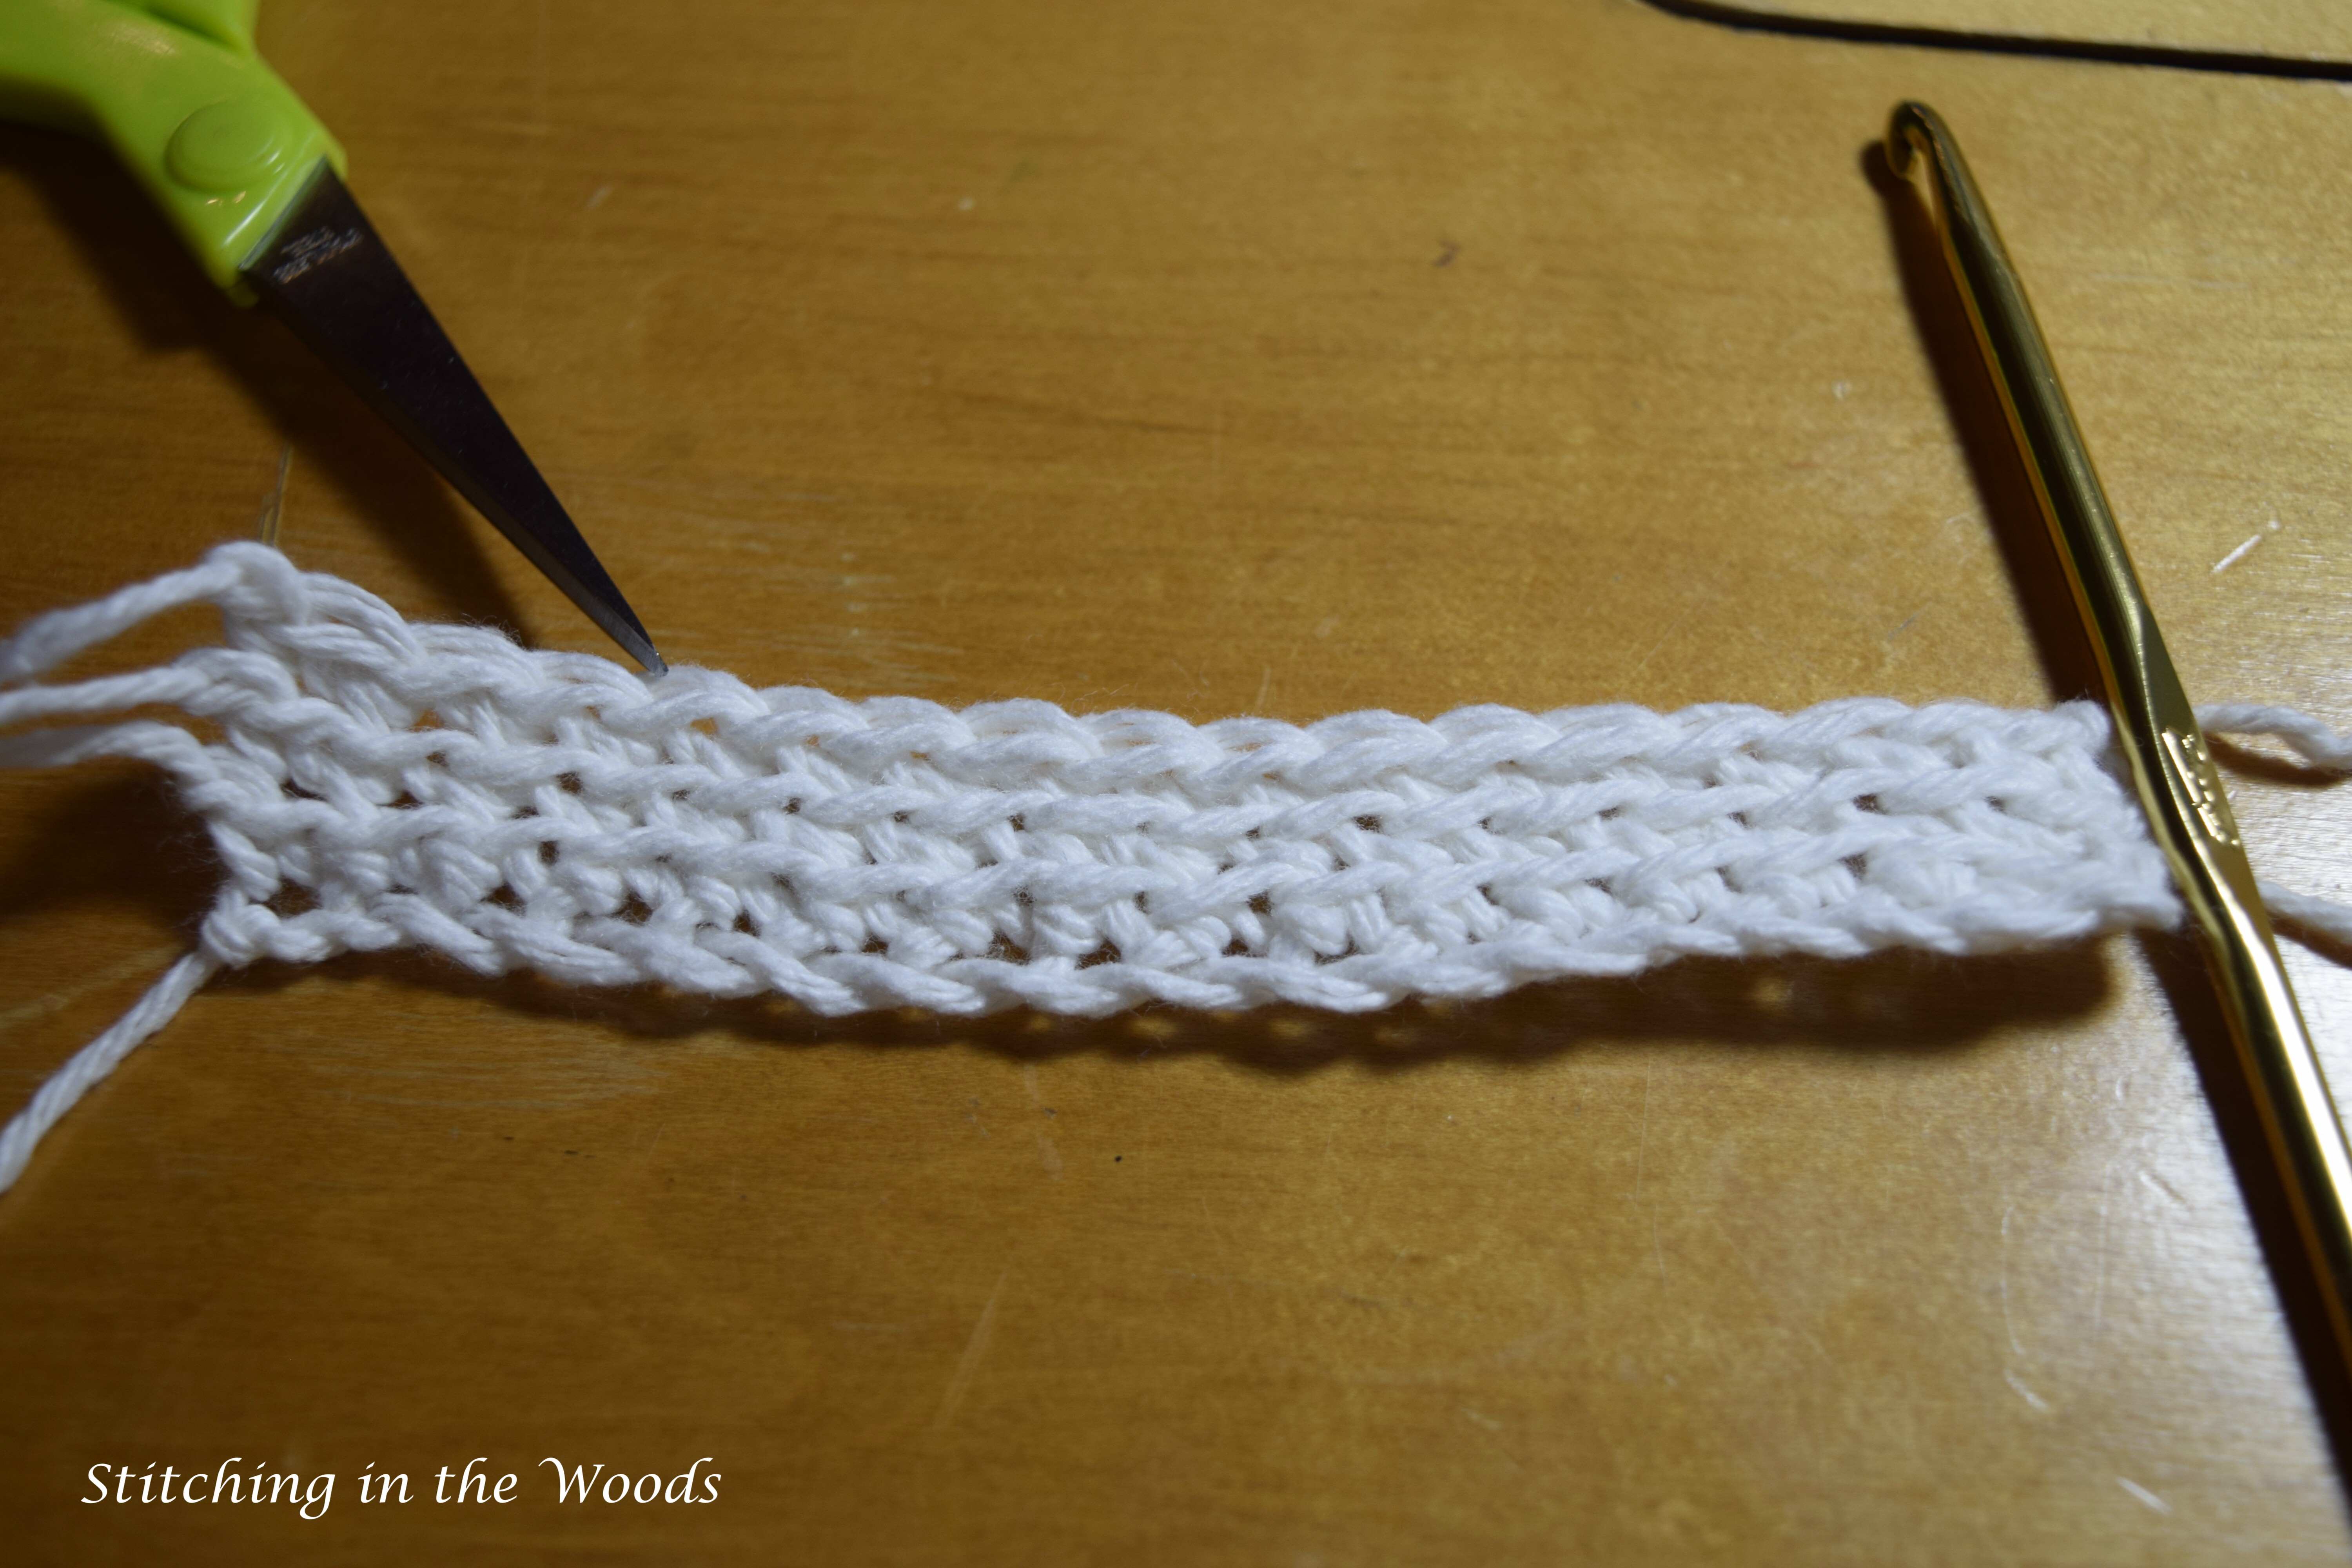
Row 2: In cream, sc in the back loop of each stitch across. Fasten off.
Row 3: In cream, sc in the back loop of each stitch across. Fasten off.
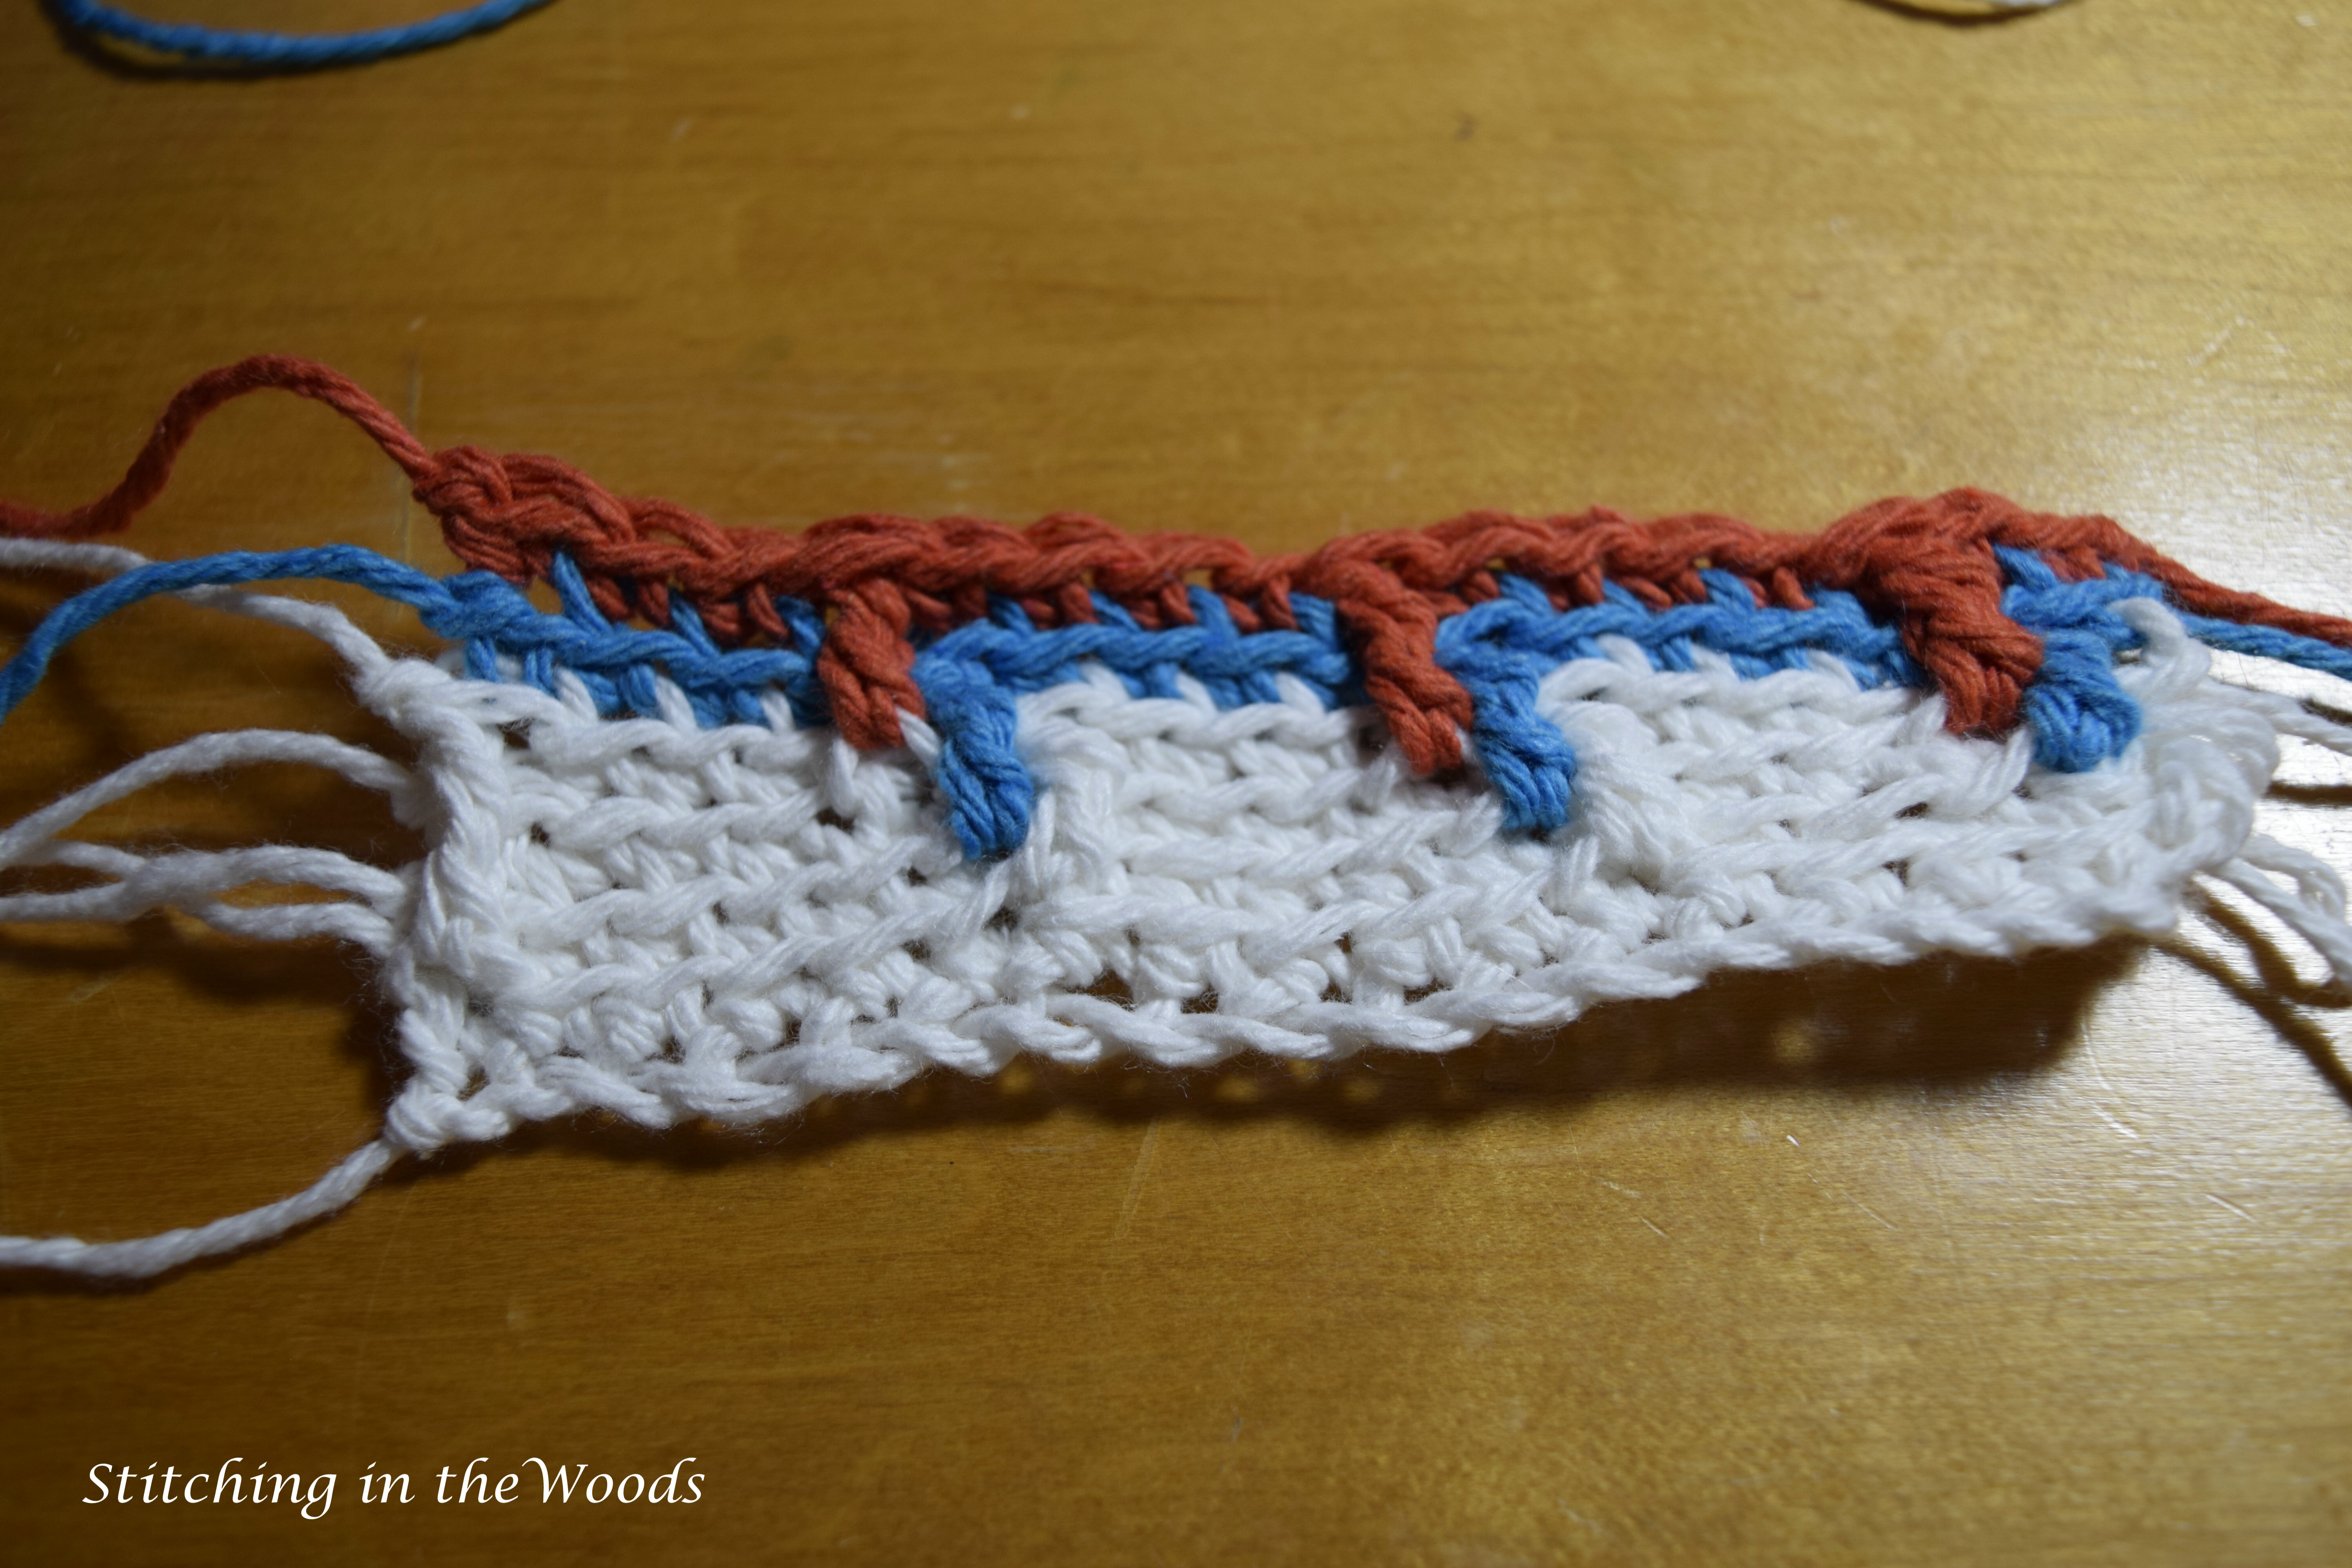
Row 4: In cream, tr down (see pattern notes) in the first stitch, sc in the next 4 sts, tr down, sc in the next 4 sts, tr down, sc in the next 4 sts, tr down. Fasten off.
Row 5: In turquoise, sc in first st, tr down, sc in next 4 sts, tr down, sc in next 4 sts, tr down, sc in next 4 sts. Fasten off.
Row 6: In orange, sc in first 2 sts, tr down, sc in next 4 sts, tr down, sc in next 4 sts, tr down, sc in next 3 sts. Fasten off.
Row 7: In cream, sc in first 3 sts, tr down, sc in next 4 sts, tr down, sc in next 4 sts, tr down, sc in next 2 sts. Fasten off.
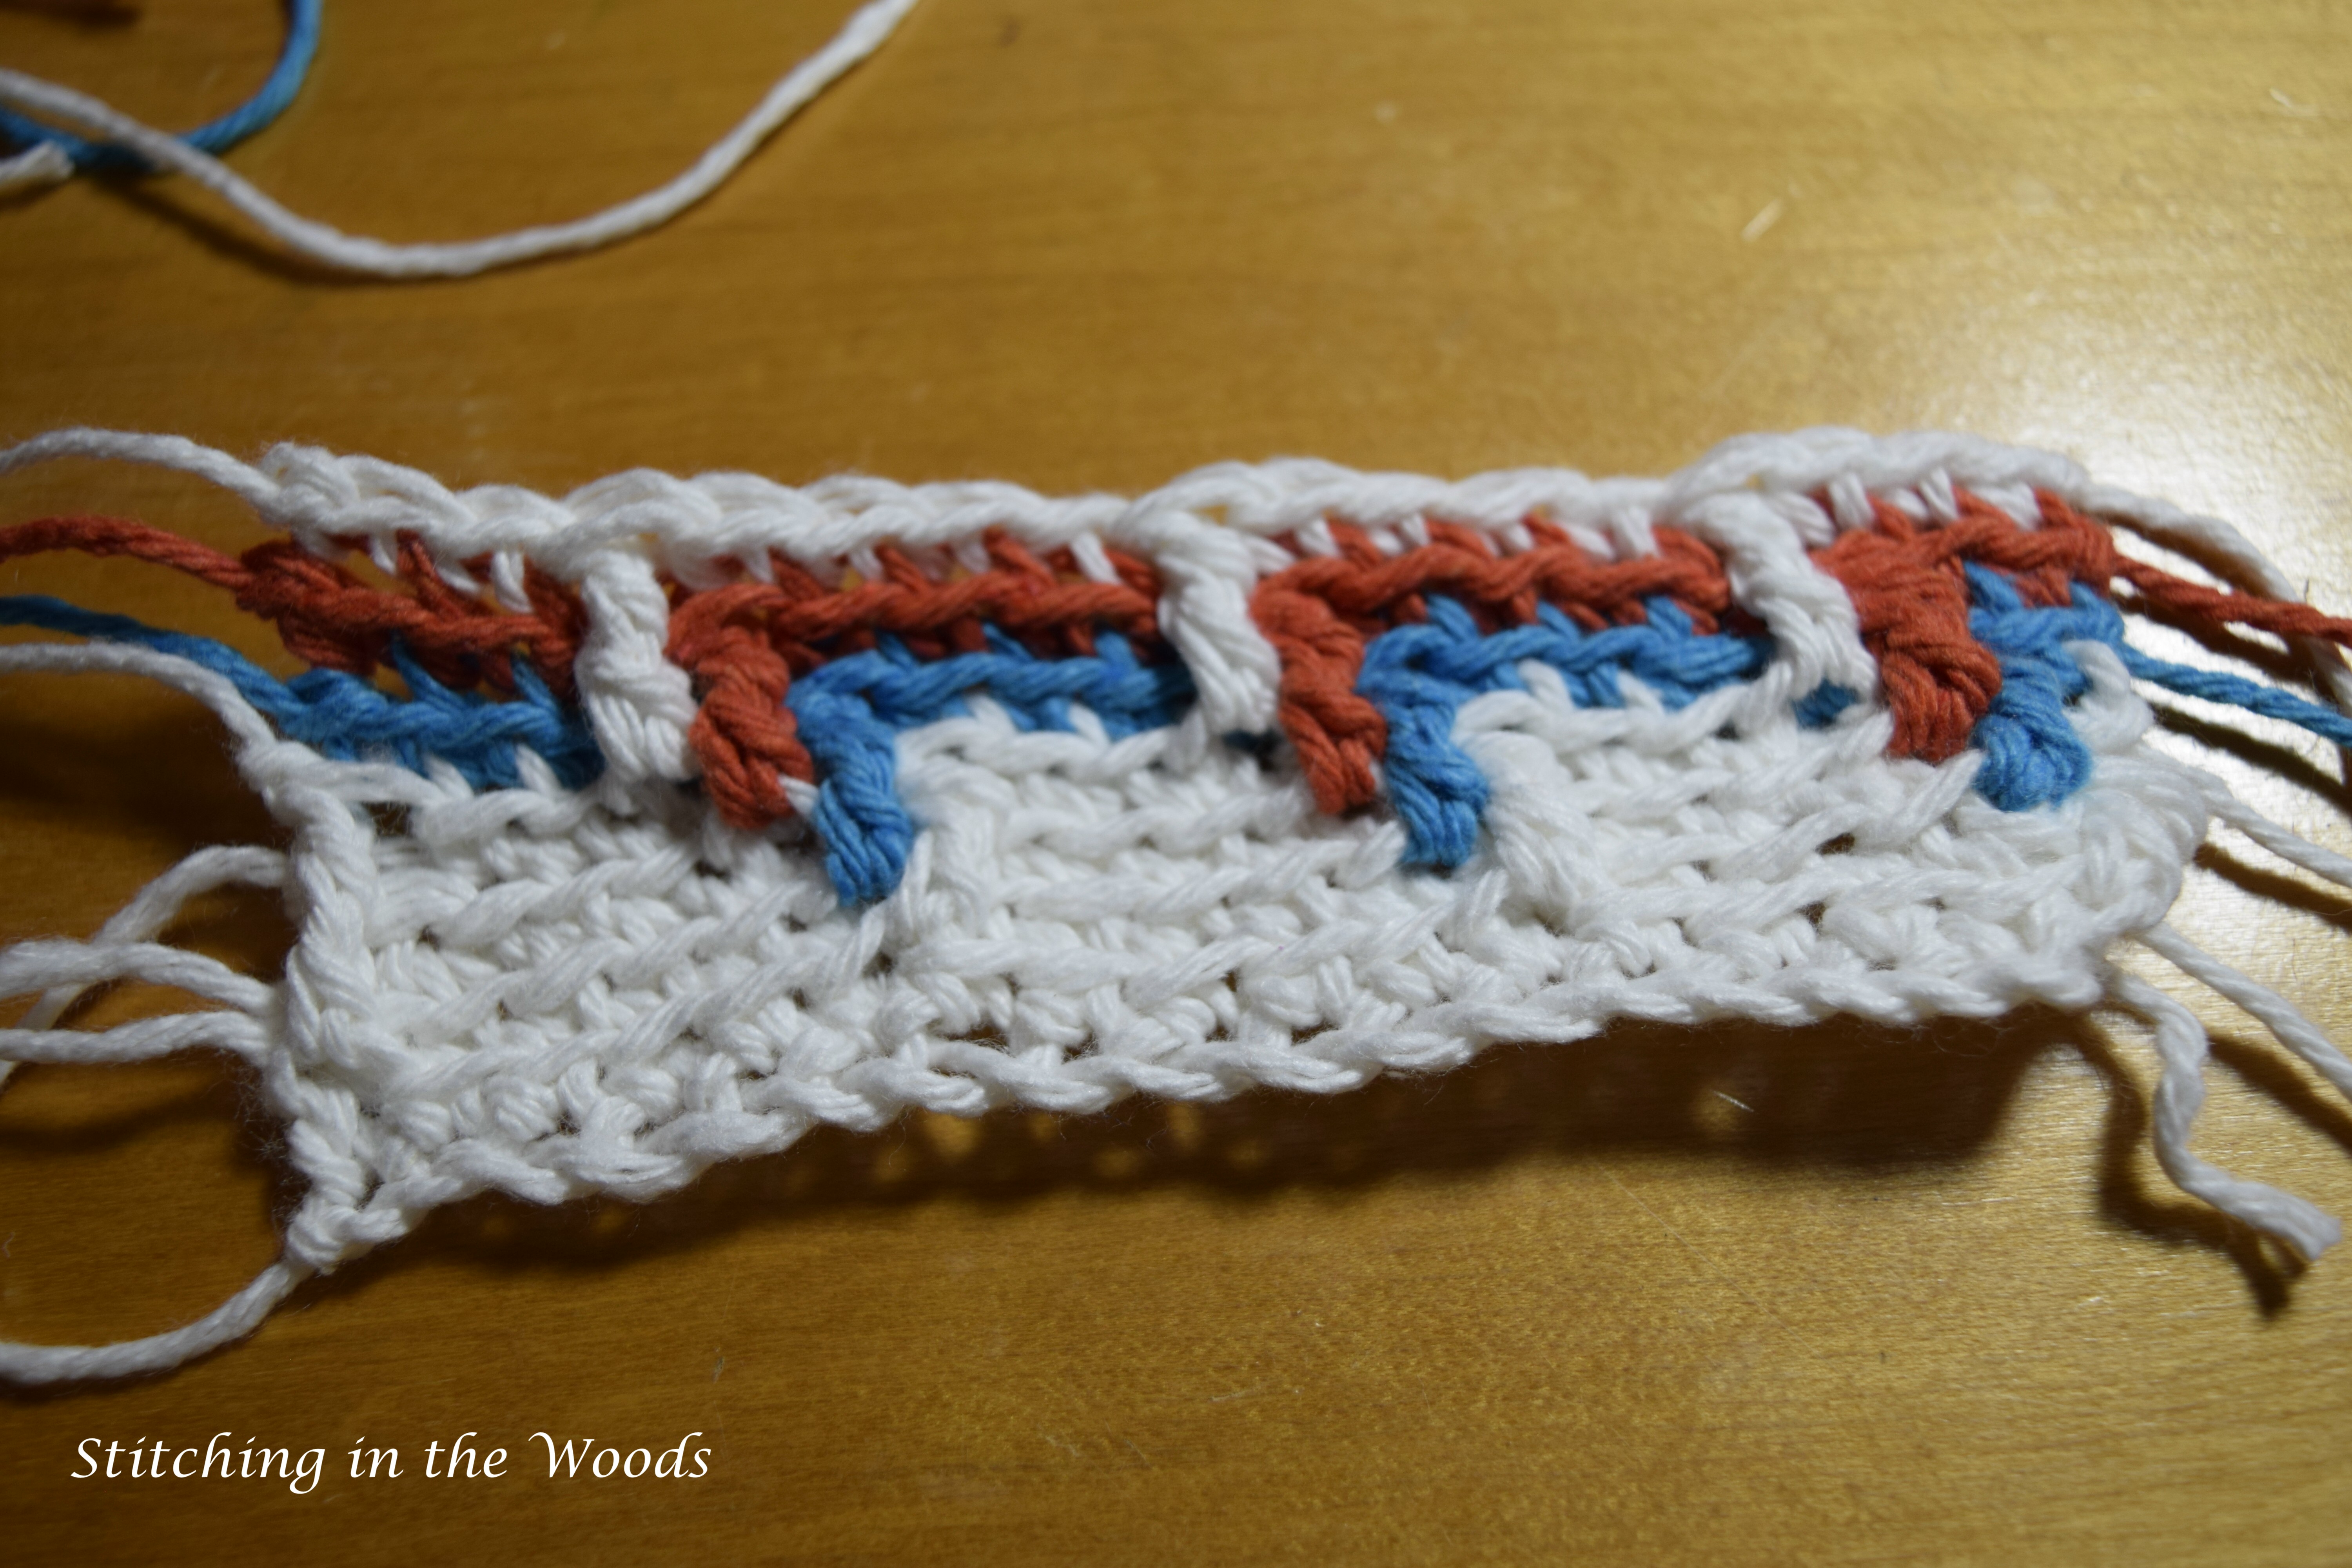
Row 8: In turquoise, sc in first 4 sts, tr down, sc in next 4 sts, tr down, sc in next 4 sts, tr down, sc in next st. Fasten off.
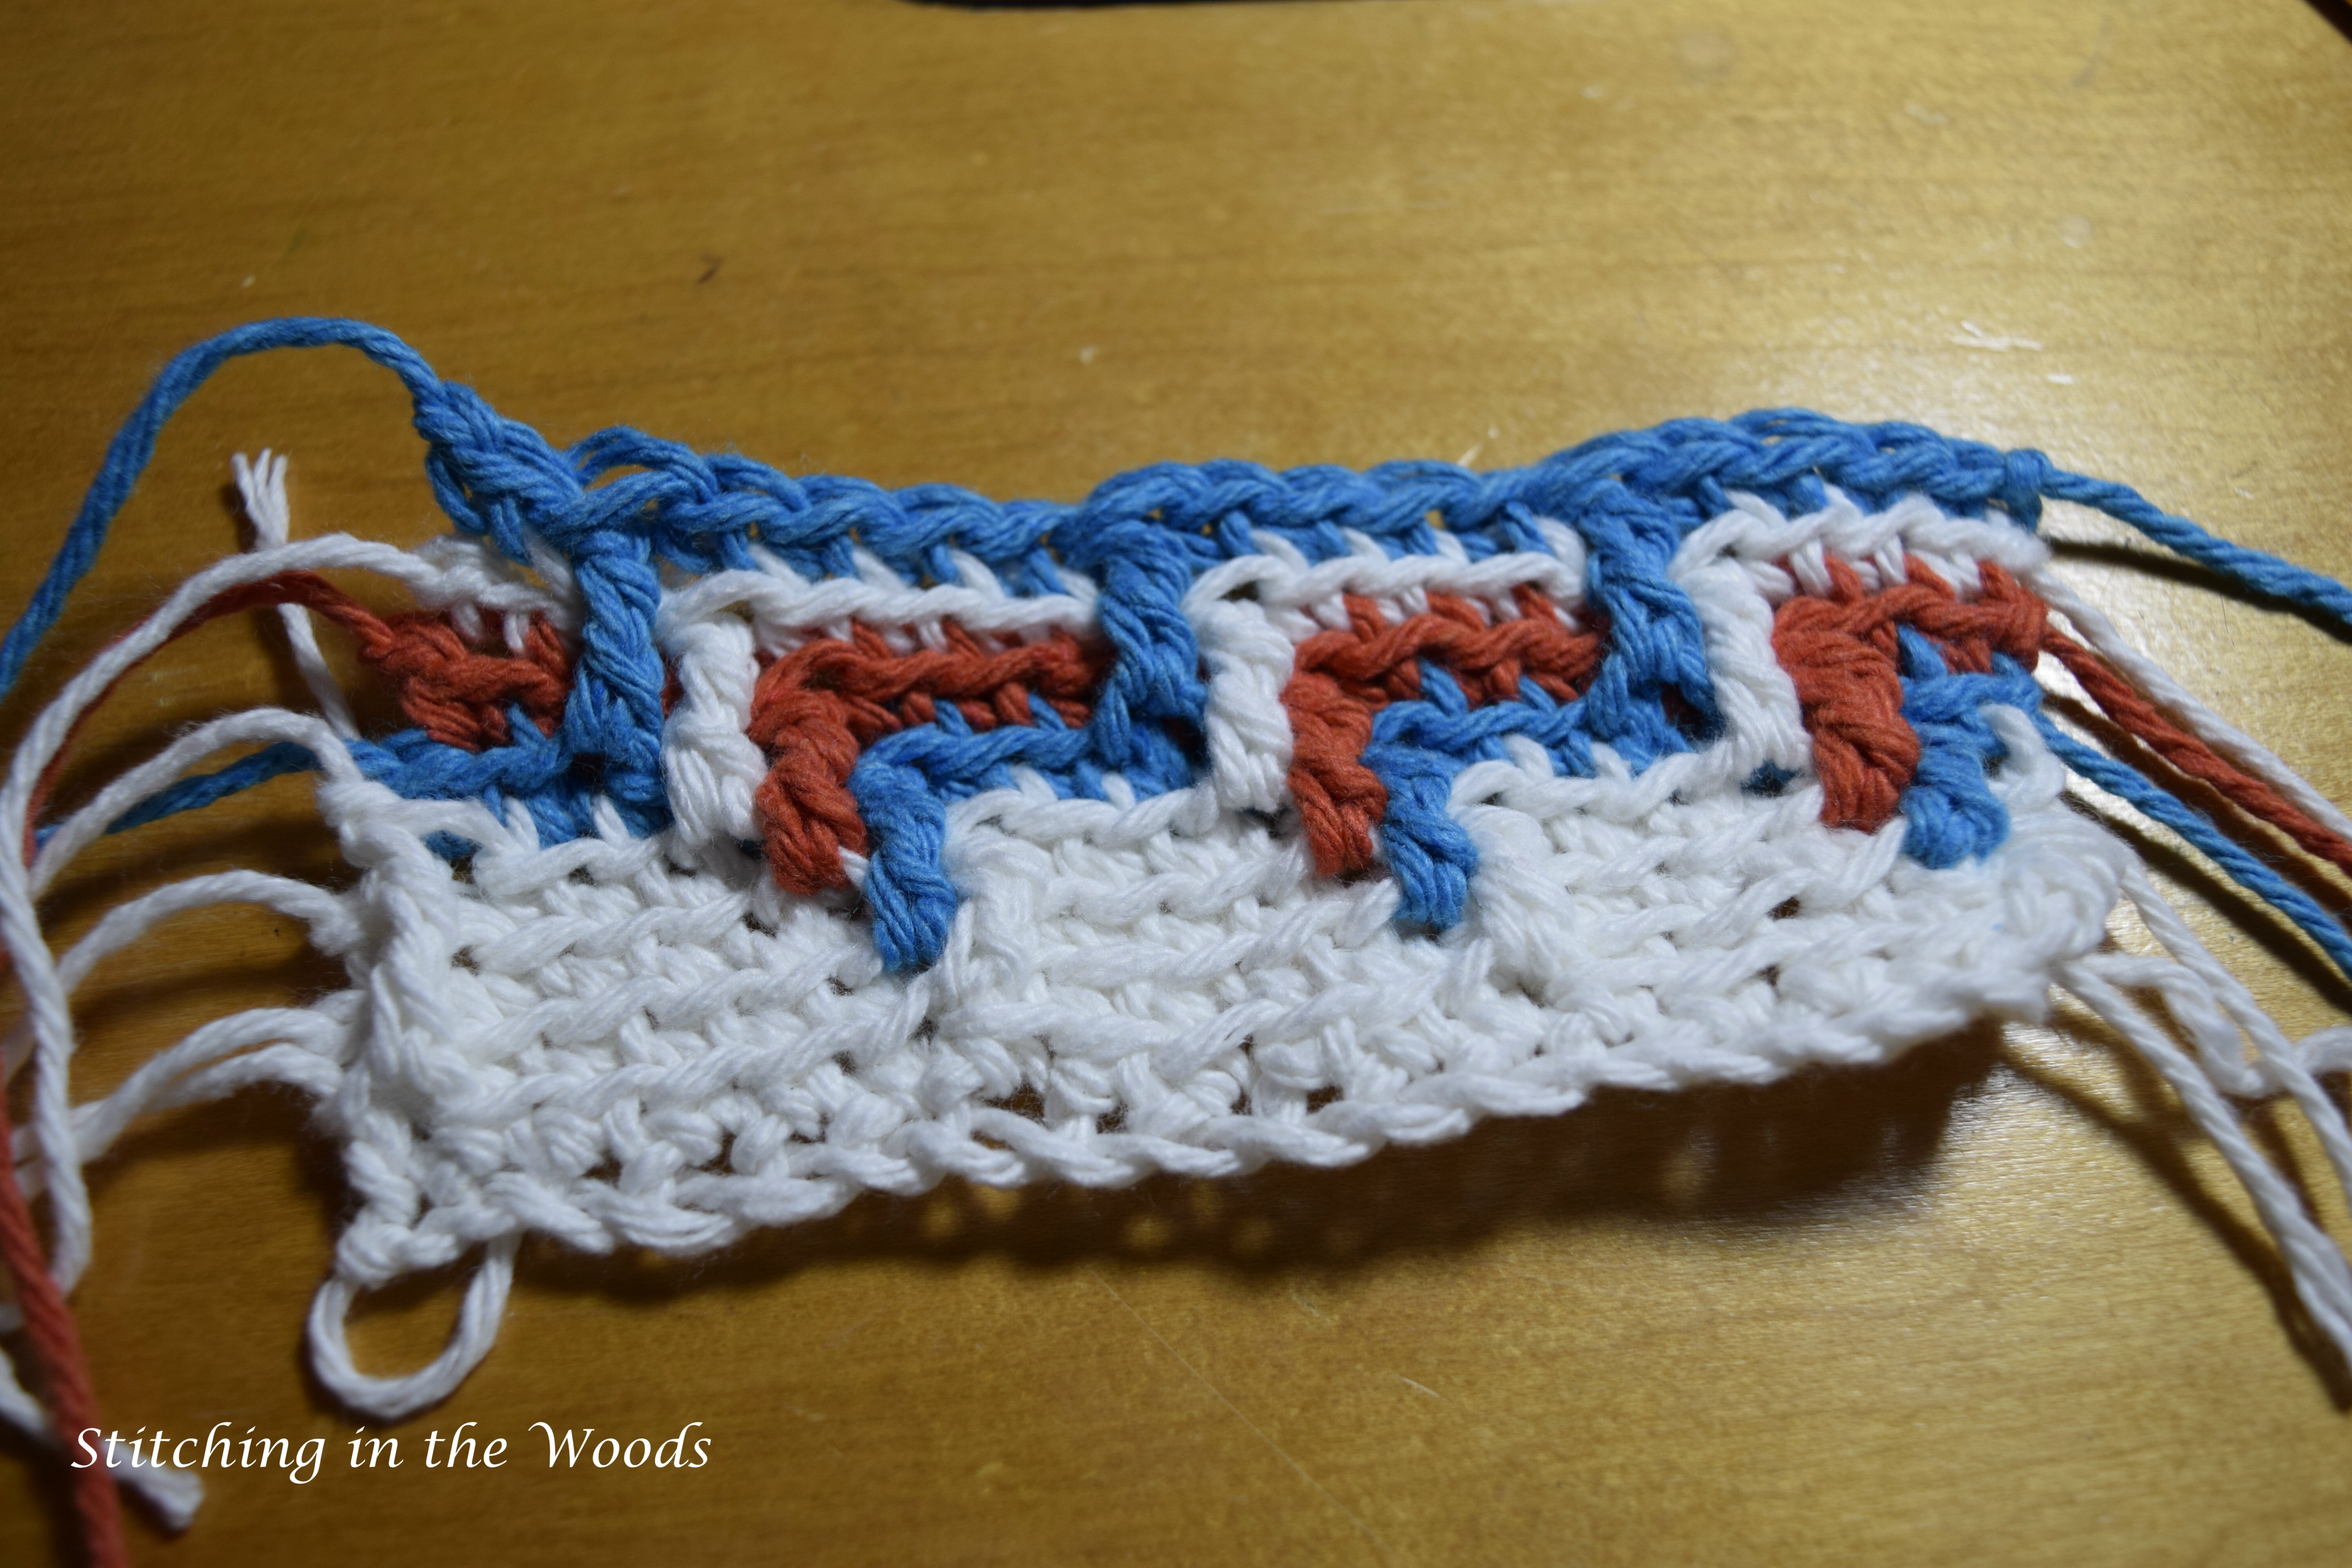
Rows 9-18: Repeat rows 4-8 twice, continuing to change colors in sequence (orange will be row 9)
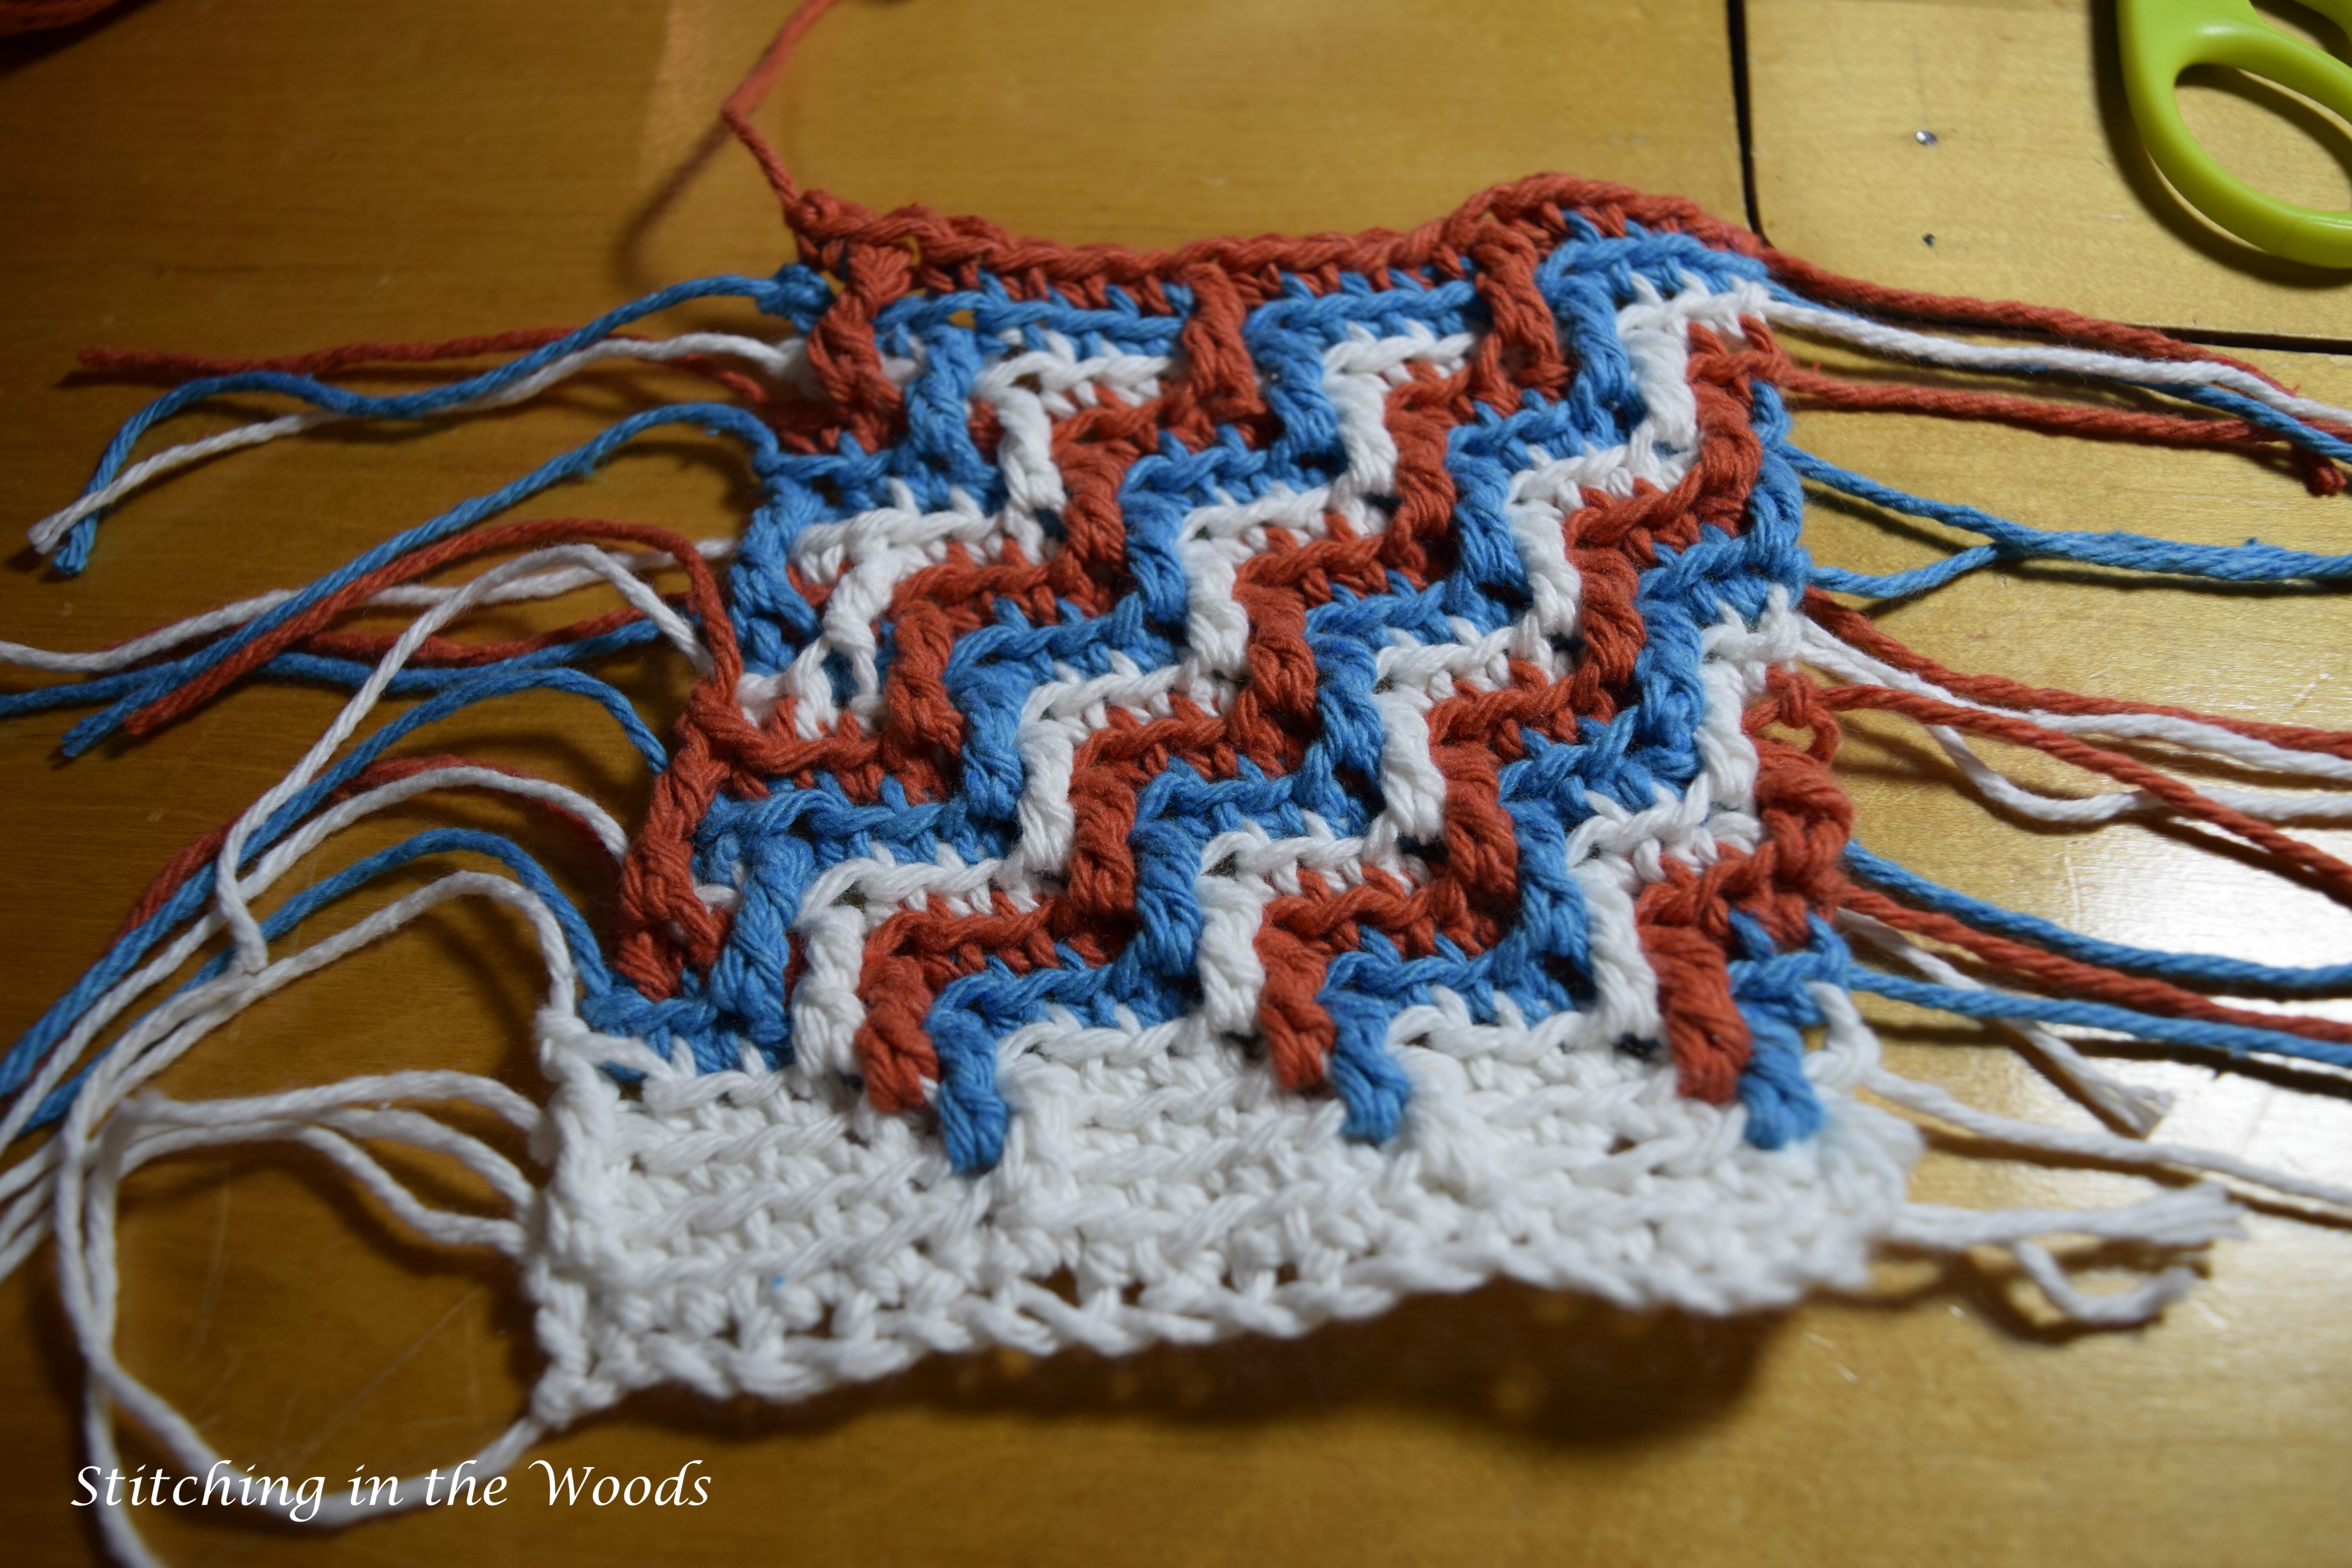
Row 19: In cream, repeat row 4 once.
Rows 20-22: In cream, sc in each stitch across. Fasten off. After row 22, trim ends to an even length as desired.
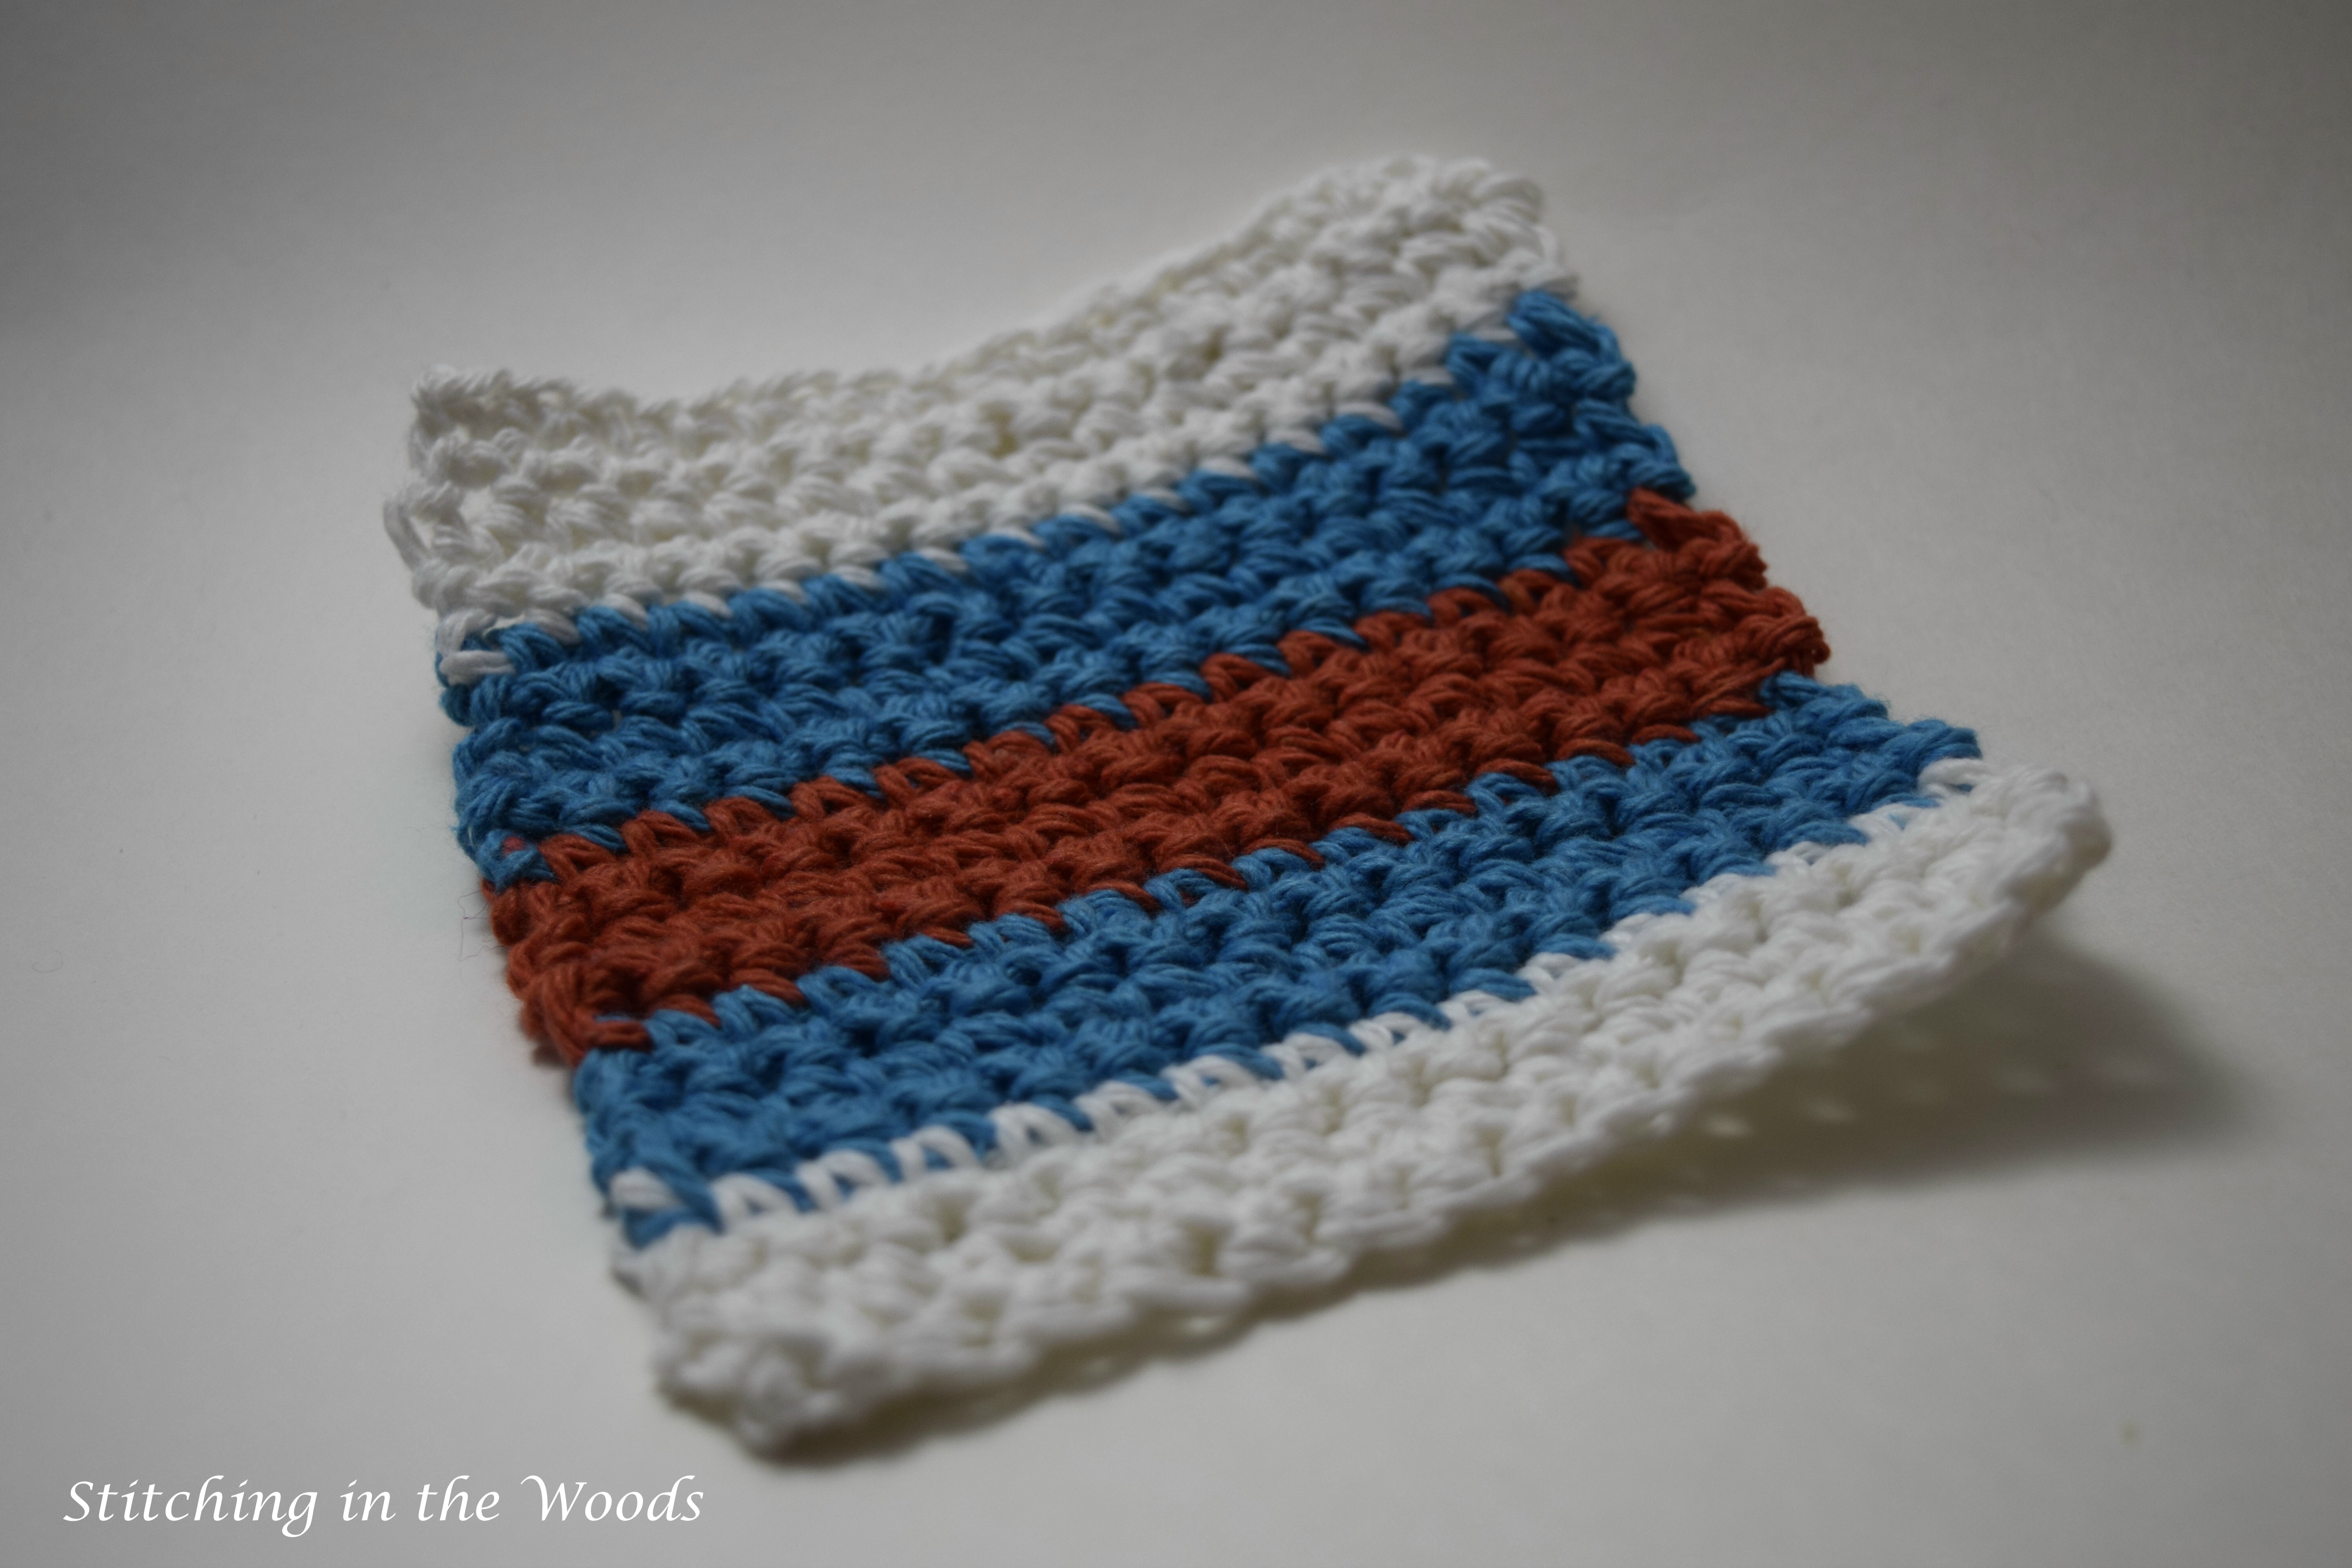
Alternate pattern
If you’d like a bit flatter coaster to go with your Apache Tears one, then try this one. You could also widen the Apache Tears pattern and make placemats with these being the matching coasters.
Row 1: In Cream, ch 17, sc in 2nd ch from hook and each stitch across, turn.
Rows 2-4: Ch 1, sc in each st across, turn. Change to blue on last st of row 4.
Rows 5-8: Ch 1, sc in each st across, turn. Change to orange on last st of row 8.
Rows 9-12: Ch 1, sc in each st across, turn. Change to blue on last st of row 12.
Rows 13-16: Ch 1, sc in each st across, turn. Fasten off at the end of row 16 and weave in ends.
Wrap-up
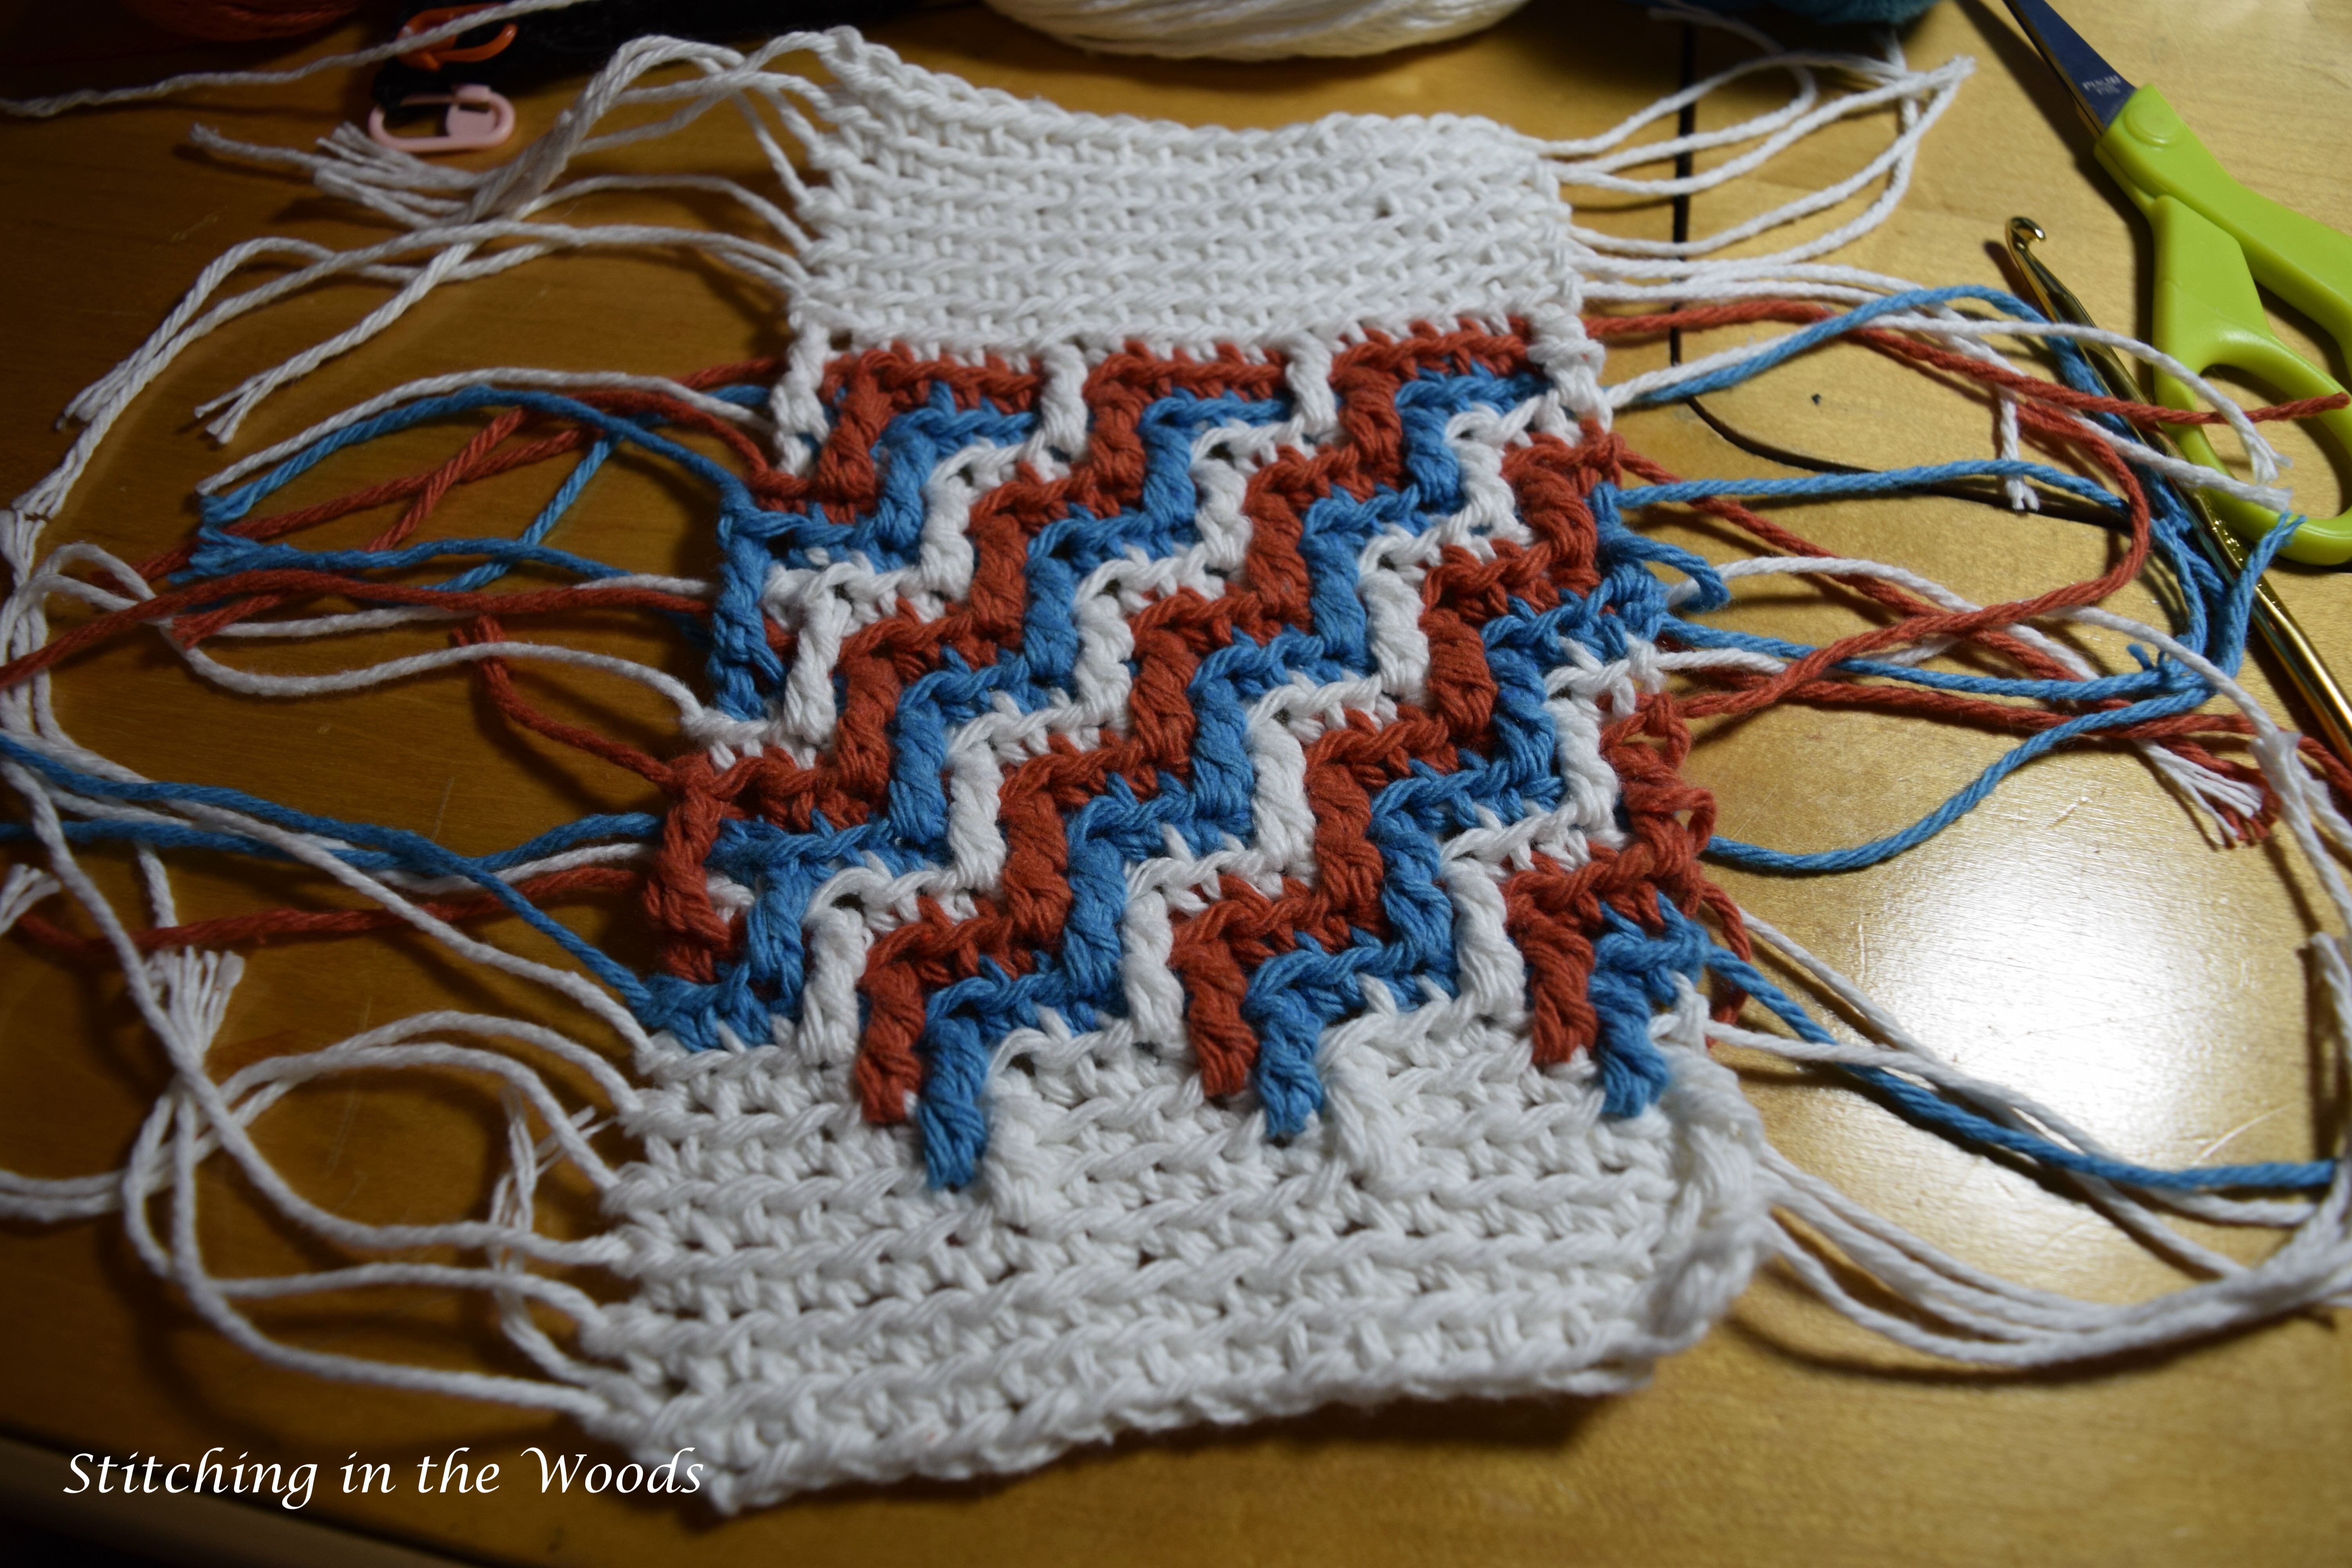
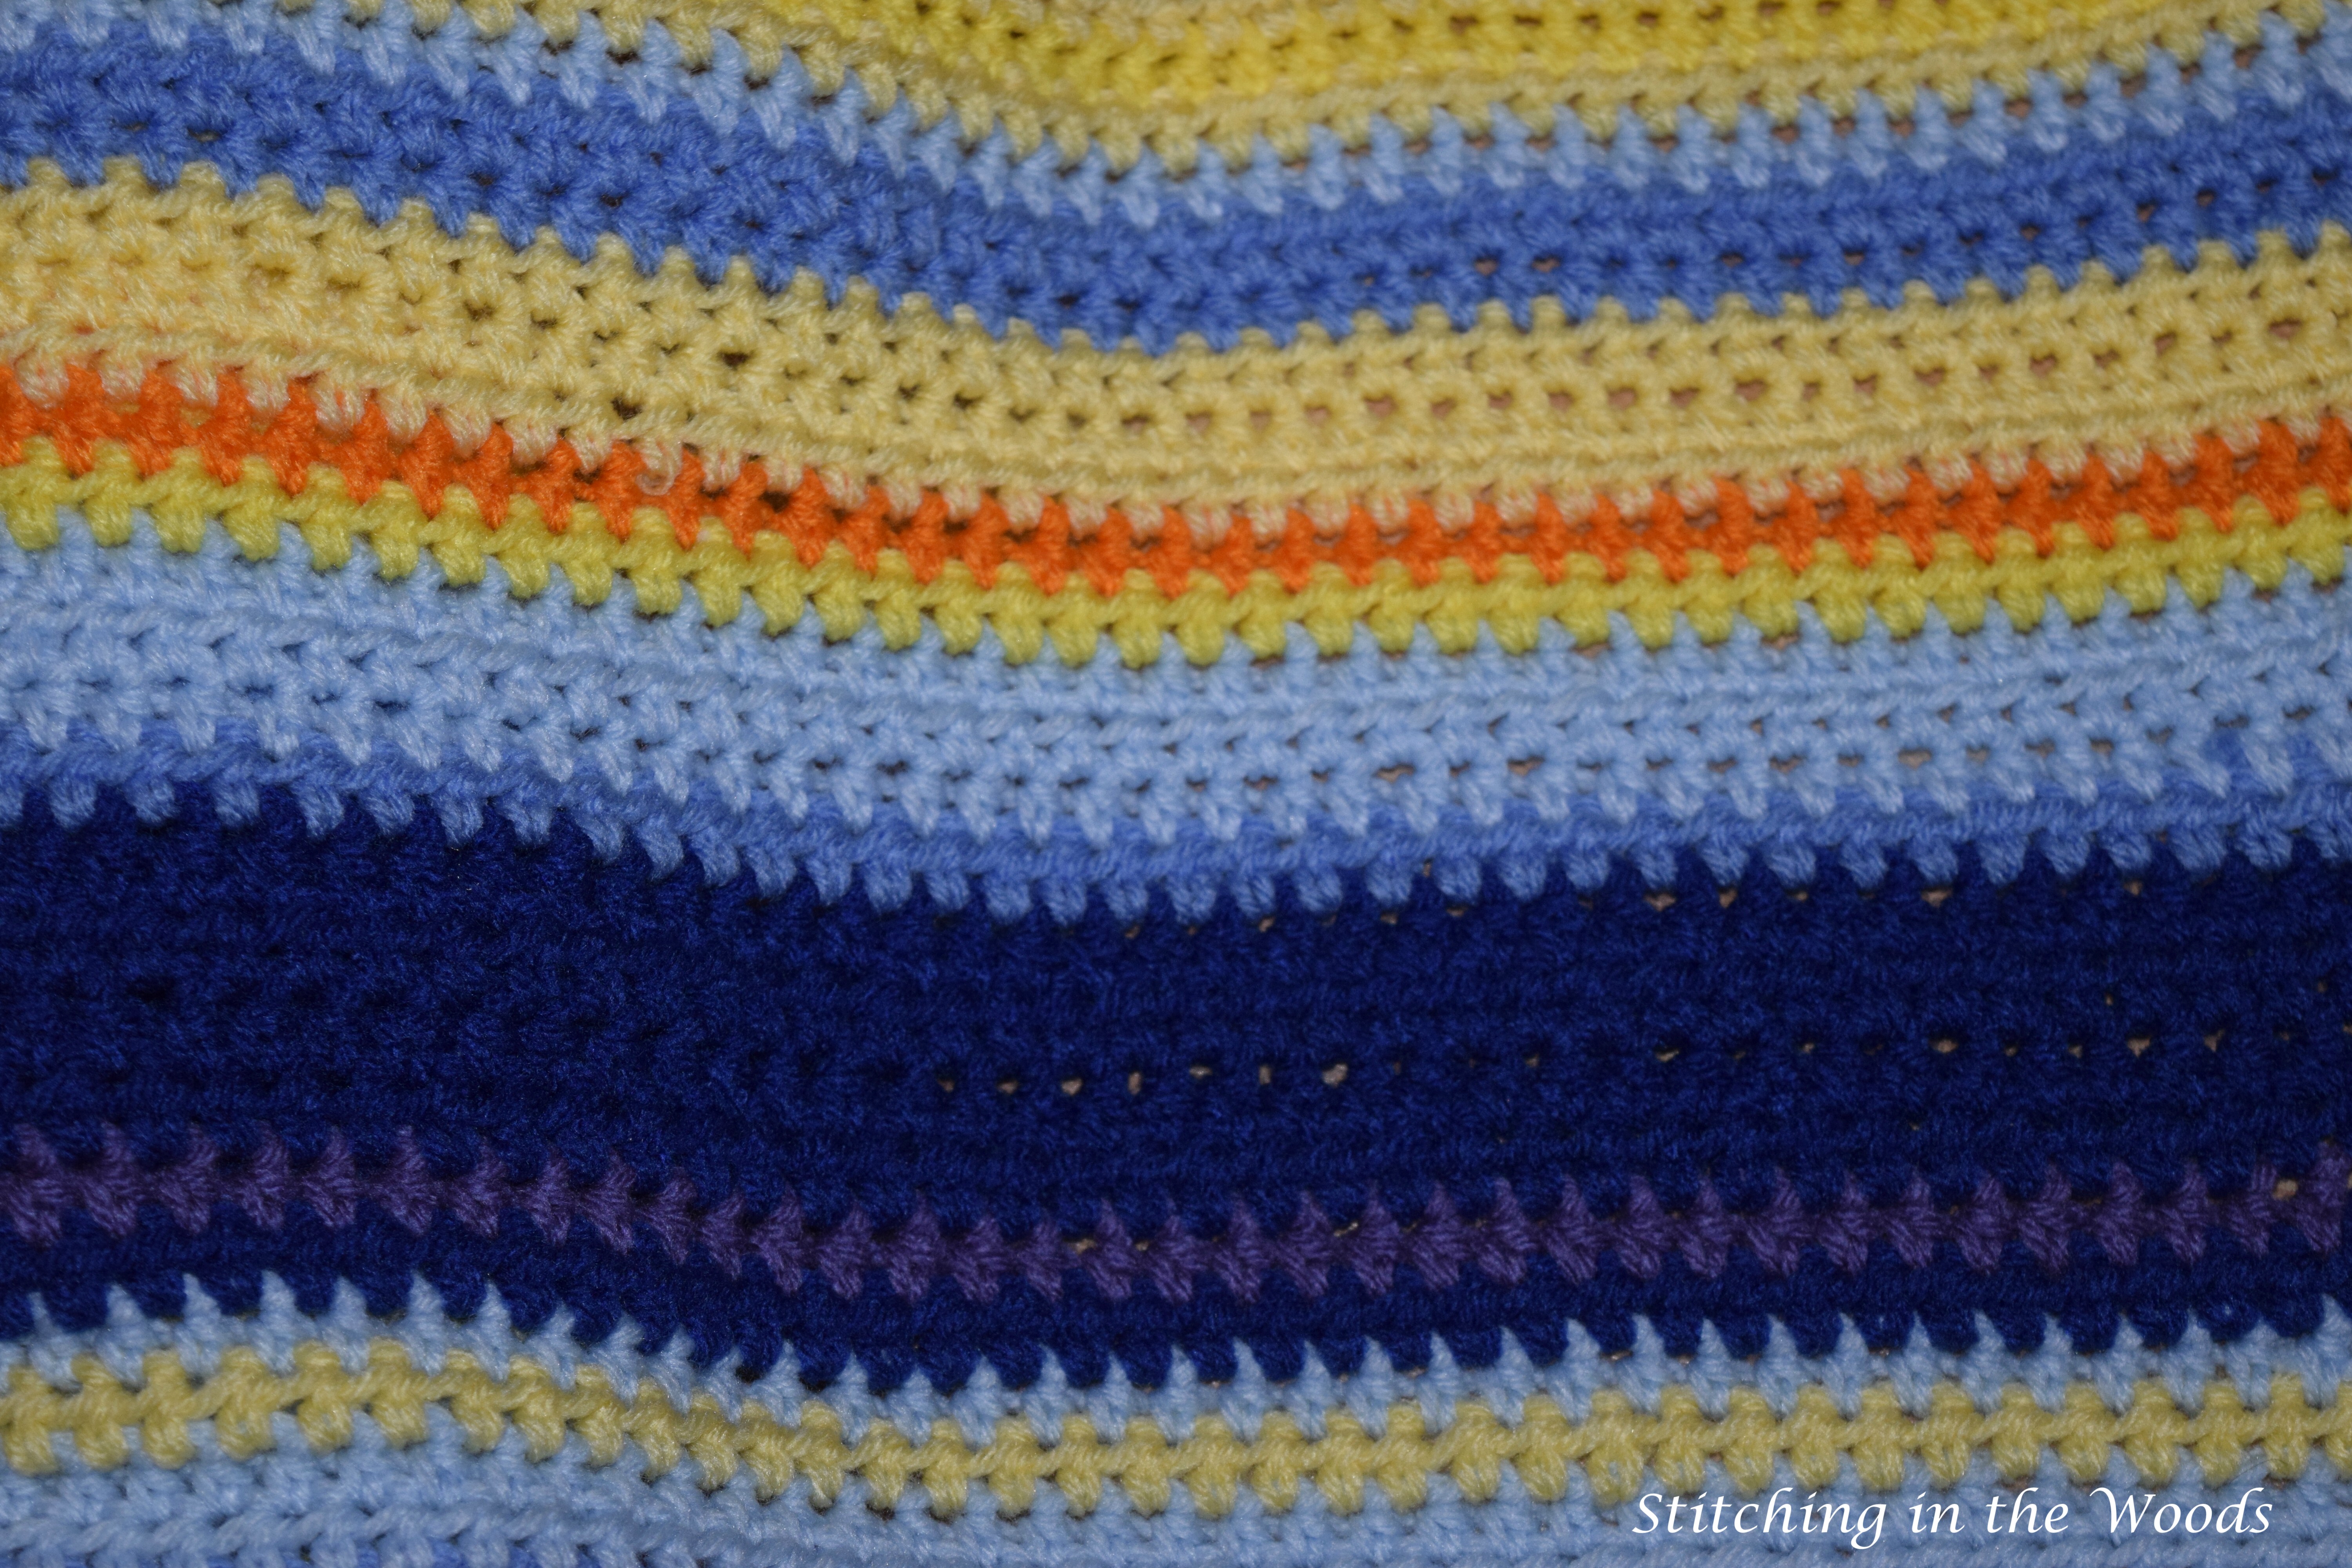
I really like the pattern the Apache Tears stitch creates. It would be neat to see it in different colors. It could also be made into a placemat by making the pattern wider and perhaps taller.
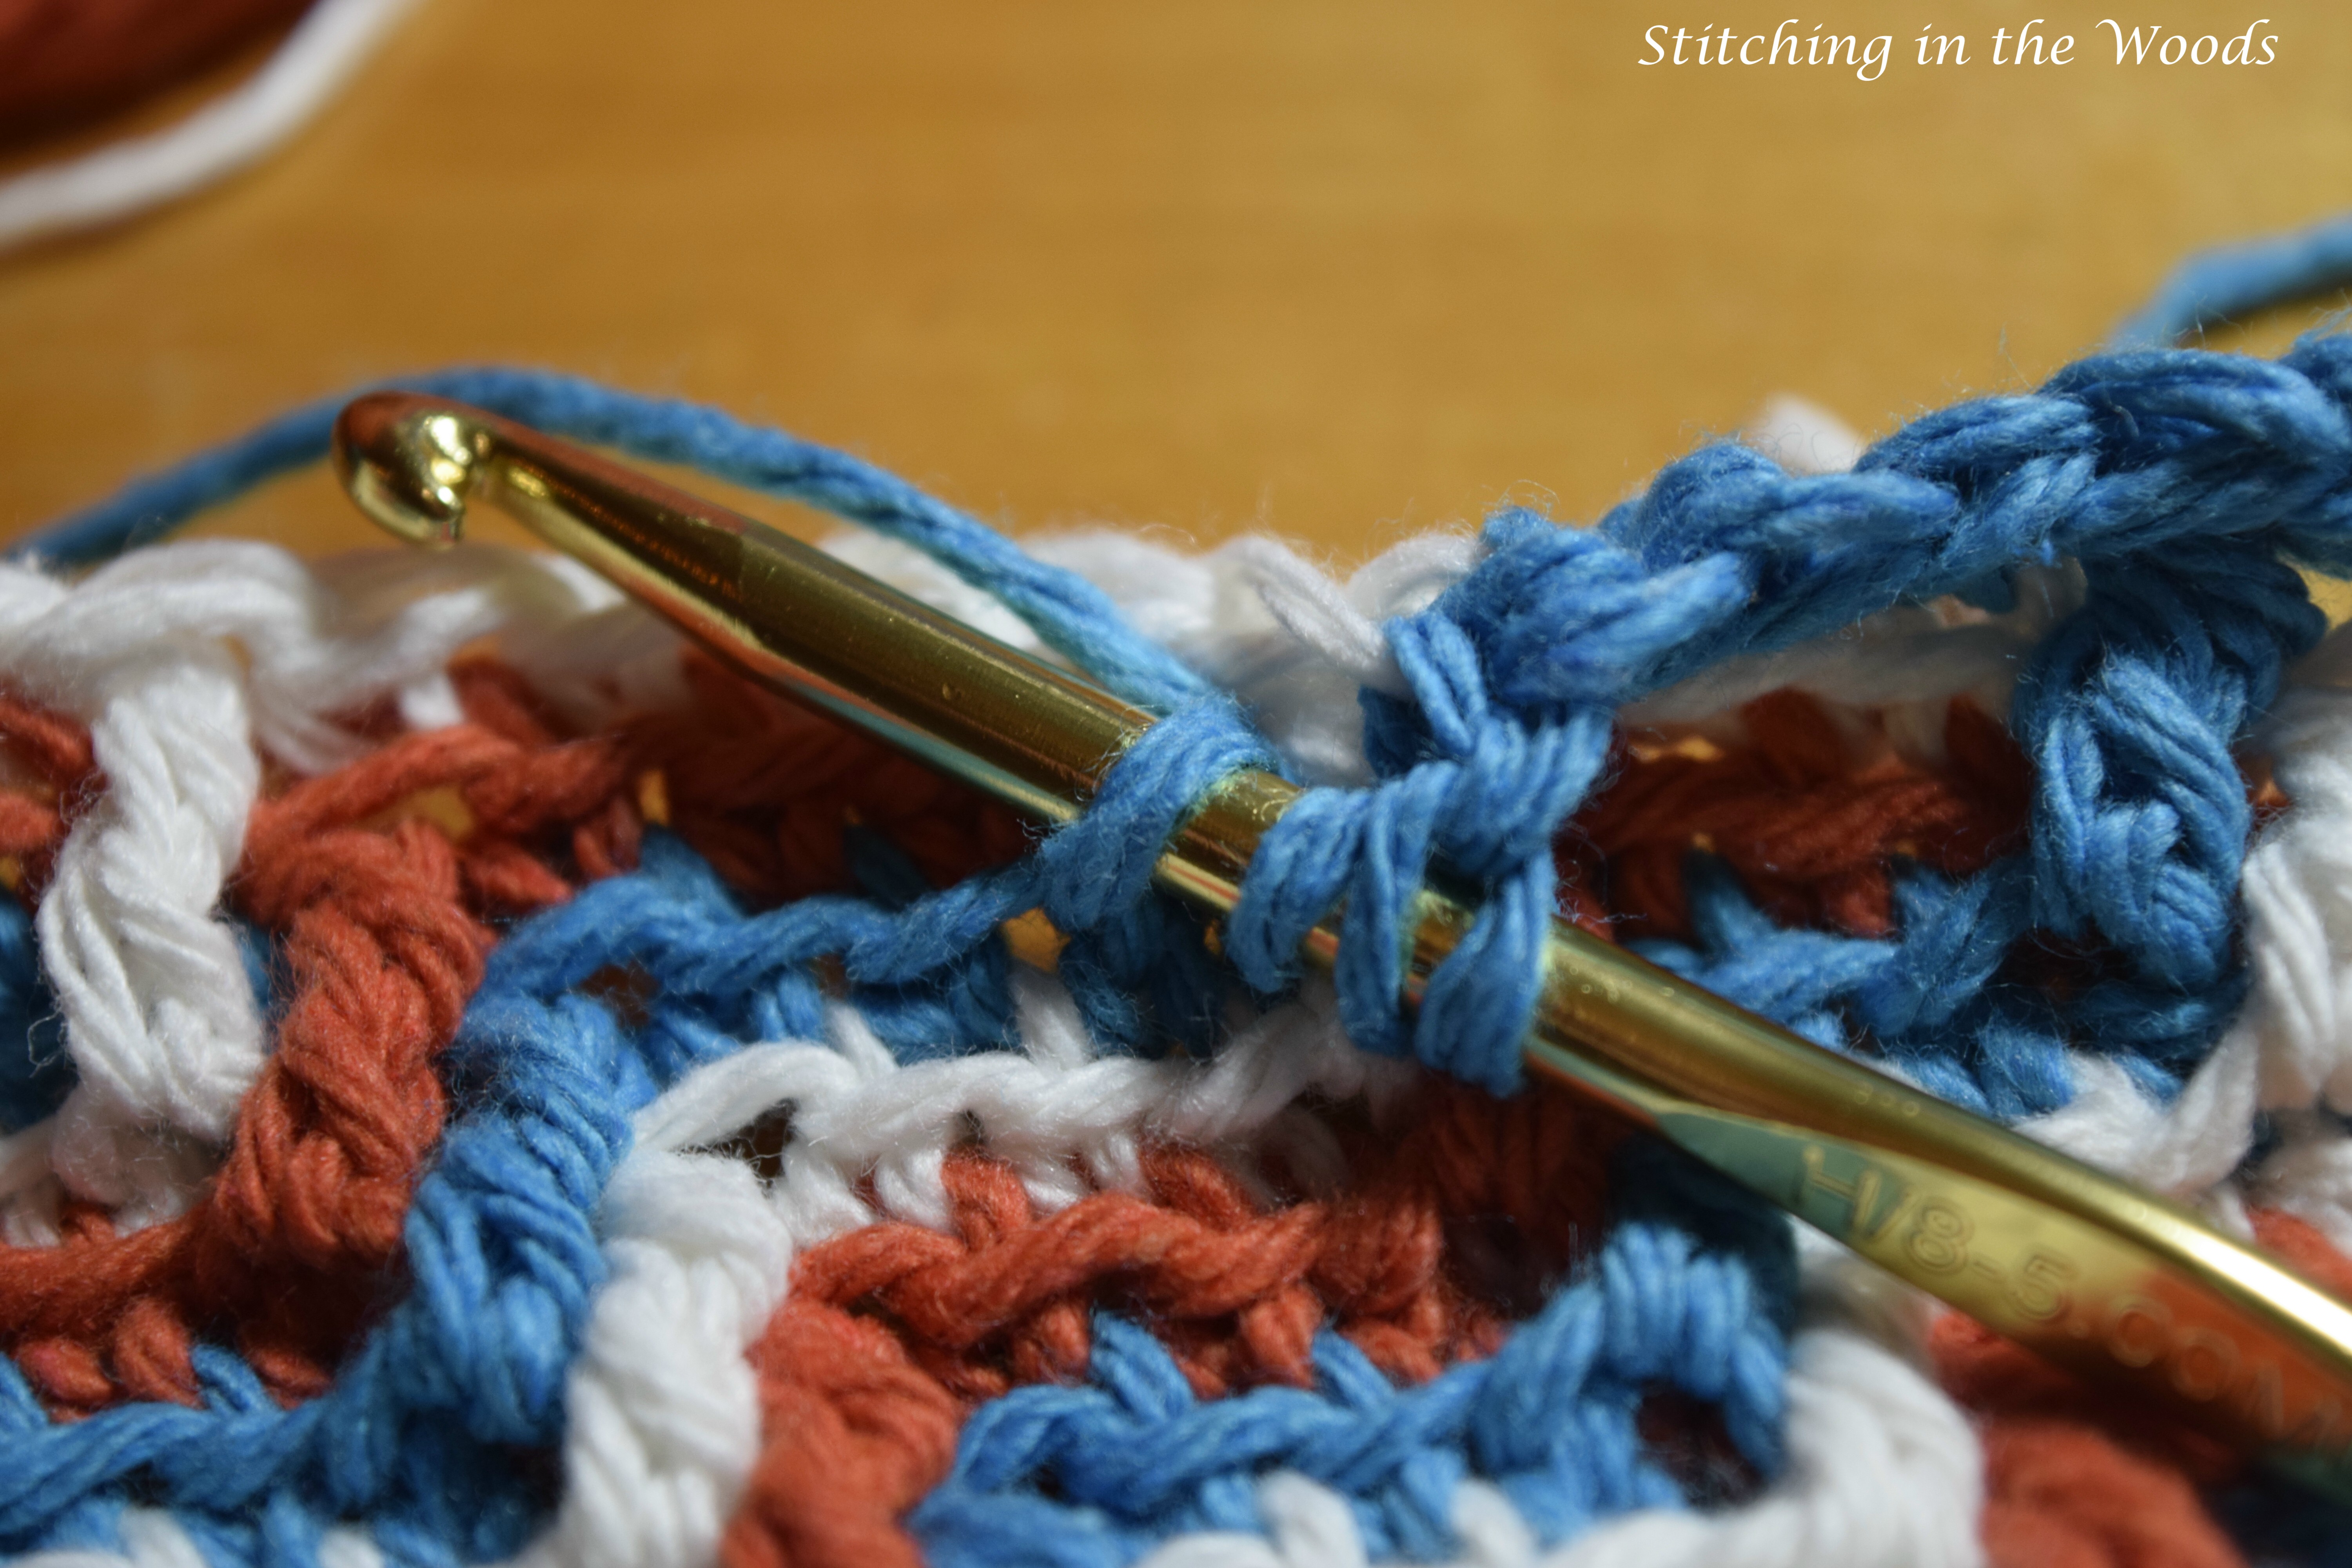
This picture is my first try at making a coaster from the tutorial I mentioned. My husband likes it better because it looks more like a blanket. If you look closely you might see some stitches look flattened. I’ve already started using this coaster and the stitches have flattened out to make my drinking glass steadier.
FREE Temperature Tracker!!!!
Enter your email address and you'll get a completely free, ready to print temperature tracker to use for your project.